Showing posts with label w201. Show all posts

Monday, November 2, 2015

...and all of a sudden, it was a car again...

As always, I apologize for the long delay between posts. It's been a very productive few months. I have been working almost nonstop since the last post, and the payoff has been huge.

When I last left off, I was preparing to replace the car's clutch - which I did.
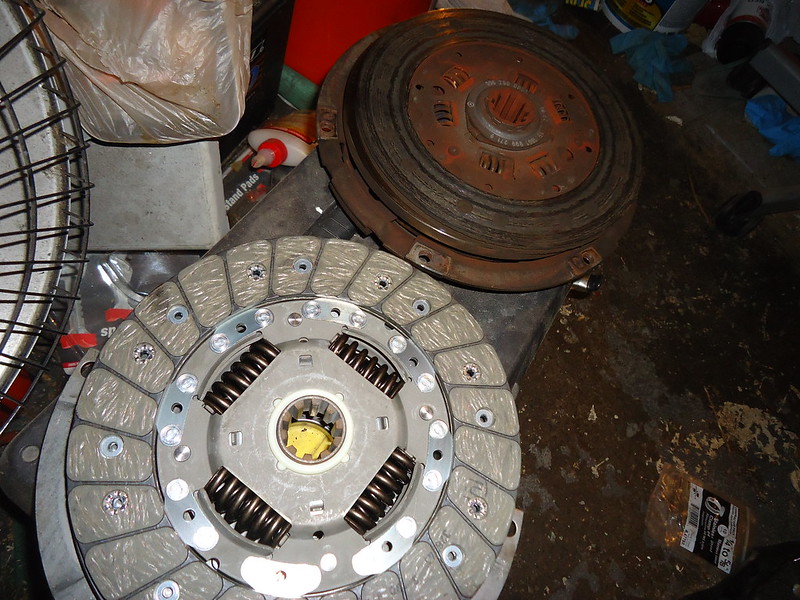
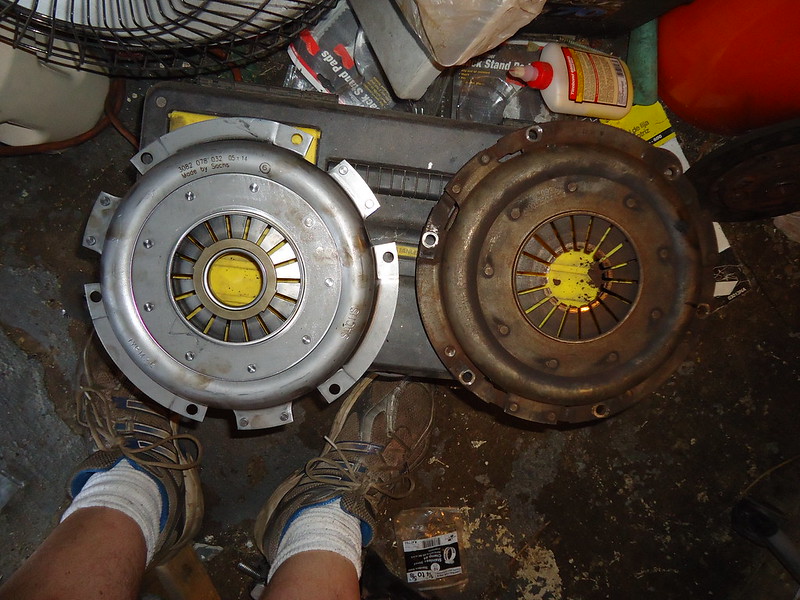

When that was done, I reinstalled the transmission. While I still had plenty of room under the car, I replaced the brake lines - the rubber lines and the hard lines. I was reasonably sure the old hard lines would have been OK, but it was easy work and cheap insurance for my safety to do the extra work at this point.



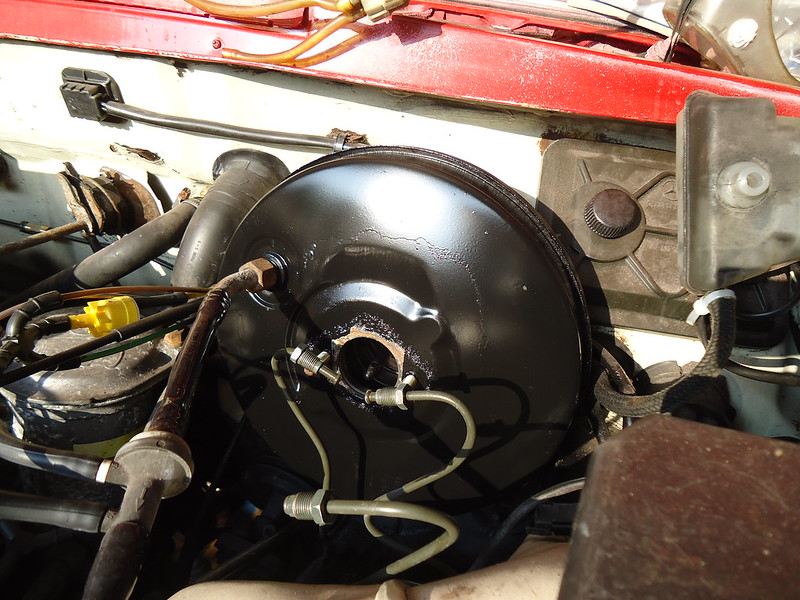
Then I repainted the brake booster:
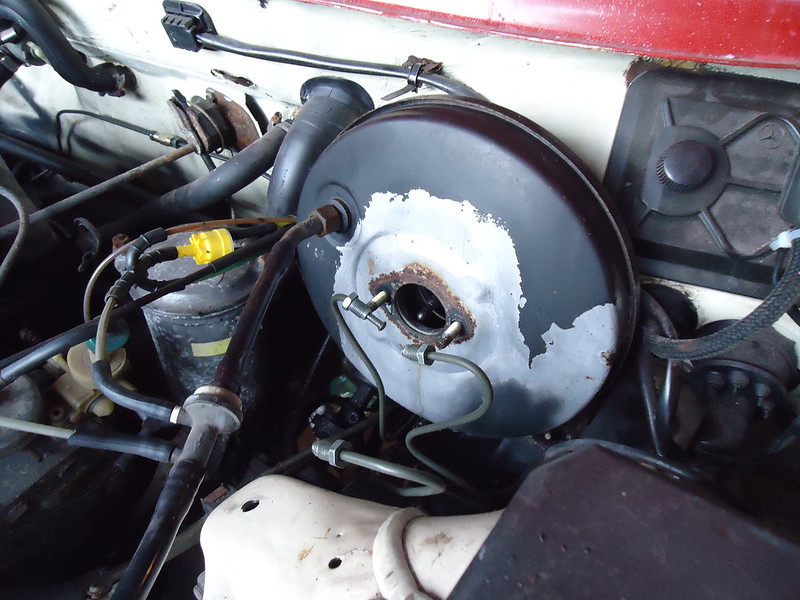

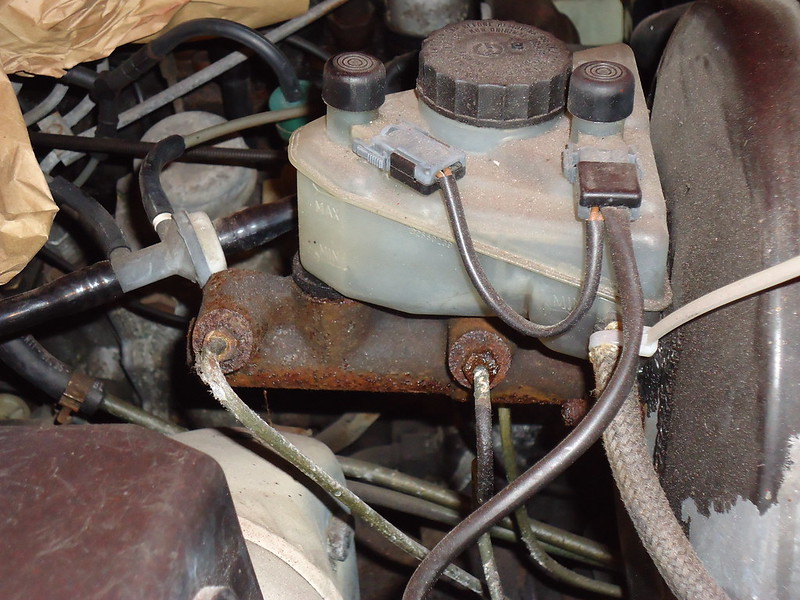
...and installed a new brake master cylinder as well as rebuilt calipers, new pads, and new rotors on all four corners:
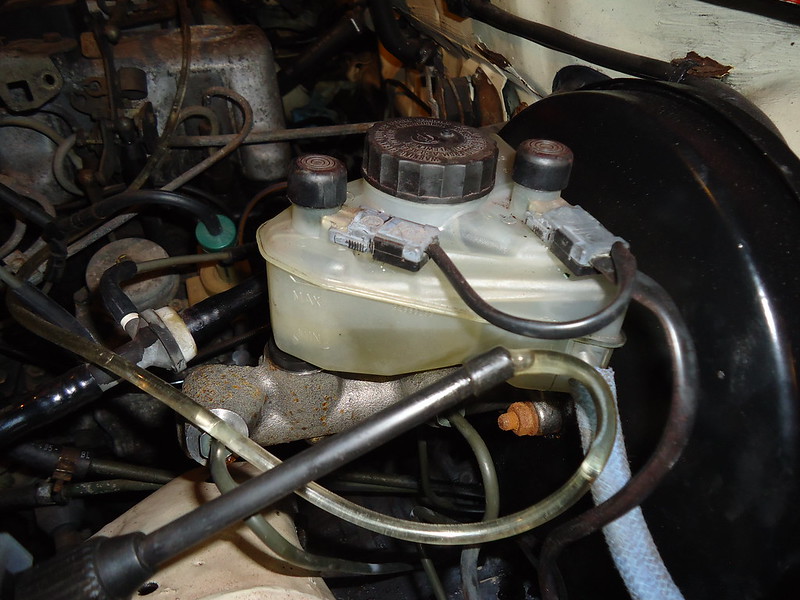
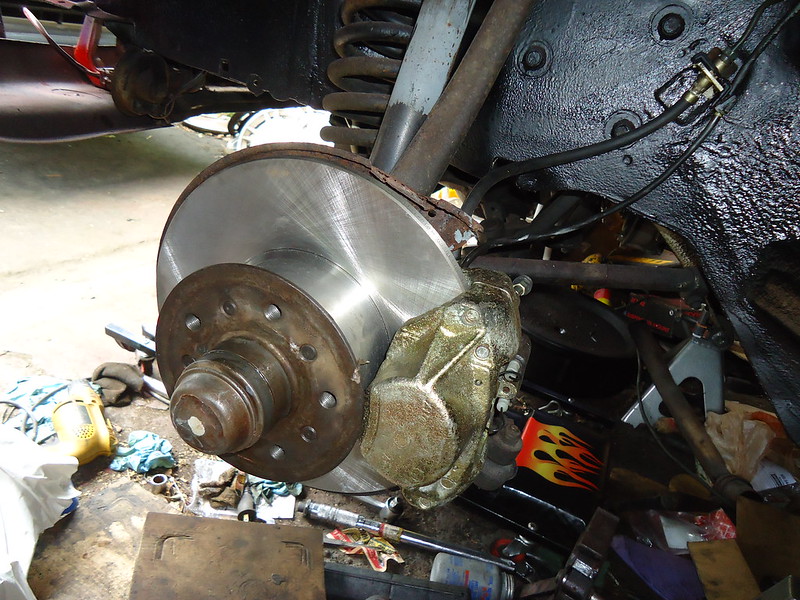
Although I didn't get pictures, I also replaced the clutch hydraulics with new parts.

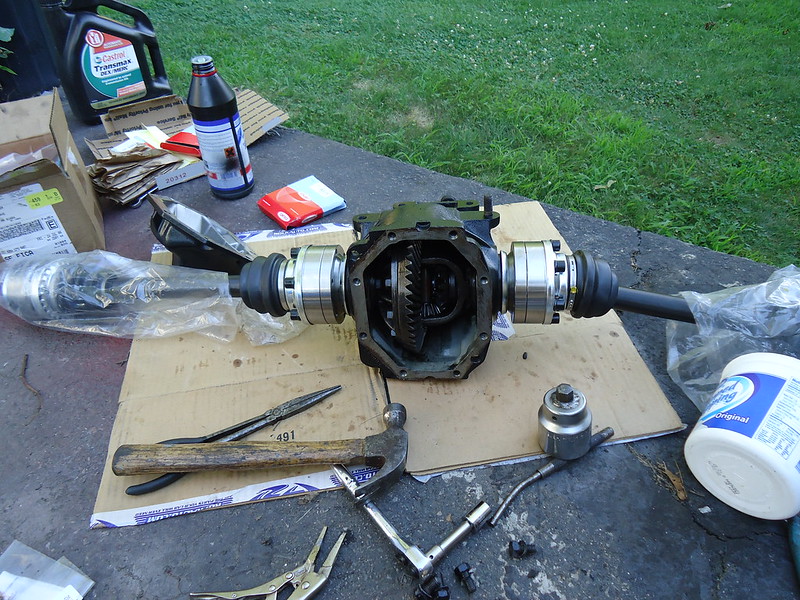
Around this time, the driveline also went back into the car. I put the driveshaft back in with fresh flex discs as well as a new center bearing and support. I also replaced the CV axles and repainted the differential:


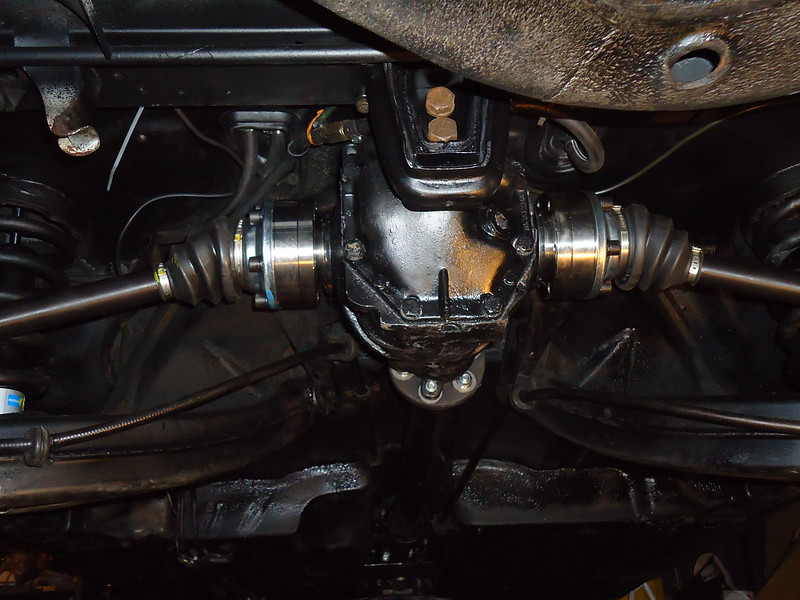
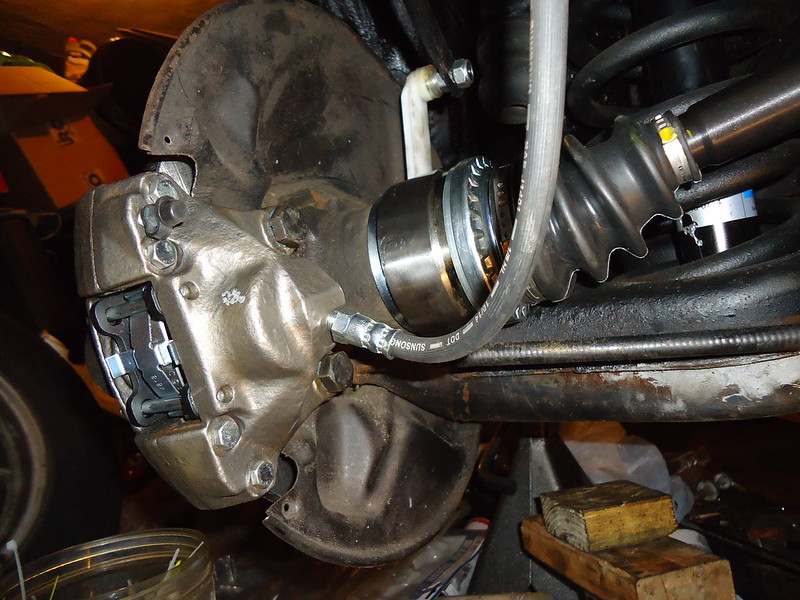
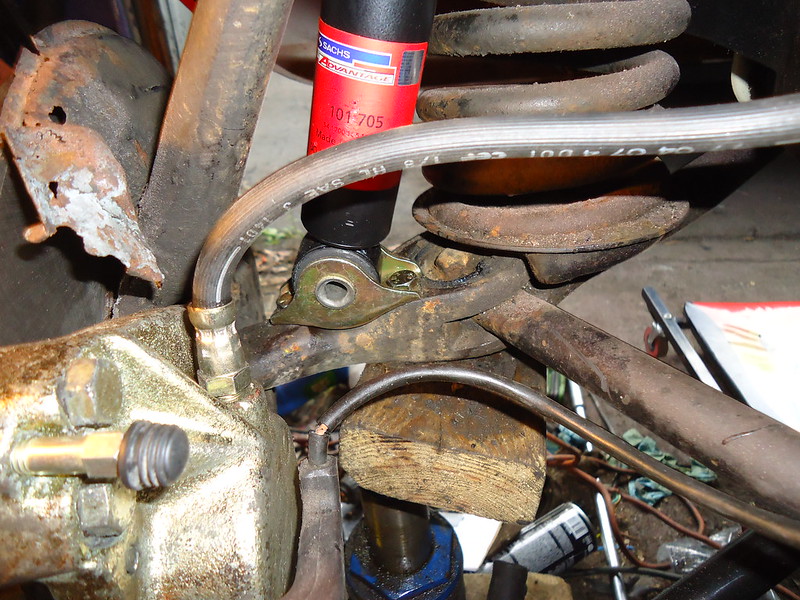
Before buttoning-up the front end, I replaced the front shock absorbers, the steering damper, and the tie rods:
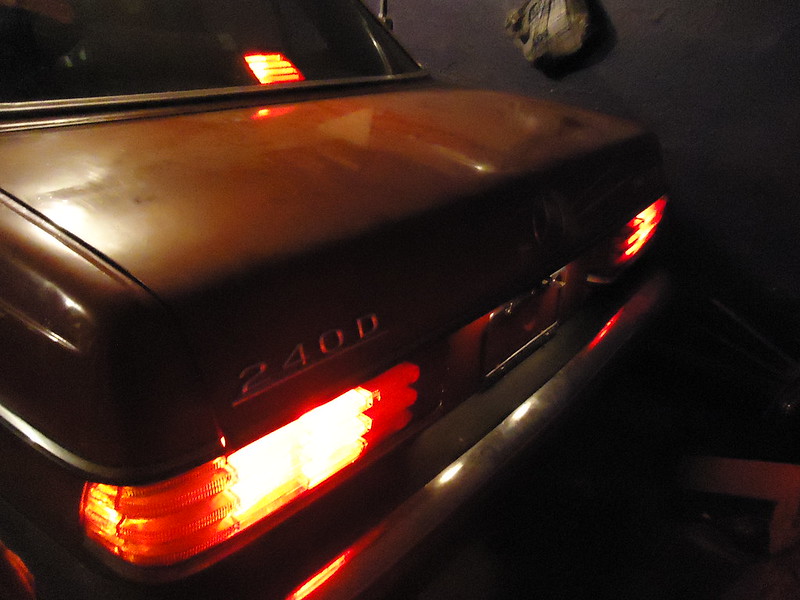
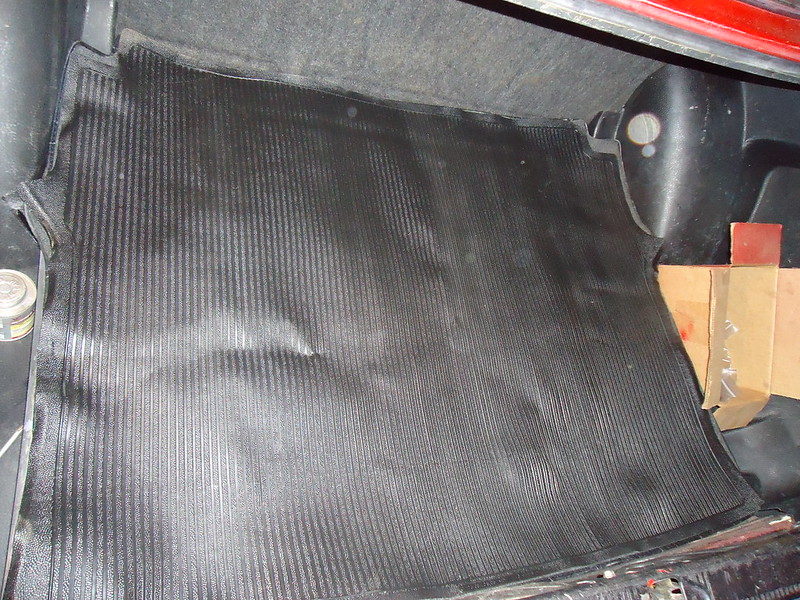
Before moving under the hood, I added a third brake light to the car and installed the long-absent trunk trim:
Finally, it was time to do some work under the hood. First, I popped off the valve cover to adjust the valvetrain and meanure timing chain stretch:
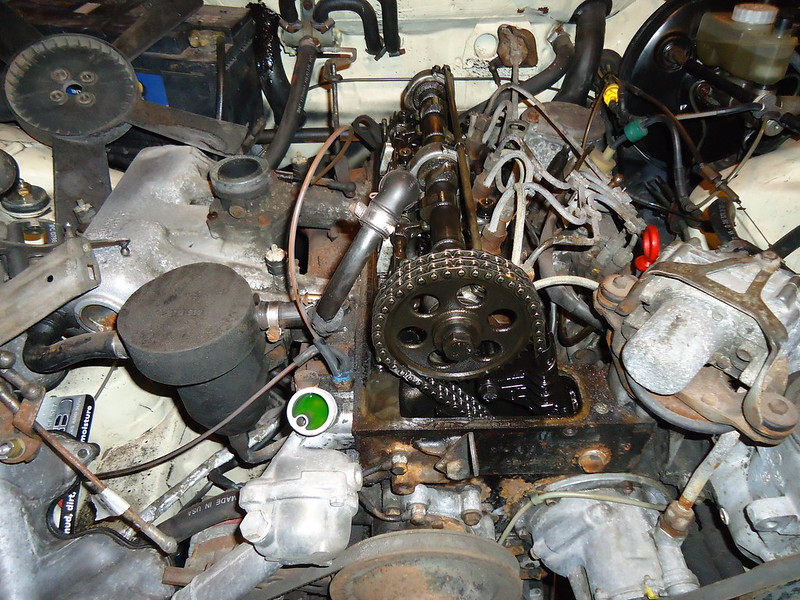
Then I removed the water pump and thermostat housing:
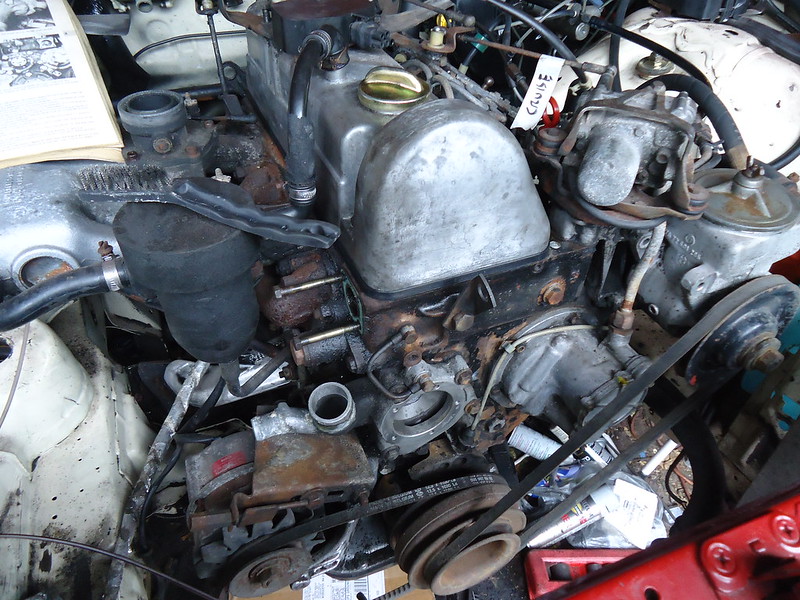
Then, it was off with the intake and exhaust manifolds to clean them up and replace the gasket:
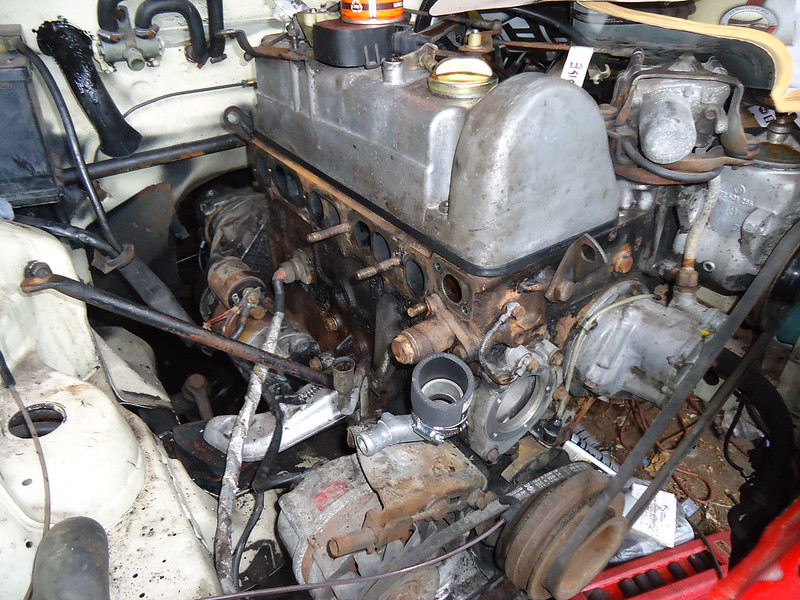
Once that was done, the thermostat housing (with new thermostat) and new water pump went back on:

Pretty soon, the engine was buttoned-up again:
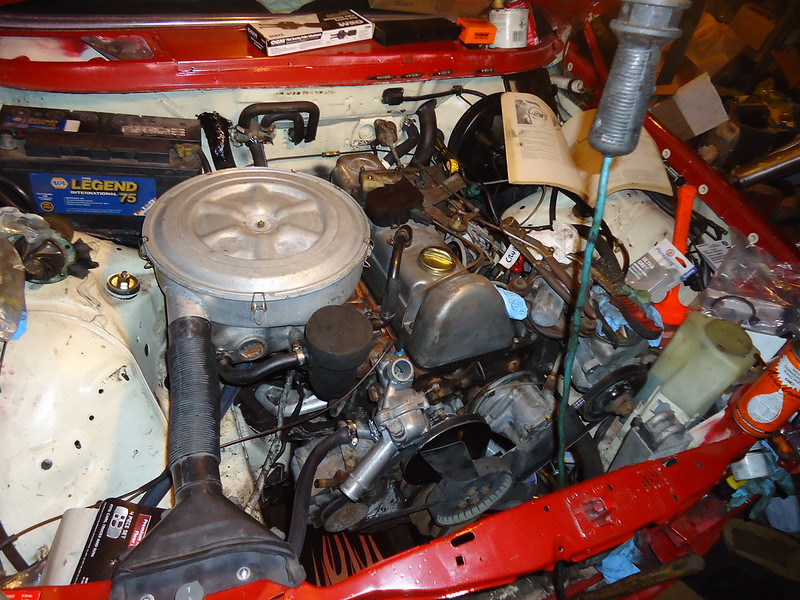
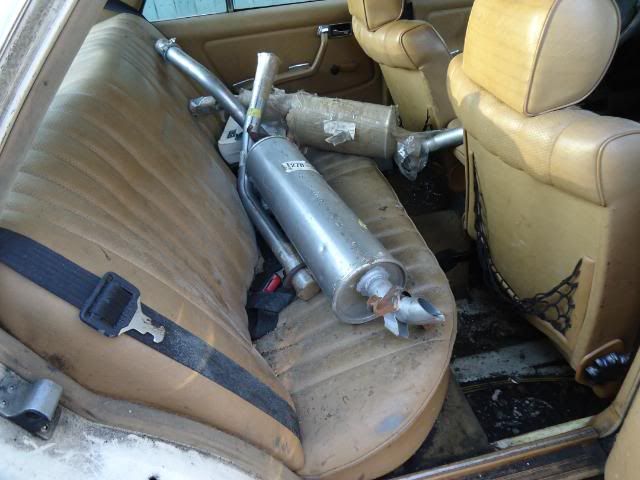
Then the new exhaust system went on:

At that point, I replaced the fuel primer pump and the underhood fuel lines:
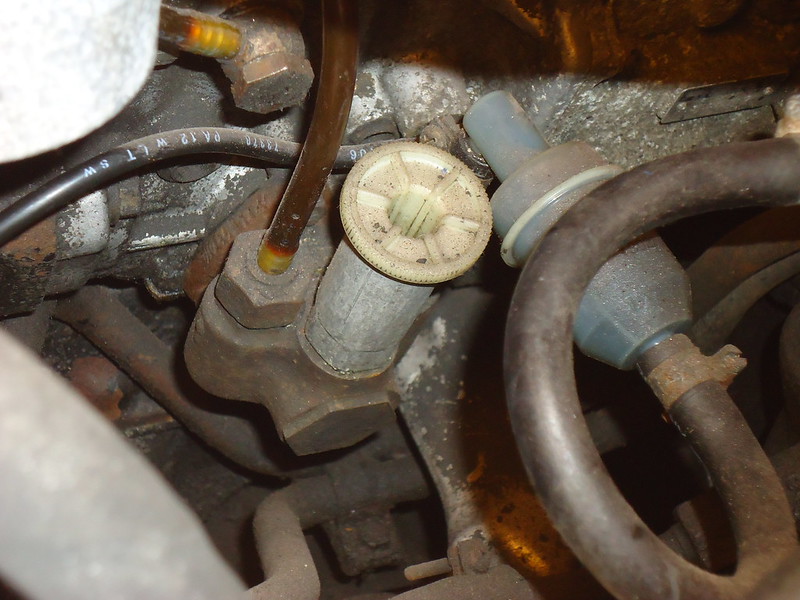
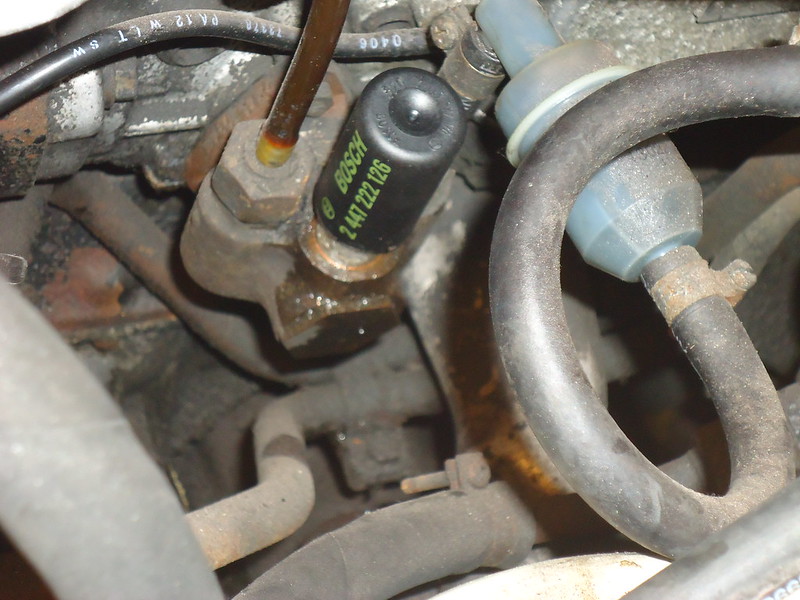
...and before I knew it... THIS:
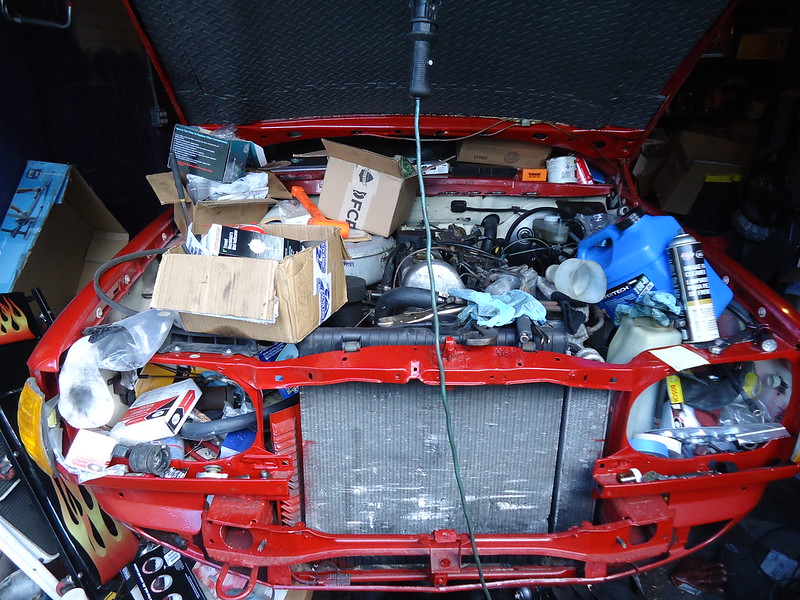
...became THIS:
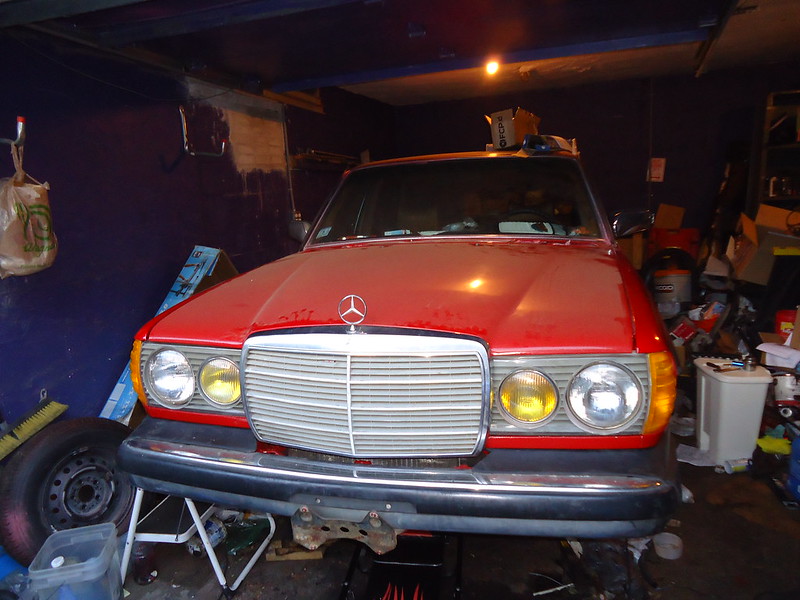
The dust settled. What I'd begun three and a half years ago back in 2012 was done.
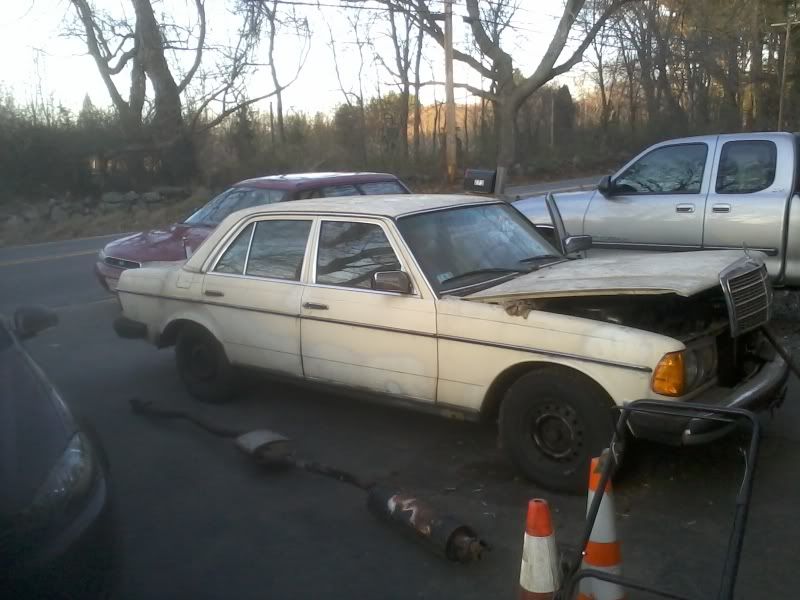

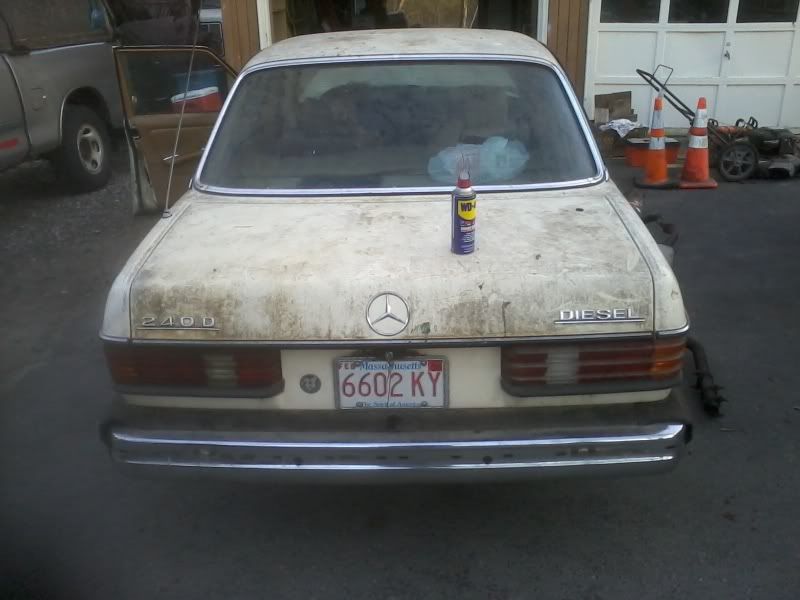
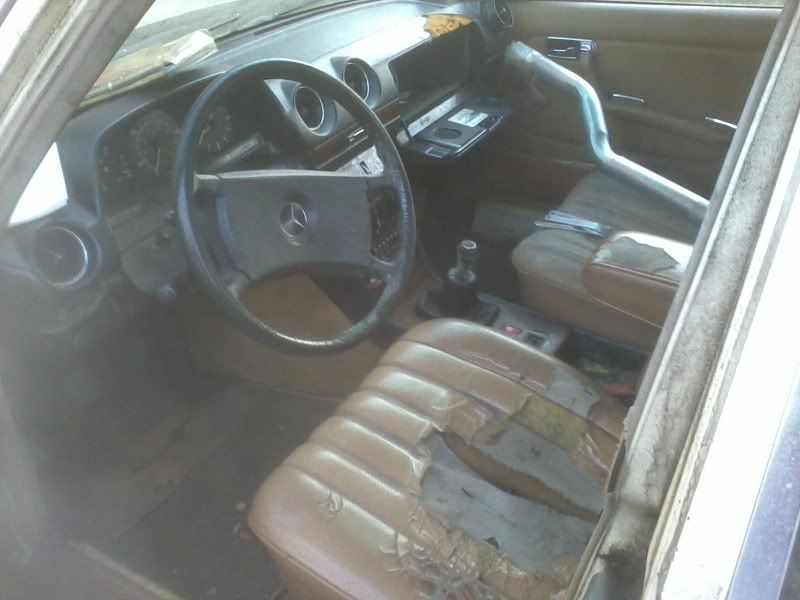

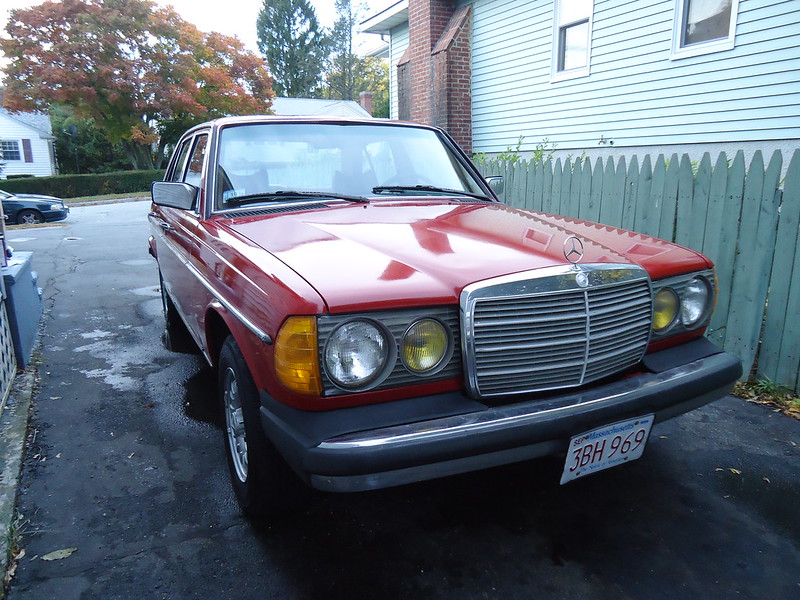


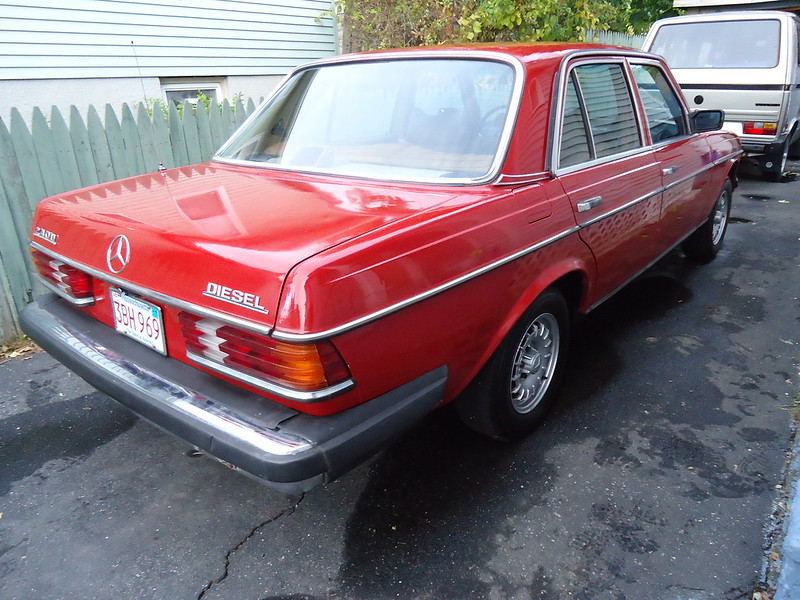
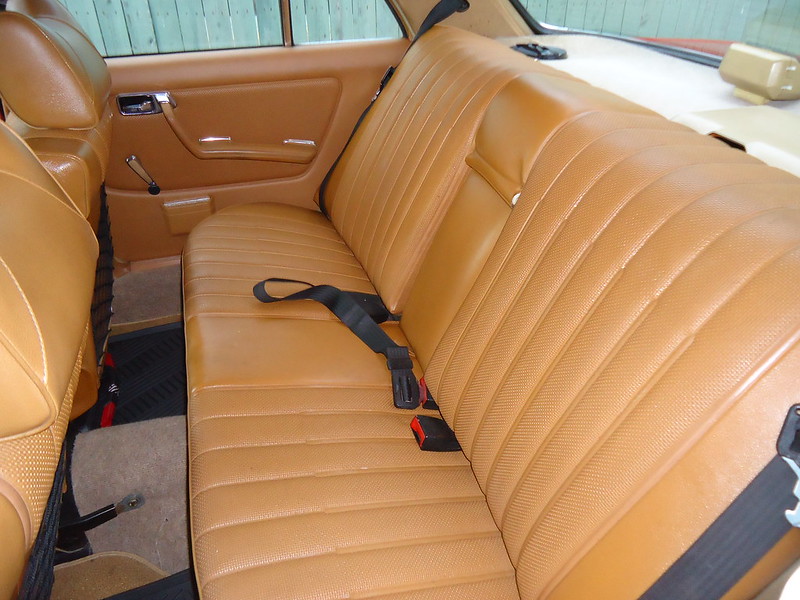
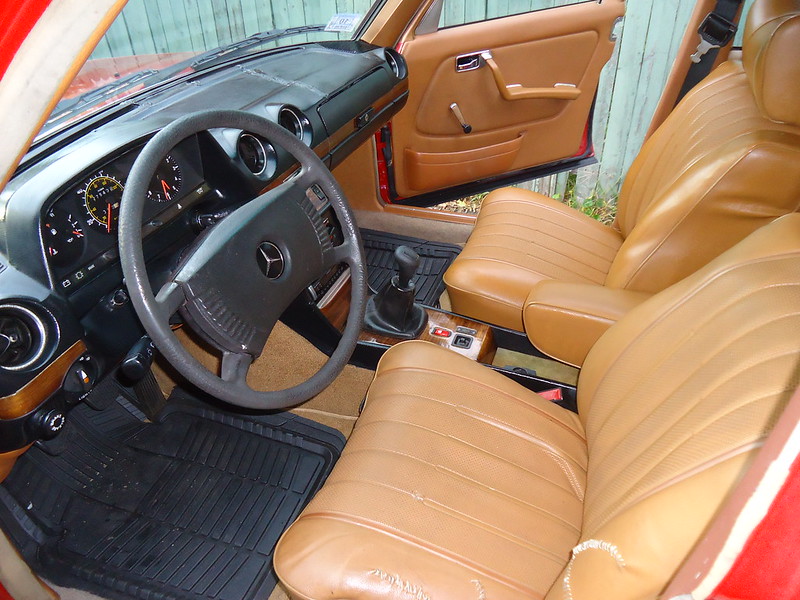
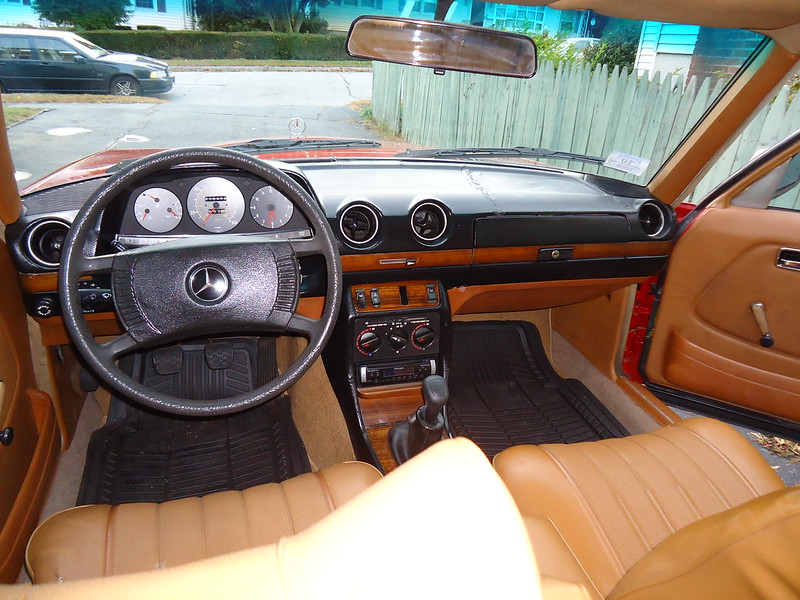

I actually got the car on the road two weeks ago. I've been driving it. As with any project of this length, it didn't come out perfect. I'm still finding and fixing little items along the way - nothing that's keeping the car off the road (not for long, anyway). But, I'm happy to be able to relax a bit now. It's been a very long few years, and I'm looking forward to enjoying this car.

For all of you who've read along, here's a test drive of the car:

Sunday, January 19, 2014

Progress continues in the basement...

For the past few weeks, as time has allowed, I've been working in the basement on the 1979 seats to use in my 1983 240D. My decision to use the 1979 seats wasn't an immediate one. Originally, I was going to use the 1983 interior and simply do my best to patch up the driver's seat. Then, I came across the palomino leather interior, which was pretty inexpensive and in very nice condition. For a long time, I was planning to use the leather seats. Last summer, I picked up the 1979 parts car.

Initially, I was pleasantly surprised by the overall condition of the parts car's interior. The car had been sitting in a field for around 13 years, but the interior seemed to have held up pretty well. There were some tears in the driver's seat upholstery and the padding had flattened a bit. Overall, it was pretty nice. Plus, although I really like palomino upholstery, I took a shine to the older, slightly more rare bamboo colored interior from the '79. So, to help recover a bit of cash, I sold the leather interior and opted to use the '79 interior. A little later on, I even sold the decent passenger seat out of the '83. At that point, I was committed.

My initial reaction when I started working on the '79 seats was that I'd made a mistake. All the hardware was rusted, which made disassembly difficult. I worked at it bit by bit, and last weekend, I finally finished rebuilding the driver's seat from the '79. I repaired the seat springs, added some new springs for reinforcement, added a layer of canvas between the spring frame and the padding, and replaced the dried out, crumbling old horsehair padding with new memory foam. Considering how much I'd compromised on the materials (as opposed to using brand new Mercedes OEM parts), I think the end result is really nice, and feels very comfortable after a test-sit.

I still need to rebuild the passenger seat and the rear seat. Thankfully, all this work in the basement is keeping me from having to work outside in the cold. Of course, once the seats are done, I'll be back to doing bodywork on the '83 shell.

Here's a Youtube series I did showing what I did to rebuild the driver's seat:
http://www.youtube.com/playlist?list=PLxTxz3tK6IkLNrathpTQwSesgm7SXGAED