Apologies to anyone who has been reading along. I have been working on the car, and have kept the Youtube channel up to date, but the blog is almost five months behind.
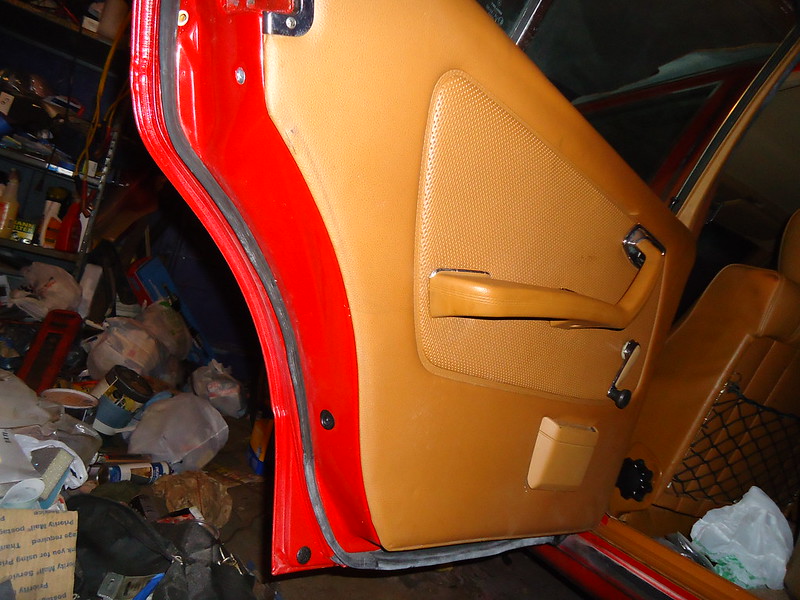
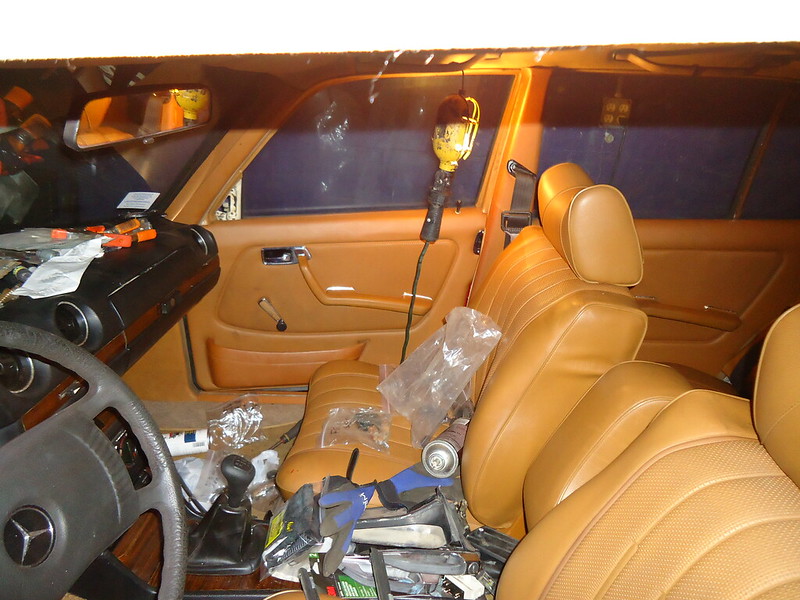
After my last update, I finished installing all the car's trim, aside from the front end trim (waiting until I have the front end/engine work done.
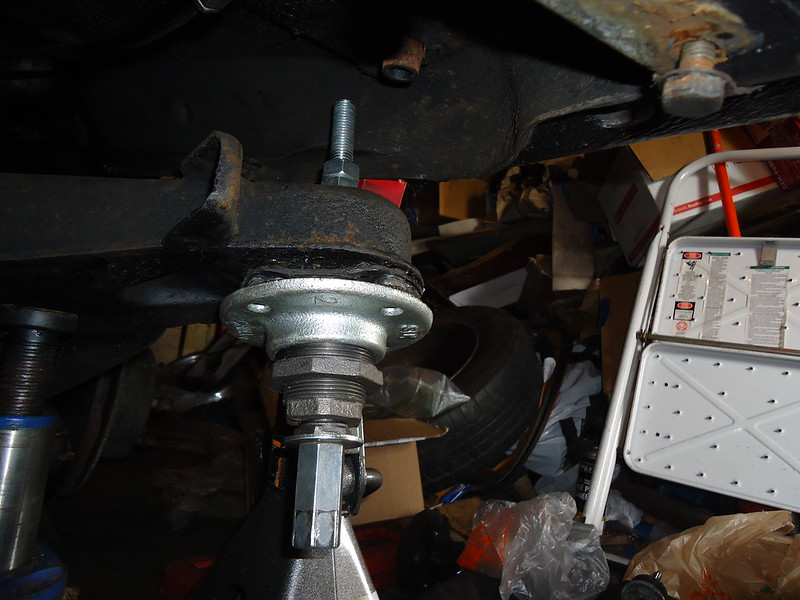
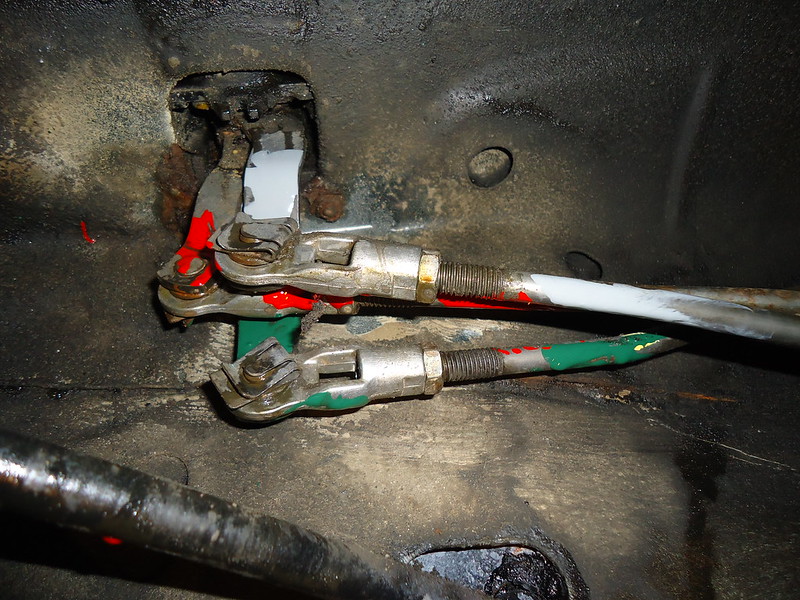
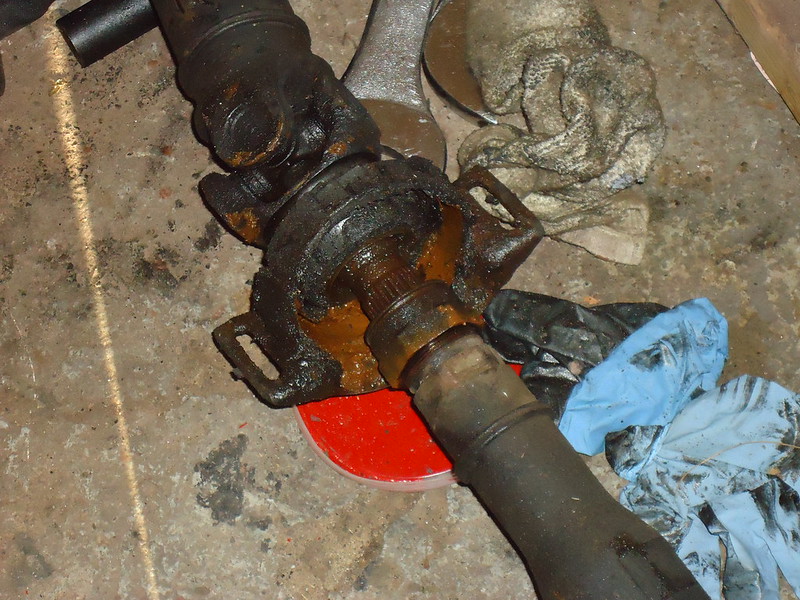
After that, I pulled the driveshaft (which was challenging on its own) and did a complete rear suspension refresh (new shocks, new trailing arm bushings, new rear subframe mounts). Here are some highlights:
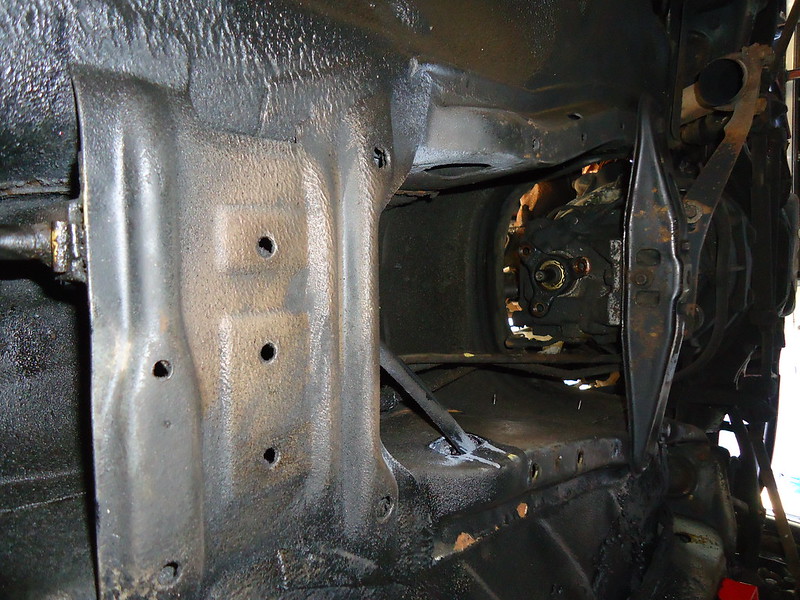
So, I'm deep into mechanical repairs. Now that the rear end is done and the driveshaft is out, I'm in the process of pulling the transmission so that I can replace the clutch:
At this point, I'm literally a few bolts away from having the transmission out of the car. Once it's out, the new clutch and associated components go in, at which point, I can reinstall the driveshaft and everything else under the car.
A collection of the fevered ramblings of a guy dumb enough to own three cars, and to do all his own work on them.
Showing posts with label repair. Show all posts
Monday, July 6, 2015
Tuesday, February 17, 2015
February update on the Mercedes
It doesn't feel like a month since my last update, but apparently it is. I've gotten more work done on the car, but not as much as I would have liked. Shortly after my last post, we started getting slammed with more snow than I've ever seen. Over the past month, this has turned into the worst winter I've ever seen. The frigid temperatures and the need to shovel snow have kept me busy. I've been in the garage, just not as much.
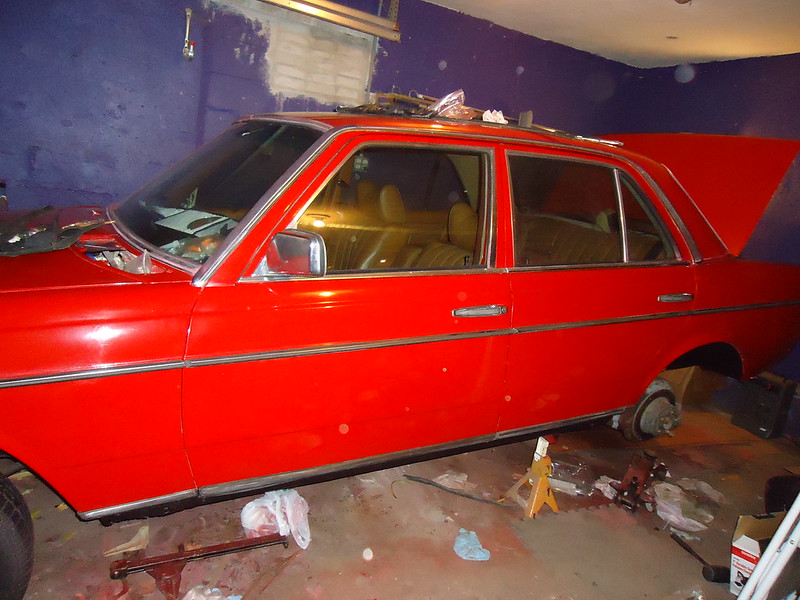
I did finish polishing out the paint. Although it's far from perfect, it turned out a lot better than I thought I'd be able to do on my own. I'm very happy with it. Once I was done with the paint job, I began installing exterior trim. Overall, the process has been moving along pretty quickly, aside from cleaning the trim pieces before installation.
As of now, I have both the driver and passenger side exterior trim installed. I still need to finish up the rear and front of the car, but once the trim is all installed, the cosmetic part of the project is done.
I did finish polishing out the paint. Although it's far from perfect, it turned out a lot better than I thought I'd be able to do on my own. I'm very happy with it. Once I was done with the paint job, I began installing exterior trim. Overall, the process has been moving along pretty quickly, aside from cleaning the trim pieces before installation.
As of now, I have both the driver and passenger side exterior trim installed. I still need to finish up the rear and front of the car, but once the trim is all installed, the cosmetic part of the project is done.
Labels:
240D,
300d,
diesel,
diy,
mercedes,
mercedes-enz,
project,
repair,
restoration,
w114,
w115,
W123,
w124,
w126
Tuesday, January 13, 2015
Update on the Mercedes...
I can't believe it's been four months since I updated the blog. I'm happy to say that I've been working pretty much non-stop on the car in that time. So much so that while I've tried to keep the Youtube channel up to date, I let the blog slip. I've never suspected that a lot of people are reading, anyway.
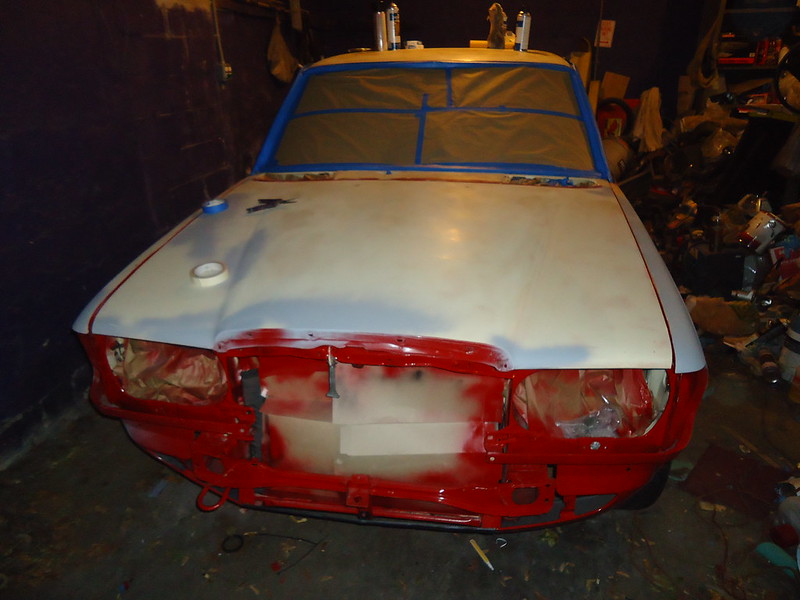
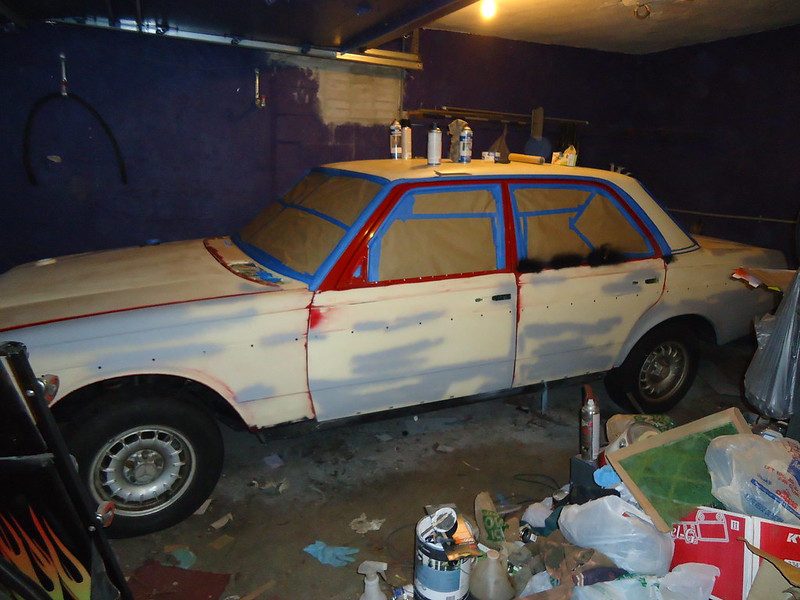
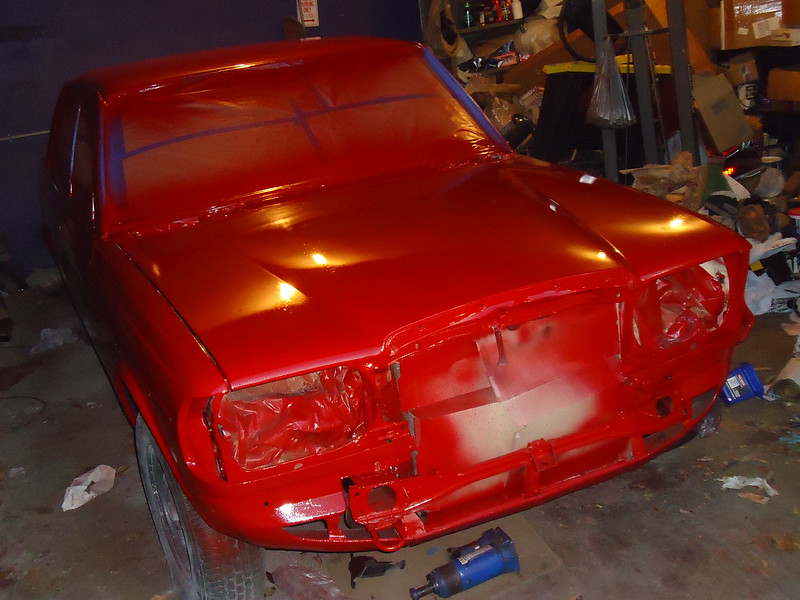
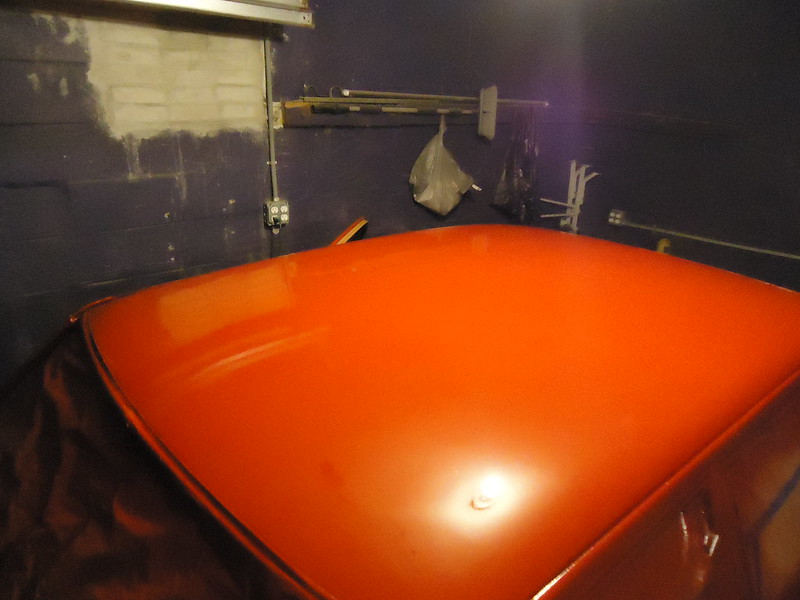
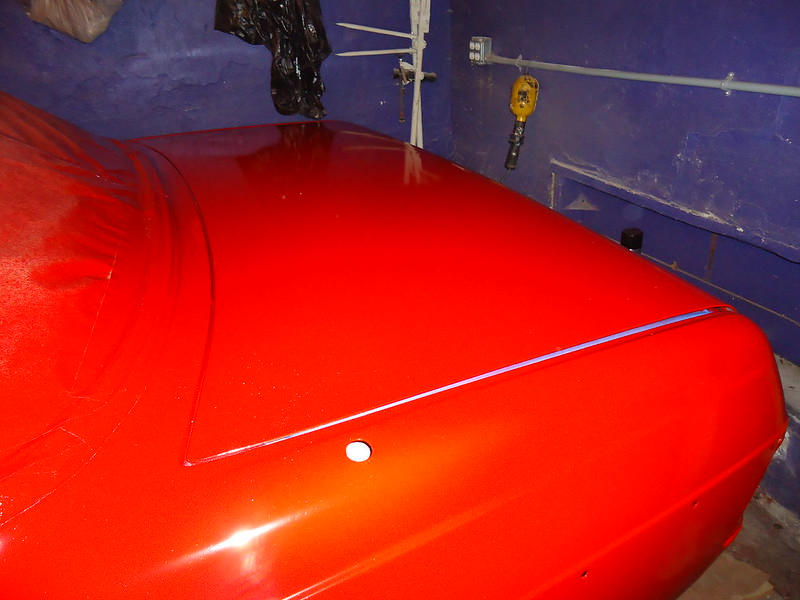
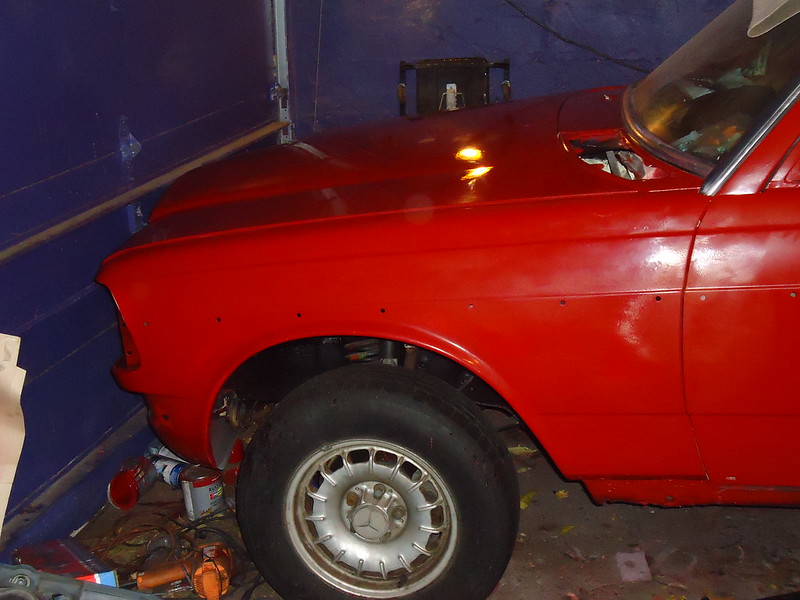
Anyhow, as of my last post, I was on the verge of finishing up bodywork on the Mercedes. Once the work was done, I smoothed out the body as best (and quickly) as I could, and then threw paint at it:
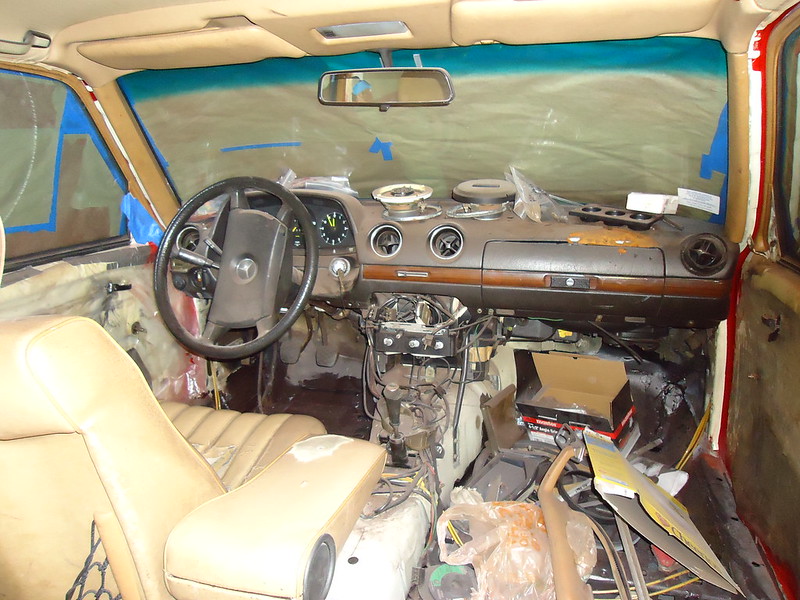
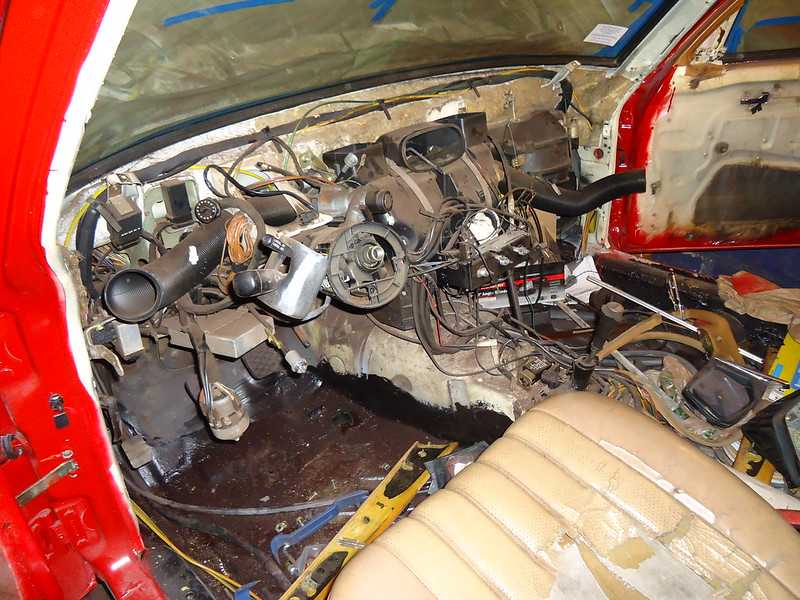
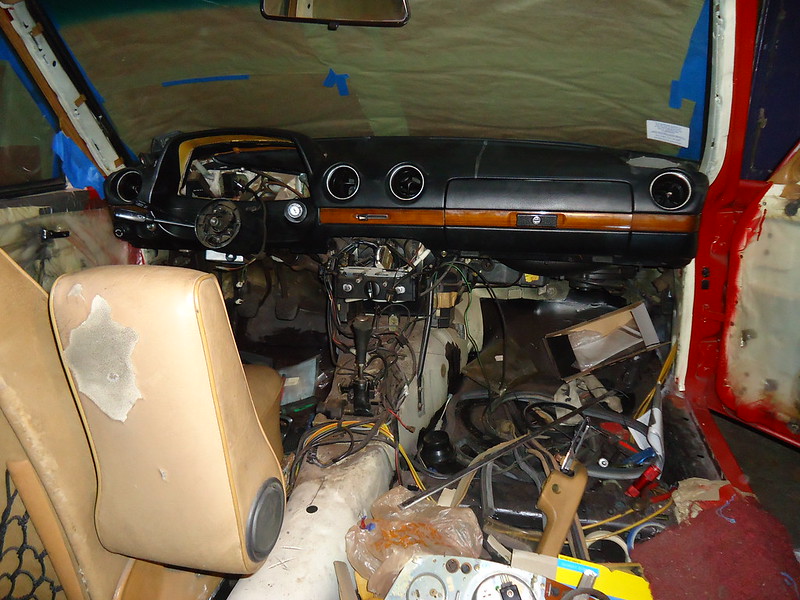
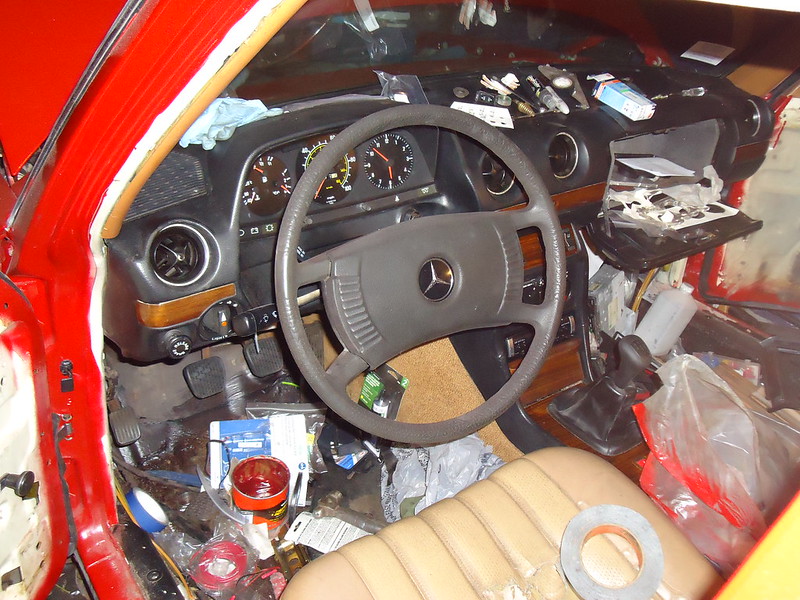
After the car was painted, I turned my attention to the interior. First up was the dashboard. I replaced the torn-up 1983 dashboard with the much better parts from the old 1979 parts car:
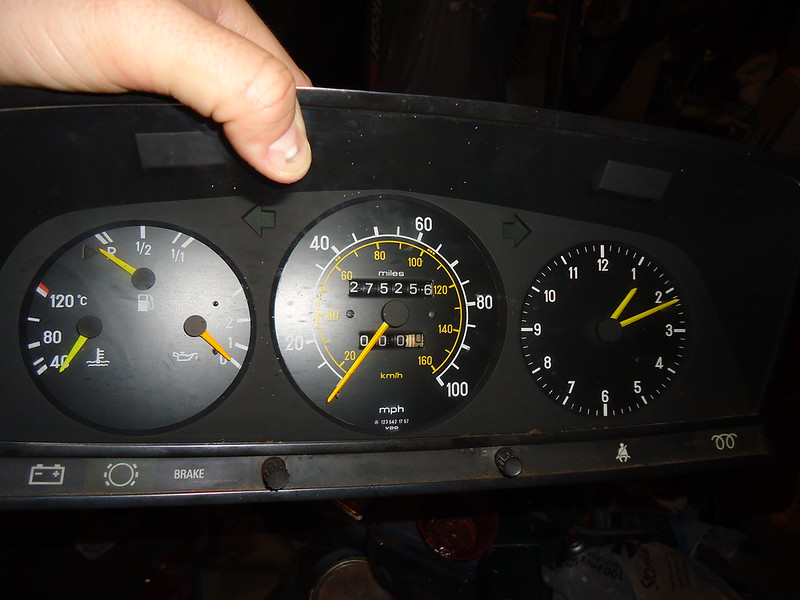
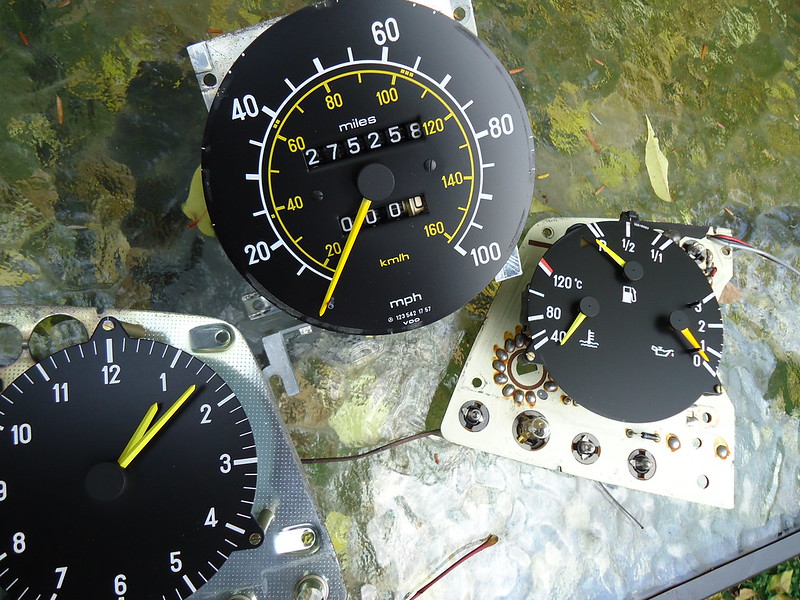
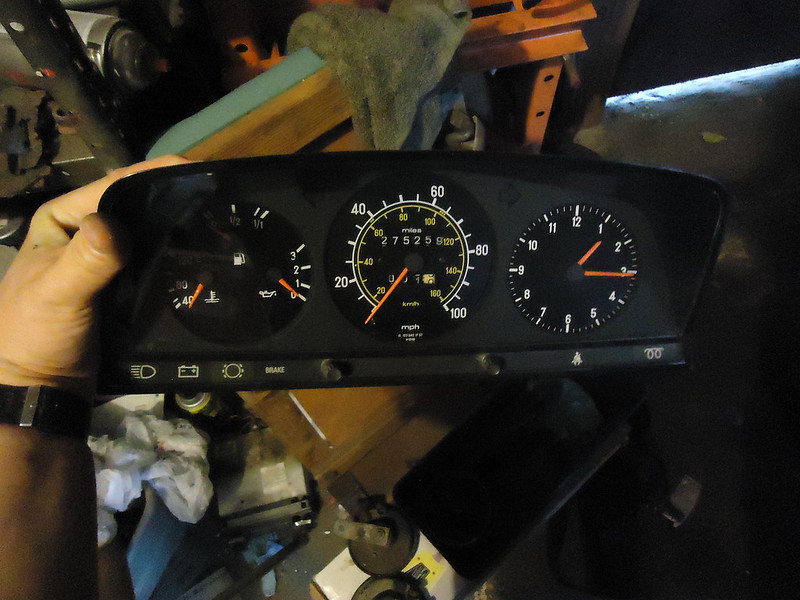
While I had the instrument cluster out, I took it apart, repaired the lighting circuit, painted the gauge needles, and put it back together with fresh light bulbs:
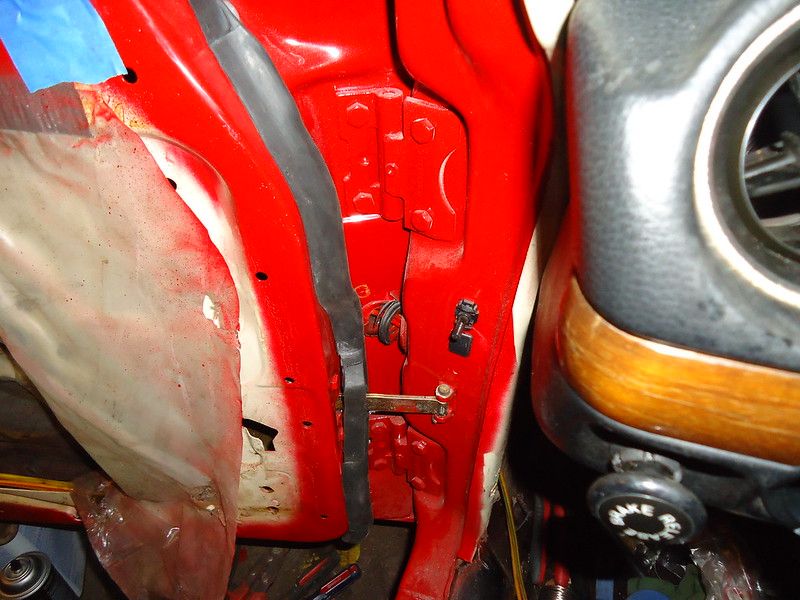
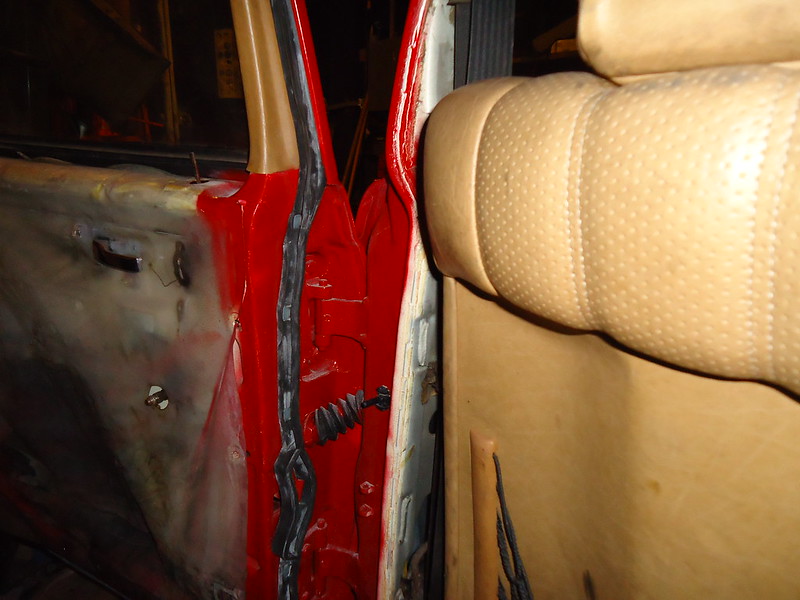
Once that was back in the car, I installed new door seals:
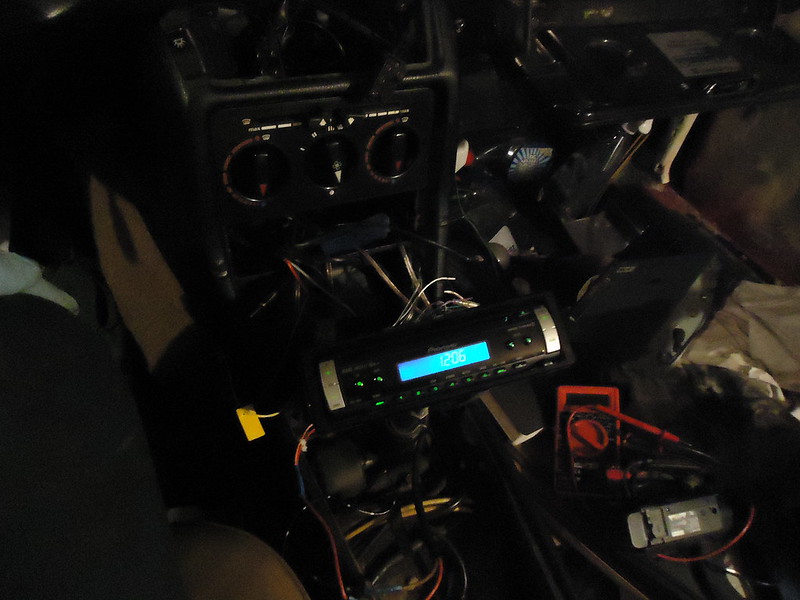
Then, I got to work installing the new stereo, center console, and steering wheel:
Anyhow, as of my last post, I was on the verge of finishing up bodywork on the Mercedes. Once the work was done, I smoothed out the body as best (and quickly) as I could, and then threw paint at it:
After the car was painted, I turned my attention to the interior. First up was the dashboard. I replaced the torn-up 1983 dashboard with the much better parts from the old 1979 parts car:
While I had the instrument cluster out, I took it apart, repaired the lighting circuit, painted the gauge needles, and put it back together with fresh light bulbs:
Once that was back in the car, I installed new door seals:
Then, I got to work installing the new stereo, center console, and steering wheel:
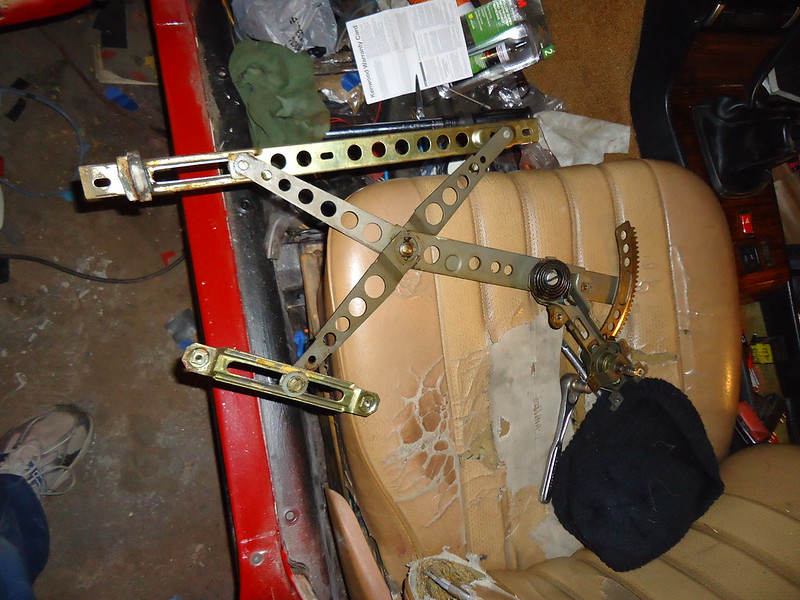
After that, I removed, relubricated, and replaced inner door hardware as necessary:
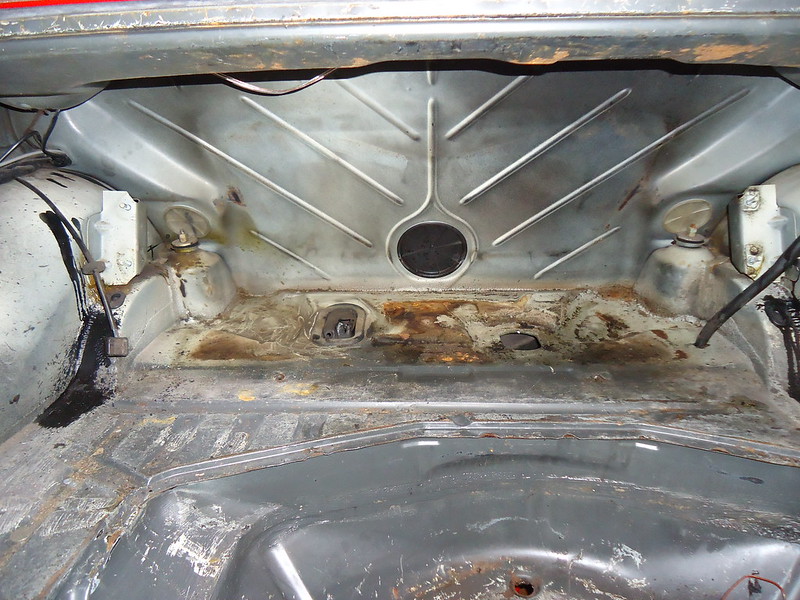
Up next was the fuel tank:
Finally, it was interior time. I removed everything that was in the car and started by laying down carpeting:
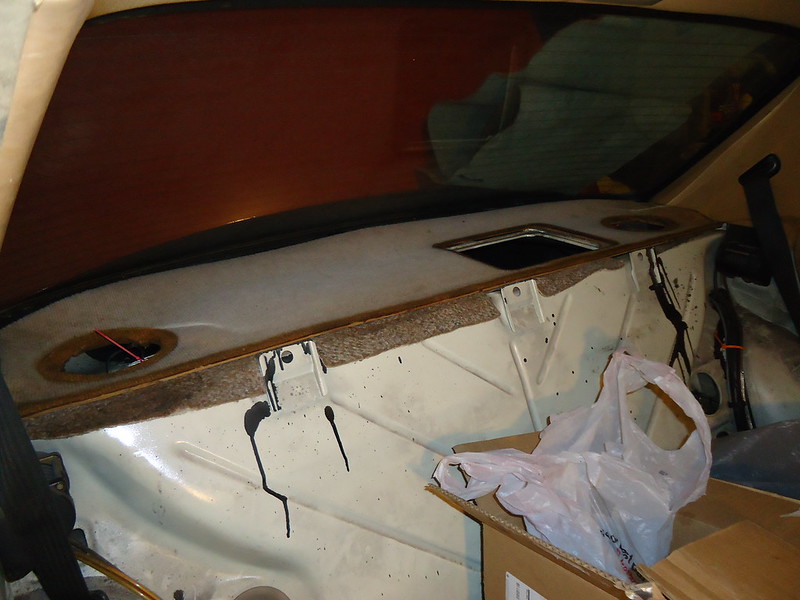
I followed that with other various interior trim:
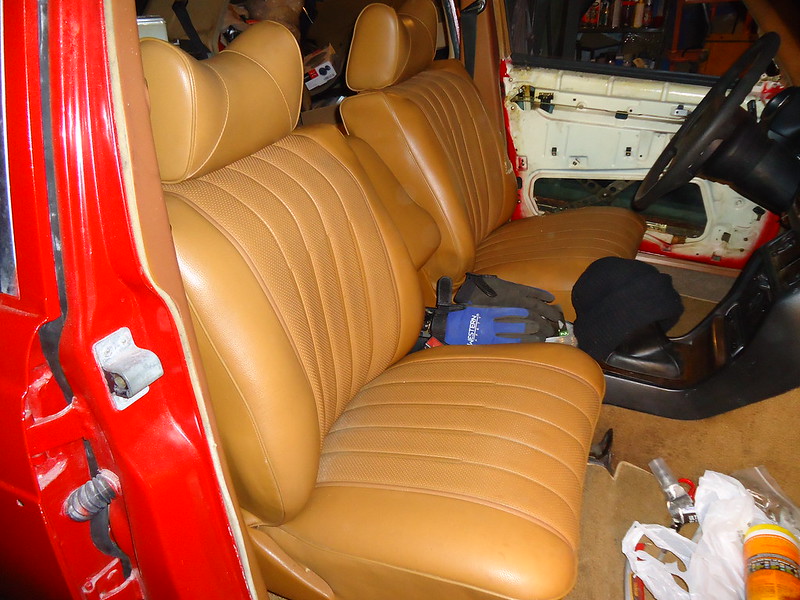
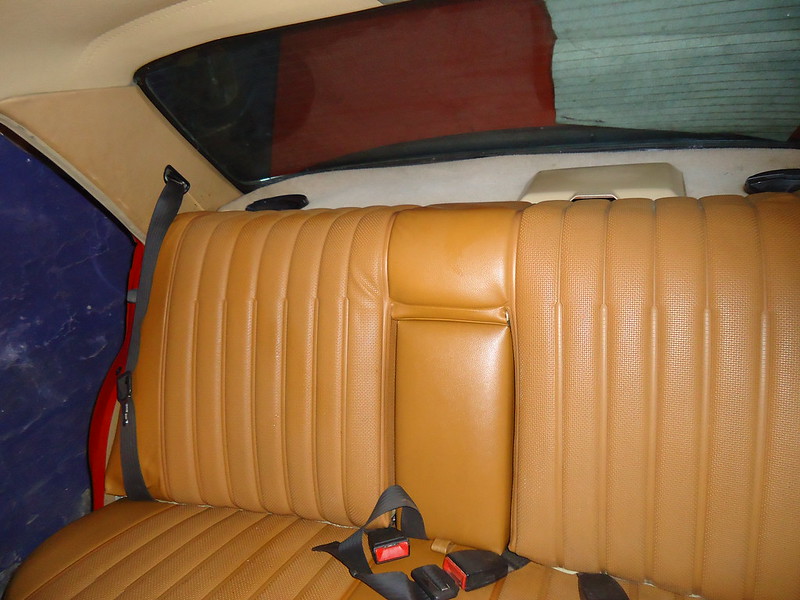
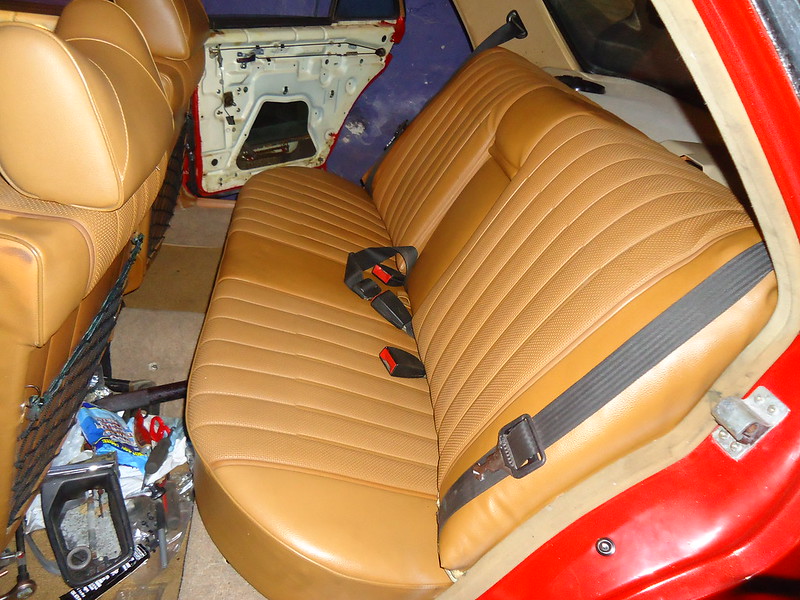
The seats went in next:
After the seats came the door panels and inner door trim:
That pretty much catches us up to where I am now. This week, I'm wet sanding and polishing out the paint job as best I can before I reinstall the exterior trim:
That's not a good photo. At this point, I do have a decent finish on the front end. I expect to be working on the paint job for the next week or so. I'm hoping to have the car completely reassembled (cosmetically, anyway) by the end of the month. Then, I'll jump into mechanical repairs so I can (hopefully) drive the car this spring.
Labels:
240D,
300cd,
300d,
300td,
benz,
diesel,
diy,
mercedes,
mercedes benz,
Mercedes-Benz,
repair,
restoration,
turbo,
turbodiesel,
w114,
w115,
W123
Subscribe to:
Posts (Atom)