Monday, December 24, 2012

Learning when to call it quits...

Well, it looks like this may be the beginning of the end. If you've been following along, you know that I replaced the cylinder head in my 1995 Subaru Legacy daily driver earlier this year, which supposedly cured a misfire issue I;d been having.

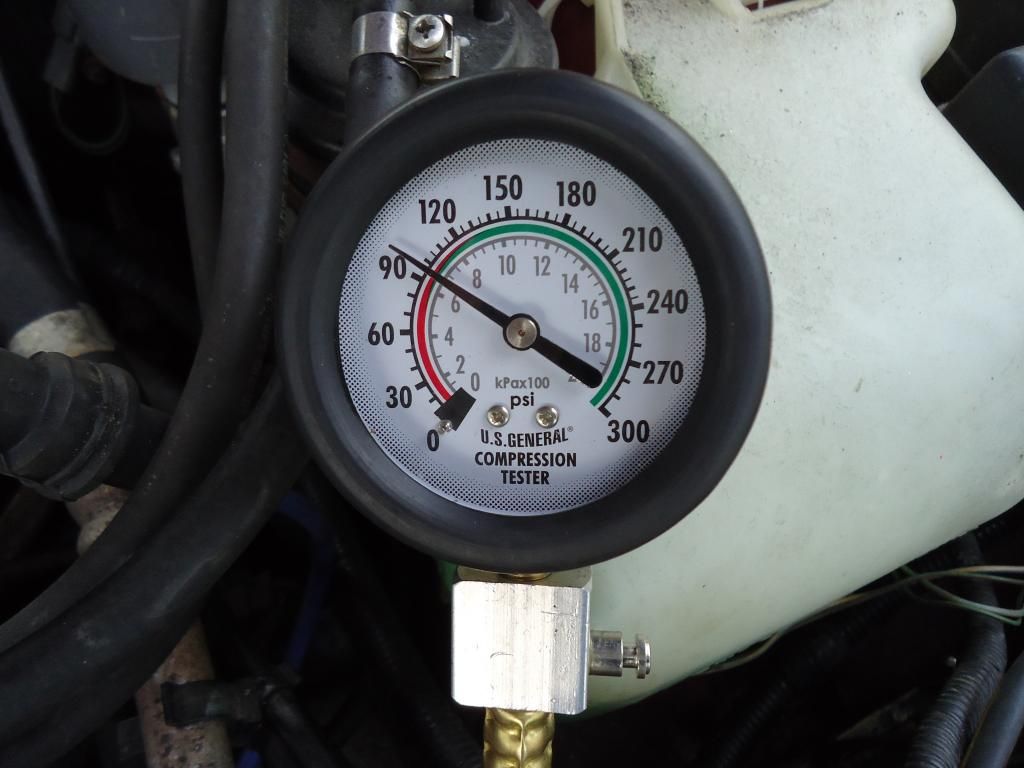
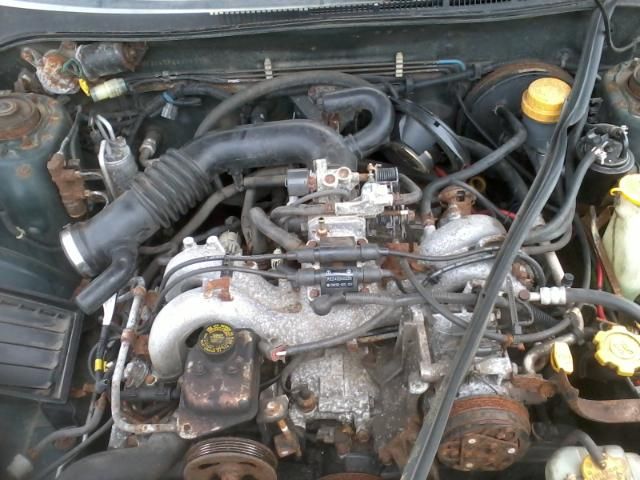
As of this past week, the misfire is back, unfortunately. The car threw the same P0302 code again. I did a compression test and verified that I have low compression in cylinder 2. This is the same test I did back in April. I had meant to re-test the car after replacing the cylinder head, but never got around to it. Earlier this year, cylinder 2 clocked in at around 70 PSI. This time, it's showing around 100 psi, which is still bad compared to the other three cylinders, which are showing 165, 165, and 160.

I'm not 100% sure why the misfire took so long to return, but it may be because I cleaned the carbon buildup off the cylinder 2 piston when I replaced the cylinder head. To buy myself some more time, I ran a can of Seafoam through the car this past weekend and replaced the spark plugs. As it is, I think I'll get through the winter (most likely with the check engine light coming on at times). But, come springtime, I'm hoping to be driving the Mercedes project, and hopefully can start looking for a "new" daily driver.

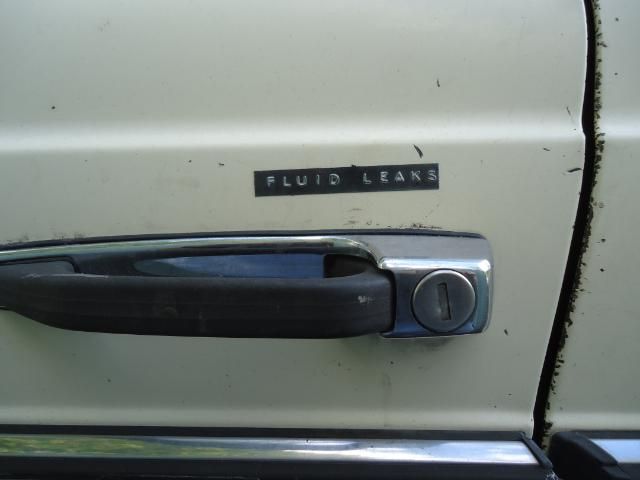
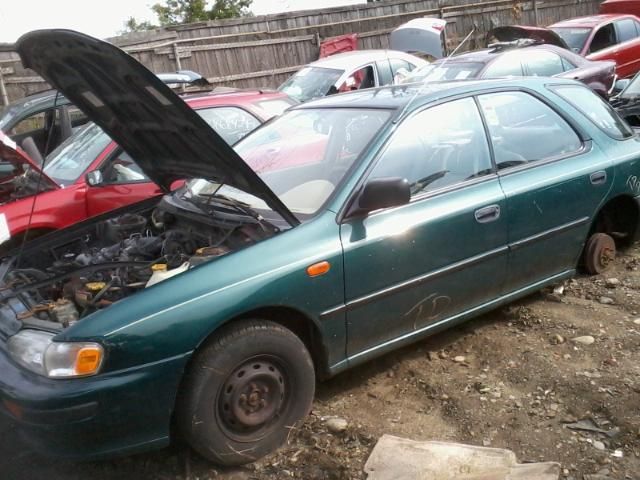
I was hoping for more miles out of this car (I've put around 45,000 very well maintained miles on the car as of now). But, the car has never run quite right for me. I'm guessing that cylinder 2 has been problematic for as long as I've owned the car, most likely due to mistreatment by a previous owner.

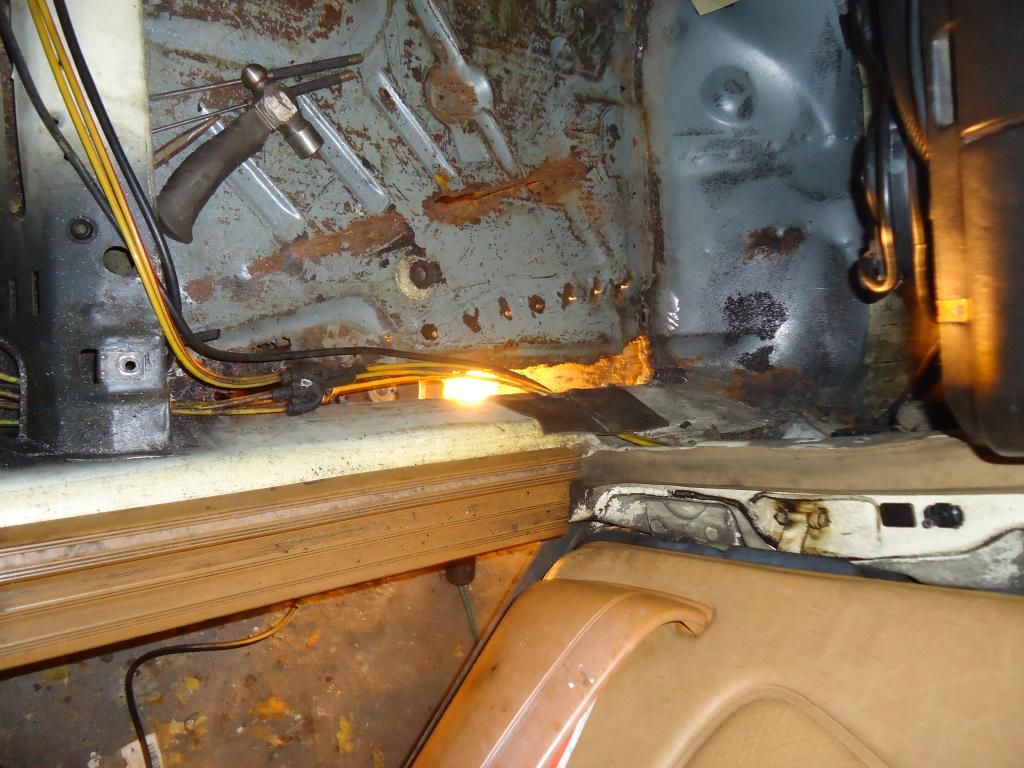
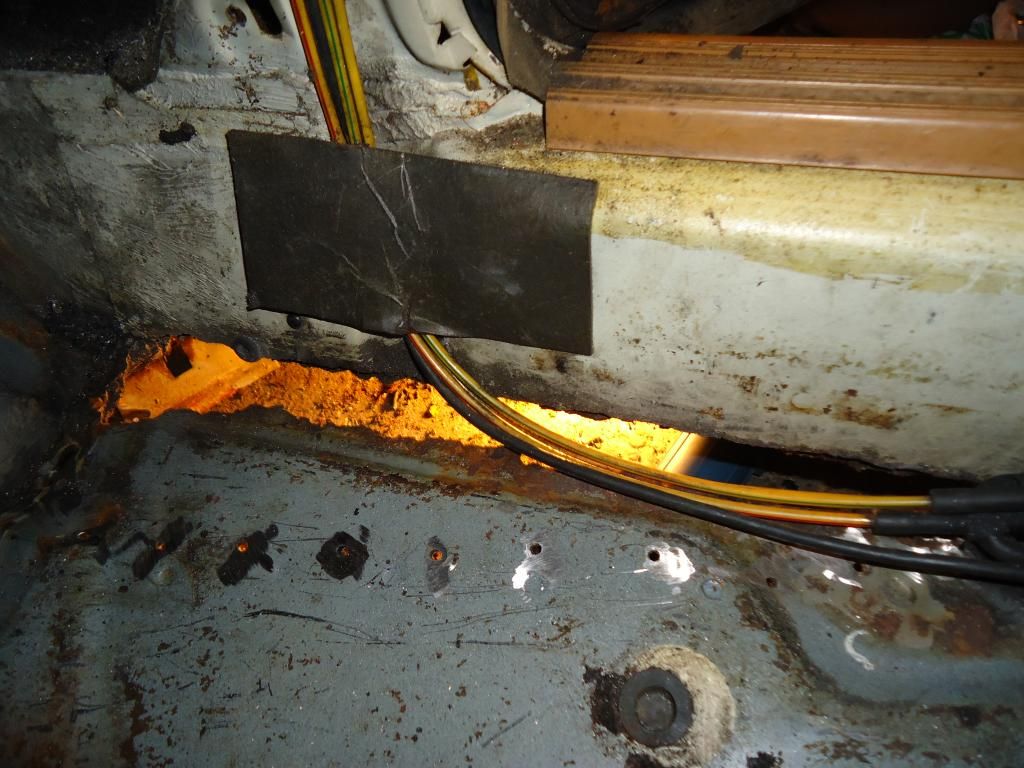
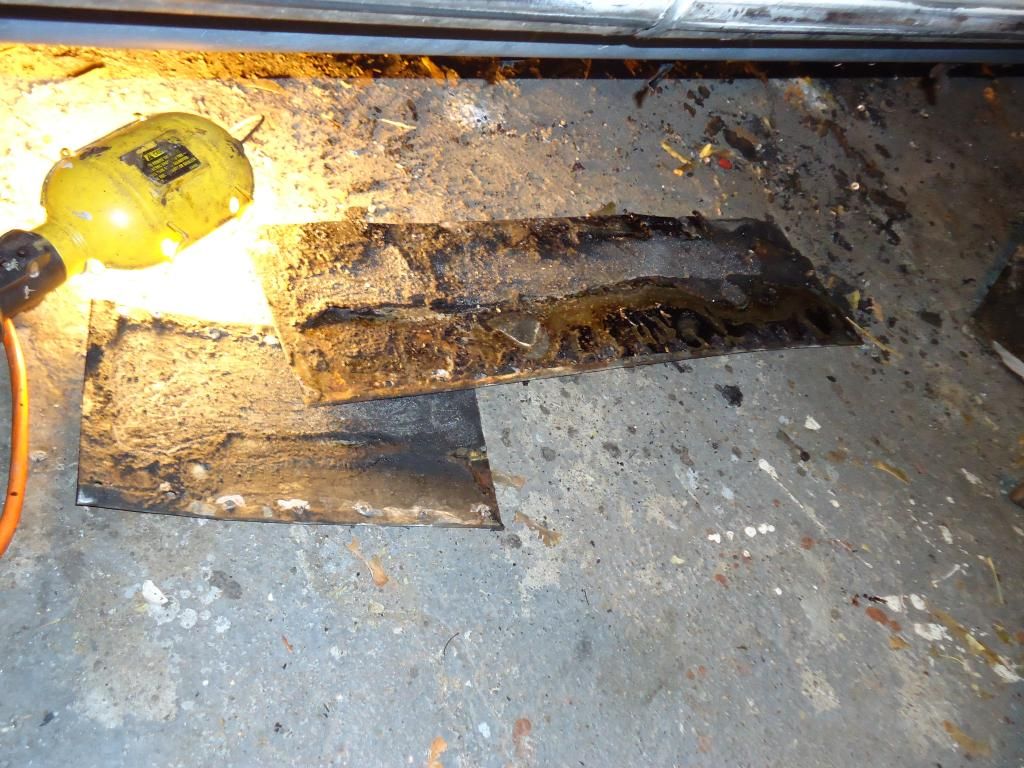
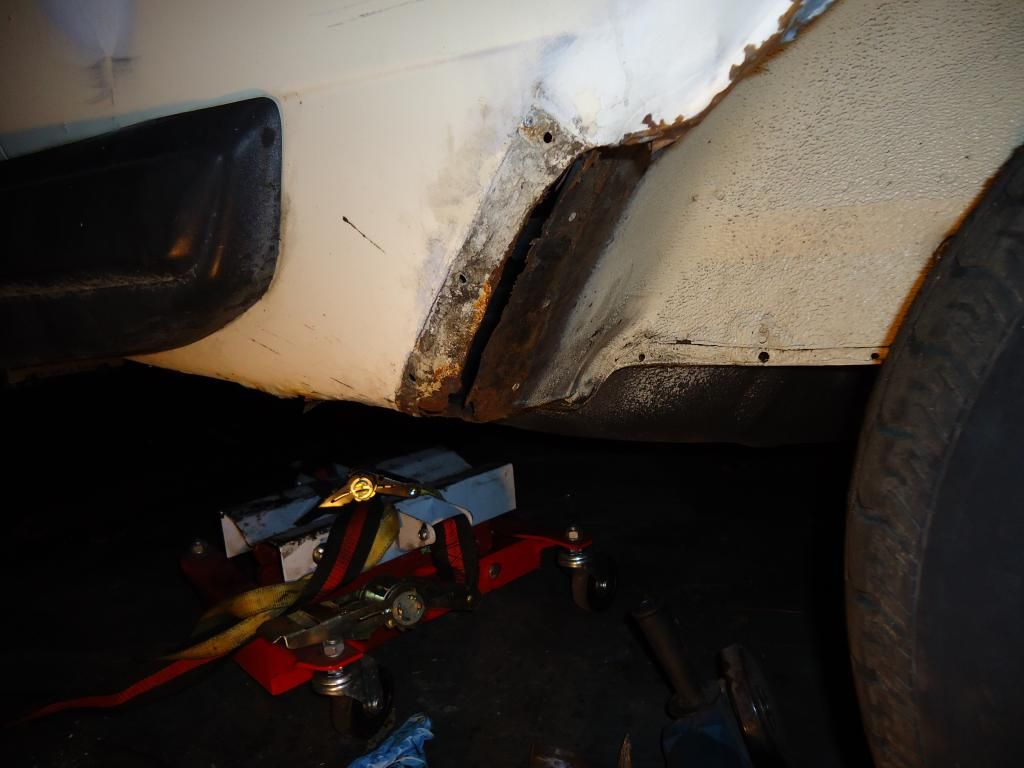
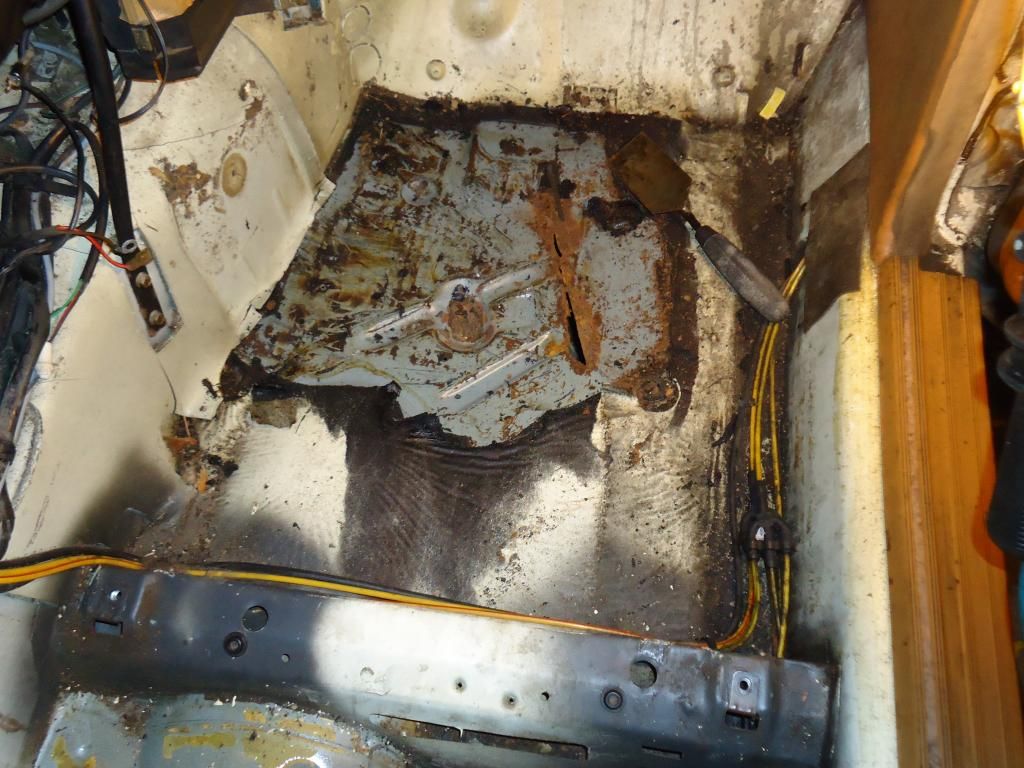
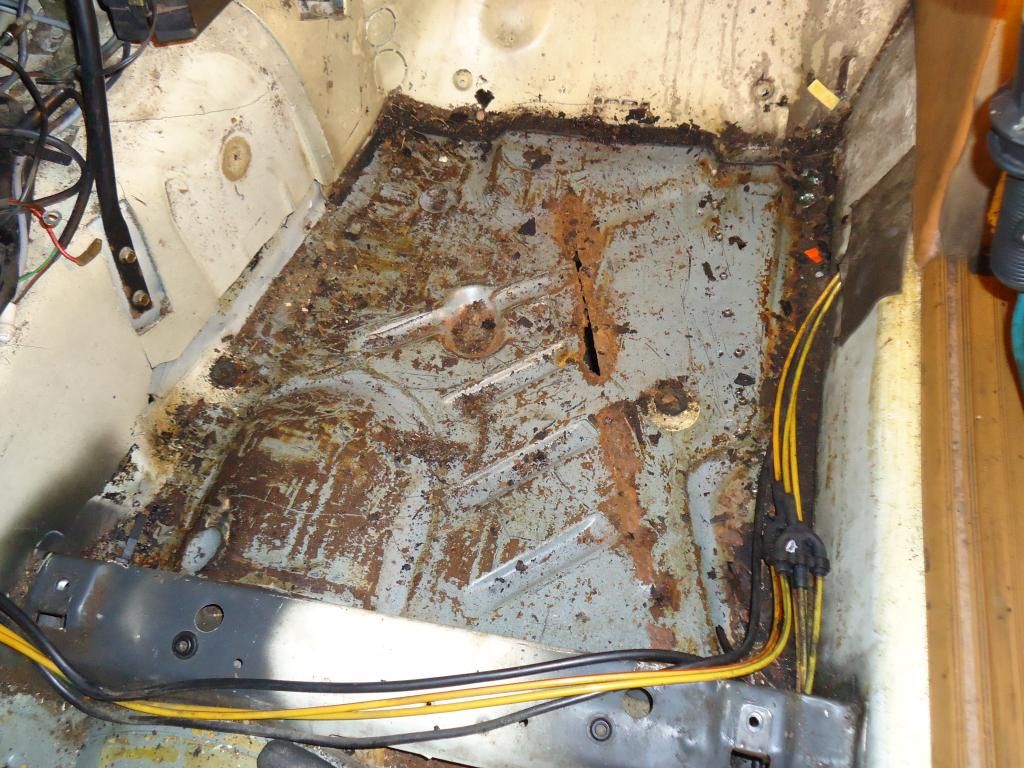
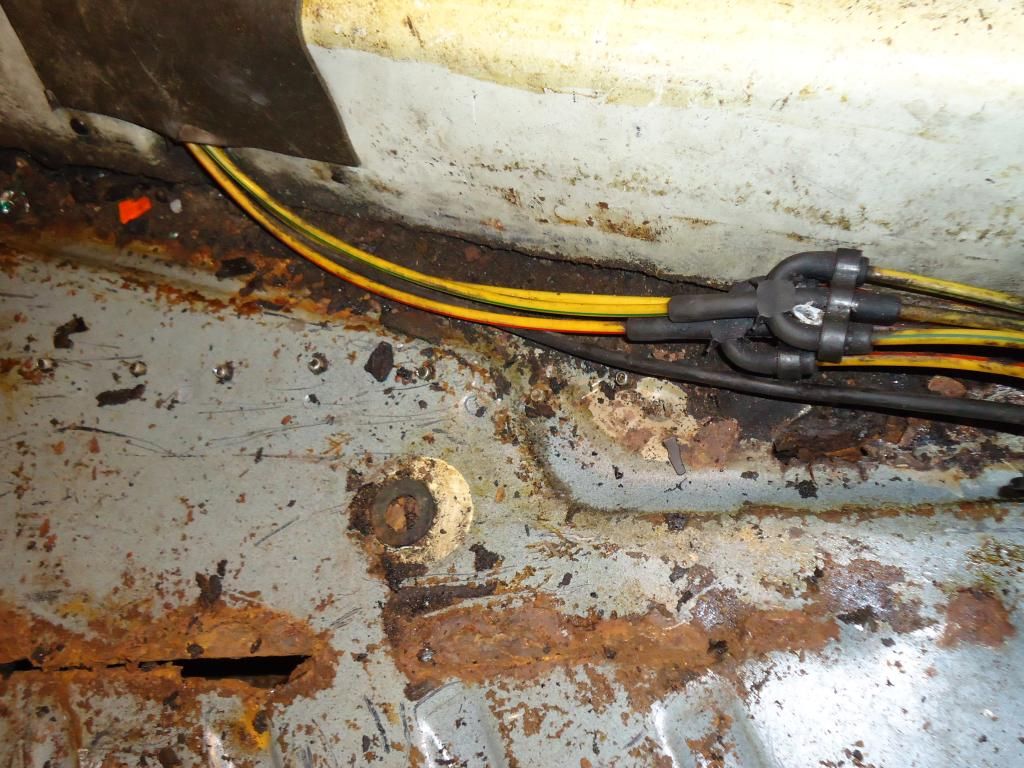
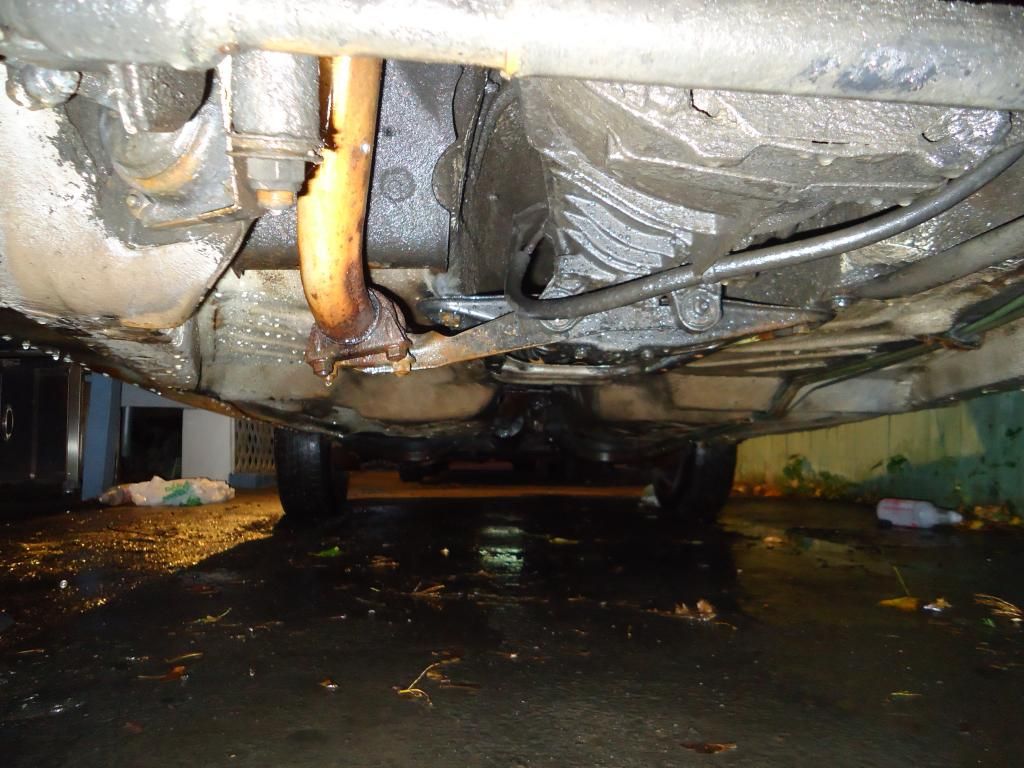
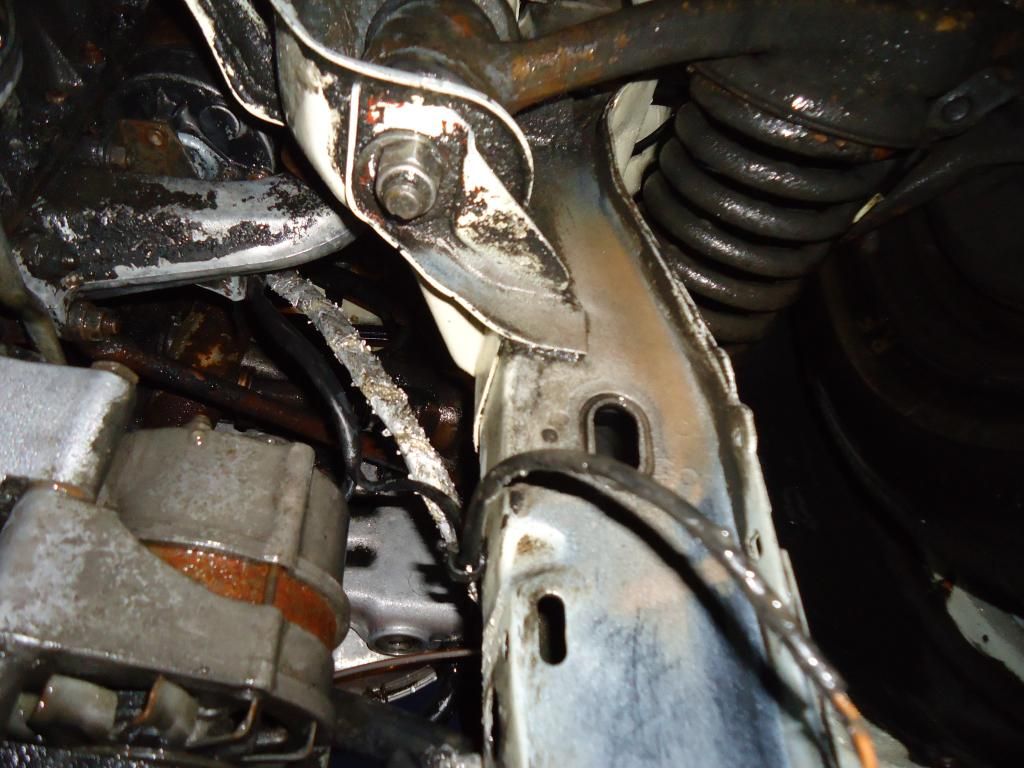
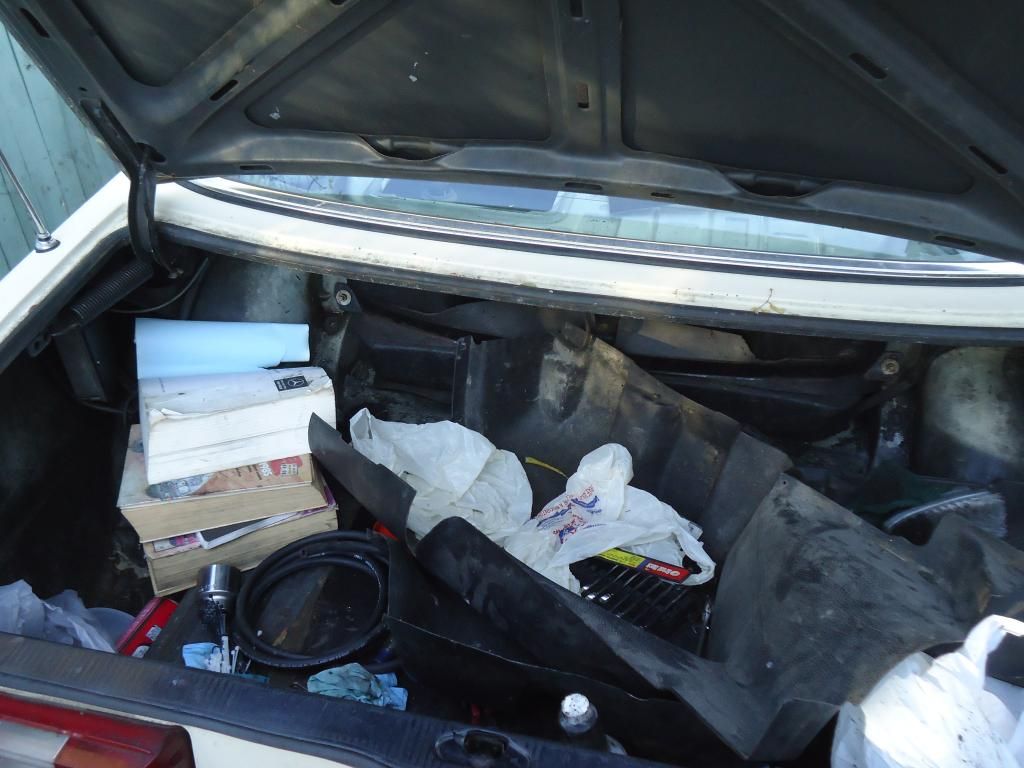
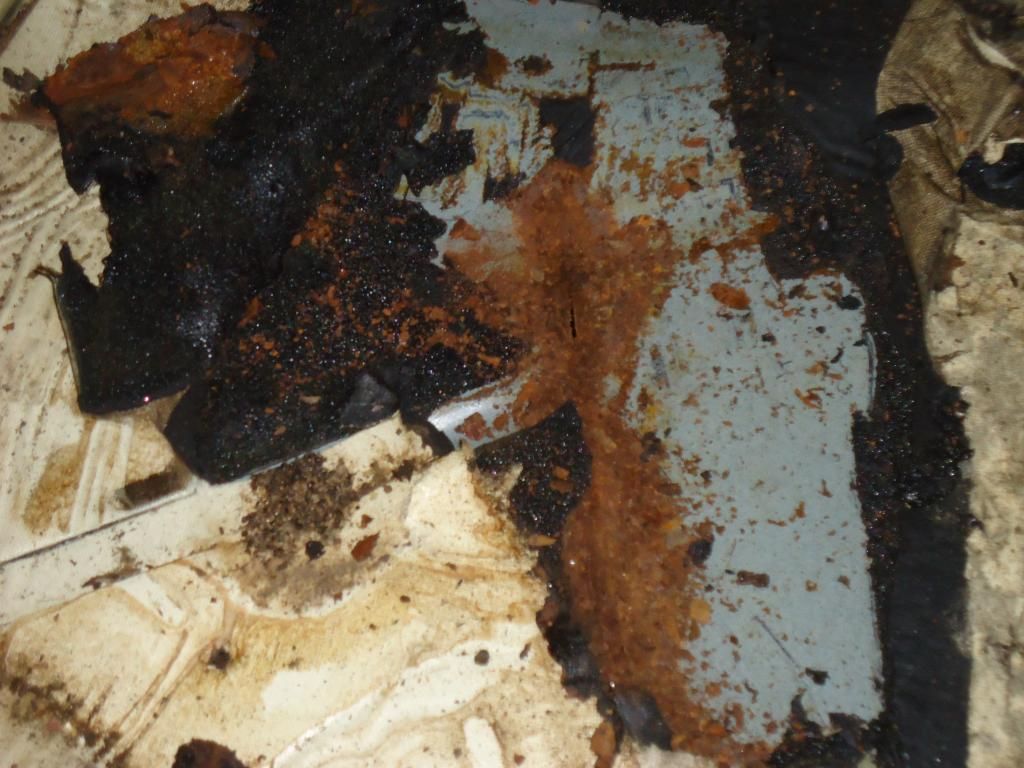
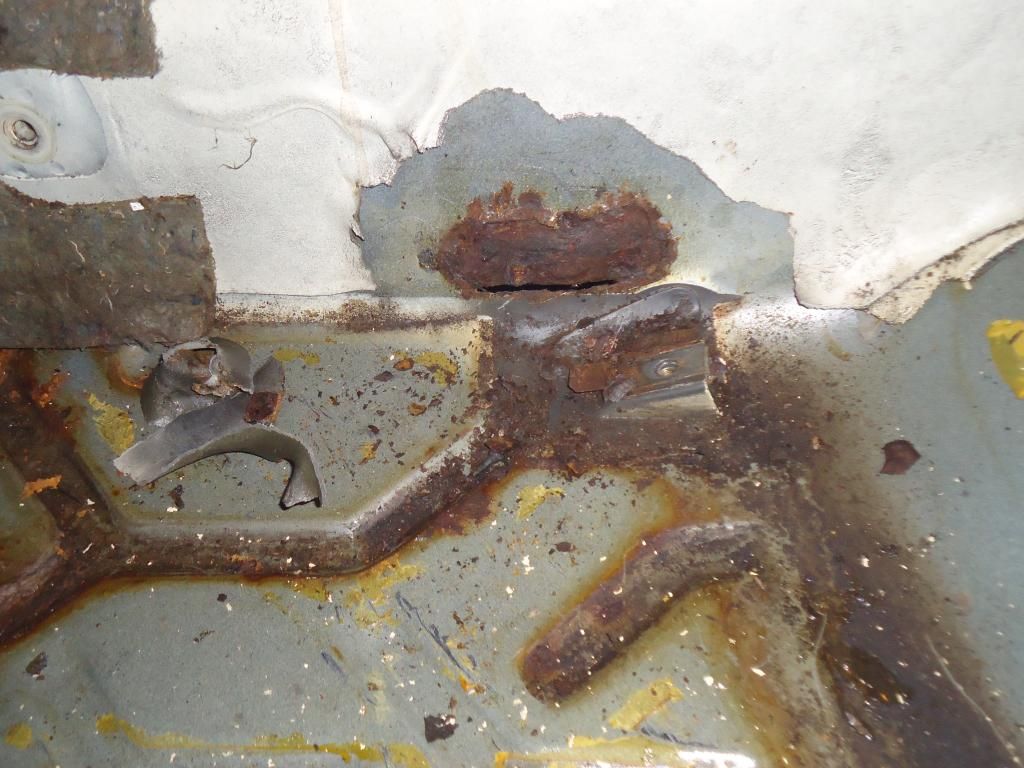
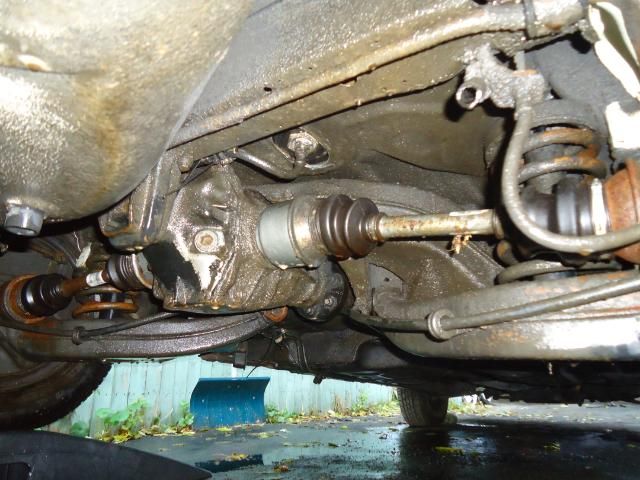
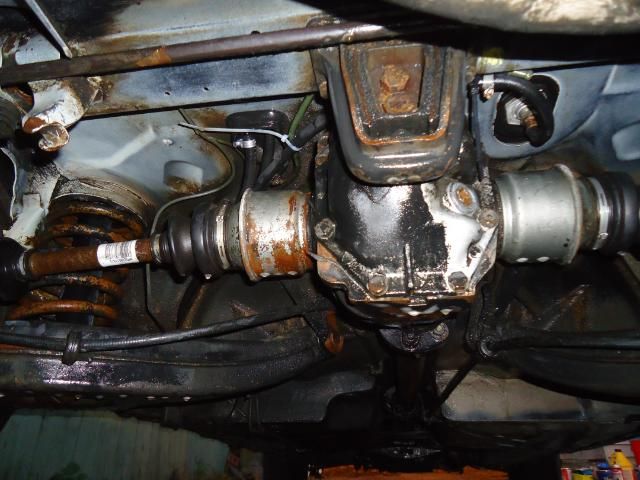
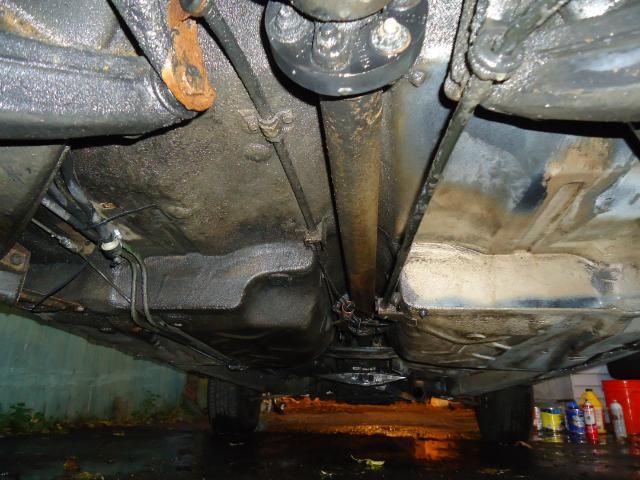
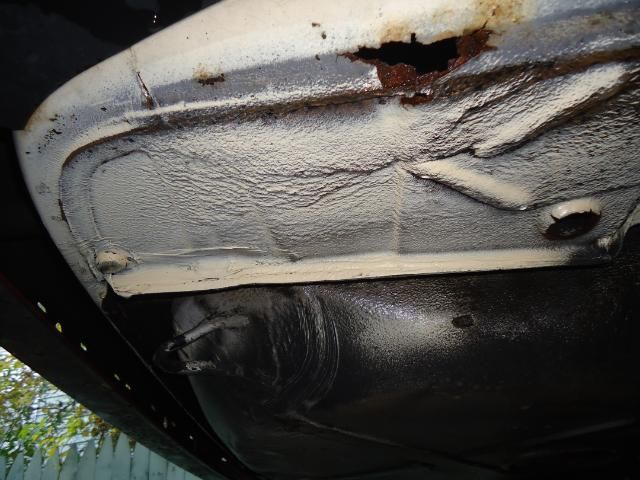
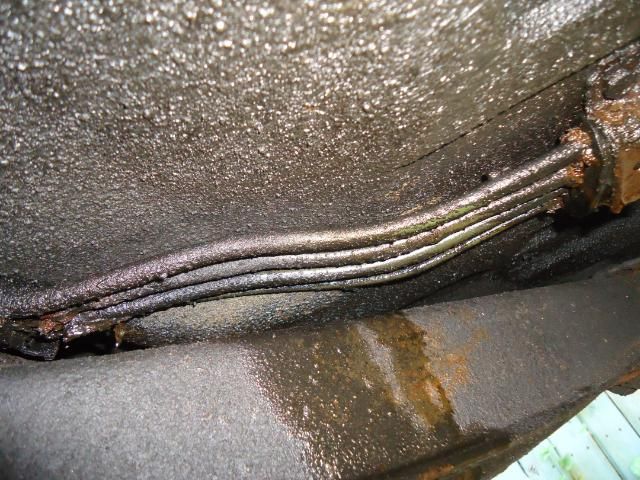
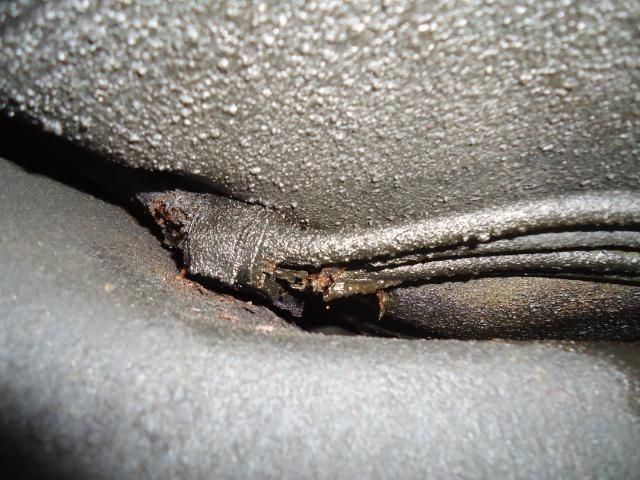
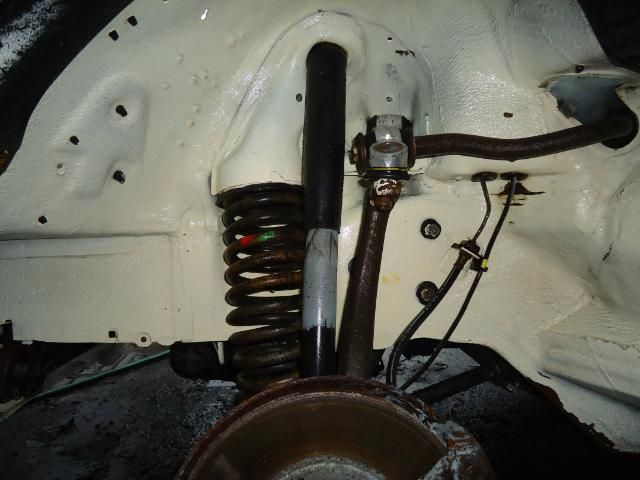
Because of the car's overall poor cosmetic condition, including rust, a rear suspension crossmember that's suspect, an aging transmission, an already-patched gas tank, a leaky cooling system, and numerous other issues, it's probably not worth it for me to try and replace the engine, and rebuilding it is out of the question. So, I'm most likely going to end up replacing the car. With what? Time will tell.


Monday, December 10, 2012

The 240D - removing old patch panels


Work continues on the project... though not much of it. I've had two weekends now where I barely got to touch the car. I did get out to the garage last Saturday for a little under an hour to finish pulling up the floor insulation from the passenger side.


I also finally broke out my angle grinder and zipped through some of the rivets holding on the previous owner's patch panels:


I had an idea how big the hole was from the size of the patch panel, but now I can see garage floor:


I had to call it a night at that point and deal with the sudden failure of the fuel pump in my wife's car. This also meant I had to chauffeur her on Sunday, leaving the diesel untouched until this weekend. But, I couldn't get to it right away. Saturday morning I had to deal with a blown water heater (got the plumber out here first thing in the morning and had a new one in before lunch). While that was going on, I finally installed the new fuel pump in my wife's car. She'd rented a car to get through the week.

After dealing with the fuel pump, I called it an (early) day and got back to work on Sunday. But... I didn't get to the Mercedes right away. First, I had to put my Legacy up on ramps to try and fix a coolant leak (seems like it was nothing more than a too-loose hose clamp). Then, I made a few adjustments to try and solve a cold stalling issue on the Vanagon. I think I was successful.

Then, finally... I got to work on the Mercedes for a while. I continued with removing the old patch panels, and finally got them off the passenger side of the car.


With the panels removed, I found an oily, tarlike substance. My next task is to see whether or not I can clean it up. At this point, I'm guessing that my repairs will be a combination of welding and riveting.

The old repairs were physically solid, but the previous owner had done nothing to remove or treat the rust. It was all there under the patchwork. I removed the old patches to correct this. Once I have this cleaned up, I'm going to start repairs to this side of the car.


Thursday, November 29, 2012

Mercedes 240D - start of body work


I got sidelined with a week and a half of travel for Thanksgiving, but I was able to spend a little time with the Mercedes this weekend. That's AFTER swapping snow tires on to the daily drivers for a snow storm that didn't happen and an unplanned wheel bearing replacement.

Now, I'm just barely starting to get into body work. Right now, I'm still taking up the old floor coating. This stuff can hide a lot of rust. I want to make this car as solid as possible. This is how I left off before Thanksgiving:

I'd already removed the much thinner coating from the passenger's side rear floor and had gotten partially through the much more tenacious front floor coating. On Sunday, I finally got the rest of it up:


Underneath it, you can see the rivets from the previous owner's repairs. I also confirmed that none of the old rusty metal had been ground off. So I definitely need to remove the old repair plates and grind off the rust s I can seal off the metal. I also found that the the seam connecting the rocker to the floor rusted out (I've seen that happen before), so I need to fix that too.


They key to HOW I do the repairs is whether or not I can clean all the oily crud out of the rockers. If I can, then I'll likely weld. If not, then once I grind and seal everything off, I'll be back to riveted repairs.


Tuesday, November 13, 2012

Work continues on the Mercedes


...and the project continues. I actually finished cleaning under the car last weekend, but didn't have time to post an update. It's clean enough now for me to see where the car needs repairs and where it's solid:


This past weekend, I cleaned out the trunk:


I scrubbed it out with degreaser, a brush, and a hose. I even cleaned out the rain channel by the trunk seal:

...and then, I finally got inside the car to start peeling back the floor insulation:

So far, I've only touched the passenger side. The rear coating came off in a few minutes with the help of a heat gun. The front is a much stickier coating, is about 1/4" thick and is spongy and porous, despite what looks like a high tar content:


In the end, I found the above rust-through spot (not too bad, and repairable, as well as this one on the transmission tunnel:
I still need to remove the rest of the floor coating. I'll need more time out there with my heat gun and scraper. Incidentally, neither of these rust-through spots were visible from under the car. The factory floor coatings don't 100% prevent rust after 30 years, but BOY do these coatings HIDE rust.


Also, I recently acquired some more parts. Here's some Jeep doors, stored with some BMW E46 panels. I helped someone I know repair some superficial crash damage to two of his cars. He gave me the scrap panels. I plan to cut them up for the steel I need to patch up the Mercedes.


I also found another Craigslister - this time in town - with Mercedes parts. These came off a 240D that was stripped down to run in a 4 cylinder enduro race. Some of the parts show a lot of wear, and I didn't actually NEED any of it, but it was good to pick up some spares for the future. Some of this stuff was filthy. Here's a pair of armrests, before and AFTER I cleaned them:


A piece of carpet for the center console - once again before, and AFTER a very HEAVY wash and scrubbing:


The flash exaggerates the amount of staining. Bottom line, it is clean now.

I forgot to snap pictures, but I also got fog lights, tail lights, side mirrors, and various other interior pieces. None of them are the correct color (these pieces are the more rare red interior) for my car, but in addition to the parts that were officially for sale, the seller let me pick through his scrap pile for other items I deemed worthy of saving.


Monday, October 22, 2012

Yet more cleaning...


I got to "work" on the car a bit this past weekend. I started by bleeding the air out of the brake lines I fixed last week. I used my vacuum bleeder bottle and got the air out of the lines in no time. I tell you, one of the things I love about working on these old Mercedes is that bolts are rarely seized (unlike when I work on my Subaru). The rear brake bleeder screws you ask? - they came loose instantly, allowing for quick, trouble-free bleeding. :)

When I bought the car, this label was on the door:


Going...


Going... gone:


Once that was done, I started cleaning the underside of the floors. It was cold, wet, filthy work, but has been yielding good results.

[B]BEFORE[/B]:


[B]AFTER[/B]:


I'm doing this mostly so I can uncover rust I need to take care of, and that so when I'm done, I can throw some fresh undercoating over the whole (clean) floor.


I got the passenger side of the floor clean, and will tackle the driver's side next weekend. Once that's done, I clean the trunk and the interior. The car already smells MUCH better without all this rancid old crud on it. I greatly look forward to the day I have the new interior in and can drive it.

Keep in mind that all this cleaning is being done with scrub brushes, bottles of degreaser, and a garden hose.


Monday, October 15, 2012

Brake line repair and other surprises


I spent a lot of time this weekend not accomplishing much on the Mercedes. I knew I wanted to clean out the interior and the bottom of the floors before starting body work, but I knew I had a brake fluid leak to deal with. As I've been driving the Mercedes in and out of the garage only to work on it, I just kept topping off the fluid as necessary. The car never moved more than one car length at a time anyway.

So, I backed the car onto ramps Saturday. I'd localized the leak last month, and finally got a better look at it:


The line was snaked around a corner and not easy to access, so I disconnected it at the rearmost junction and cut the end off with my tubing cutter so I could take it to the store for matching.

What I hadn't counted on was the metal diesel lines being rotted in the exact same place. As soon as I disturbed the lines, diesel started leaking everywhere... fast. So, I put a couple of empty coffee cans underneath it:


...and disconnected the fuel supply line from the tank, draining it into an empty 5-gallon bucket.

I was able to get some correct bubble-flare brake line at the store, but they only had a double flare loaner tool. Thankfully, I found a clever Youtube video on how to create a bubble flare with a double flare tool. I practiced on some scrap line I had before cutting the line under the car and making a new bubble flare.

But, I'm getting ahead of myself. It got late on Saturday and it was cold, so I got back to work on Sunday. First, I cut out the rotted section of the metal fuel lines and bridged the gaps with new sections of fuel injection hose:


The zip ties are just to keep everything in place. I didn't have time yesterday to reinstall the line-to-body clamps. After all, I also had a lasagna in the oven and the season 3 premiere of The Walking Dead to contend with last night (a man has to set priorities sometimes). Also, one section of line is temporarily bridged between hoses with the hollow tube of a ball point pen. I'll replace that with a proper junction piece in the future (before driving the car).

Quick tip - if you ever need to temporarily bridge a section of 5/16" fuel line, a ball point pen tube matches up exactly.

Anyway, I'm not bothering to solidify any of this yet. The car is just moving in and out of the garage, and I want to replace the fuel tank first (I have a better one, but didn't have time to swap it yesterday). Once the new tank is in, I'll do a more permanent install of these lines. I'm not worried about the fuel injection hose, as there were rubber hoses underneath the car anyway. These are just longer than the old pieces they're replacing to bridge the gap between the tank and where I cut the metal lines.

Once the fuel lines were patched up, I cut off the rotted section of brake line, flared the end of the cut piece, and installed the new section of line.


So far, so good, though I still need to properly bleed the brake lines and double check for brake fluid and diesel leaks. Next week, I'll resume cleaning the car. It's been a hell of a job, but I REALLY want to wrench on a clean machine for once.


Thursday, October 11, 2012


I wasn't able to touch the Mercedes for around two weeks. I've been busy, but I'm back to it, and got some more this past weekend. First, I finally finished cleaning out the wheel wells. This isn't so much for OCD cleanliness, but to inspect for rust spots I'll need to touch up or fix.

Wheel well #4 before:

after:


That's about all I could get to on Saturday and didn't have any time on Sunday. I had Monday off work, so I continued by pulling all the accumulated parts out of the car:


Then, I started stripping the interior to make body work easier:


I still need to clean the interior and remove the insulatio/sound-deadening material from the floor. That layer tends to hide rust.

I also spent a good amount of time vacuuming the rest of the debris of the car. There was a lot hidden in the console, dating back to when mice and other creatures roamed freely in the car:


The eventual goal is to get the interior, and the underside of the floors as clean as the wheel wells before I reassemble the car. This weekend, I'll finish cleaning the interior and see if I can fix the bad brake line.


Monday, October 8, 2012

Hello, old friend

There's nothing to report on the Mercedes at the moment. I've been unable to touch it for a few weeks, but hope to get a bit done today (Columbus Day). But, I made a quick stop at the junk yard on Saturday and ran into a familiar face...


It was my wife's old 1993 Subrau Impreza. You may be asking how I know this was the same exact car. After all, they made about a million of these in the same color. Well, I only sold the car to the junkyard (this junkyard, in fact) around a month ago, so it makes sense that it would still be there. I know every bump, scratch, and rust spot on the car, as well as identifying marks like stickers. Trust me, this was the self-same car I'd been working on for the past three years.

In the past few weeks, the car has taken a turn for the worse. The month-old alternator that was in the car when I sold it is long-gone, likely now under the hood of another Subaru. Other various engine parts were gone, but the block and intake were still there. Someone really should buy the engine. High miles or not, it's a really good runner with a fresh timing belt.

For whatever reason, the rear and rear right windows were smashed. My guess is some punk just wanted to break windows. The rear wheels were missing (the fronts were still there). Part of the dashboard and center console were gone. The rear seat had been disassembled for some reason. I'm not sure why.


I didn't find the part I originally wanted (a rear cargo cover shade for one of our Legacy wagons), but I actually did end up buying the rearview mirror out of the old Impreza to replace the more worn one in my wife's "new" Legacy. So, after a month in the junkyard, a part of this car followed me home again. The mirror is a direct fit, but the older mirror in this Impreza was, in my opinion, a better design, and less susceptible to wearing out. The later Legacy mirrors tend to get loose and flop around with age.

I imagine the Impreza will sit in the yard a while longer, but who knows for exactly how long. It may be there for another month or two, and then it'll likely be crushed and melted down. But, in the mean time, its parts are going to save other old Subarus.