Tuesday, April 30, 2013

Breaking from the diesel for a bit - Vanagon head gasket replacement

They say there are two types of VW Vanagon owners. Those who have taken their engine out, and those who haven't taken their engine out... yet. Last year, I finally made it into the second category. When the original engine gave up on me in late 2011, I anticipated that the van would sit in storage for a few years while I saved my pennies for a more exotic engine swap (Subaru EJ22, Bostig Ford Zetec, etc). The van sat for less time than I originally thought.

In early 2012, I stumbled upon a local Craigslist ad for a used, running 2.1L VW waterboxer engine. It was dirty, and had sat for a year after being pulled (running) in favor of a Ford Zetec swap. I spent months of what little spare time I have replacing hoses, gaskets, and cleaning the engine up. As it came from an automatic Vanagon, I also had to swap over a few parts from my old engine to run this one with my manual transmission.

Anyhow, I crossed my fingers vis-a-vis the head gaskets. I could see that the passenger side had already been replaced. In July, I got the van to start, run, and drive again. I've driven it sparingly in the past year, but learned early on that the driver's side head gasket had a leak. I tried a few stop leak products that only slowed it down.

So, now that the Outback is on the road and reliable, I'm starting in on the head gasket job. I'm going to try replacing them without taking the engine out again, and hope to have the job done in under a month. Once again, I work slowly and have limited time to do the job. The new engine does run well otherwise. The leak is external, and the oil and coolant weren't mixing. I can't wait until it's done and reliable again, so I can take it camping.

Hopefully, I'll have it done before Memorial Day. I bought the Vanagon in late May, 2003, so next month will mark ten years. I can't think of a better way to mark the occasion than to drive it again.

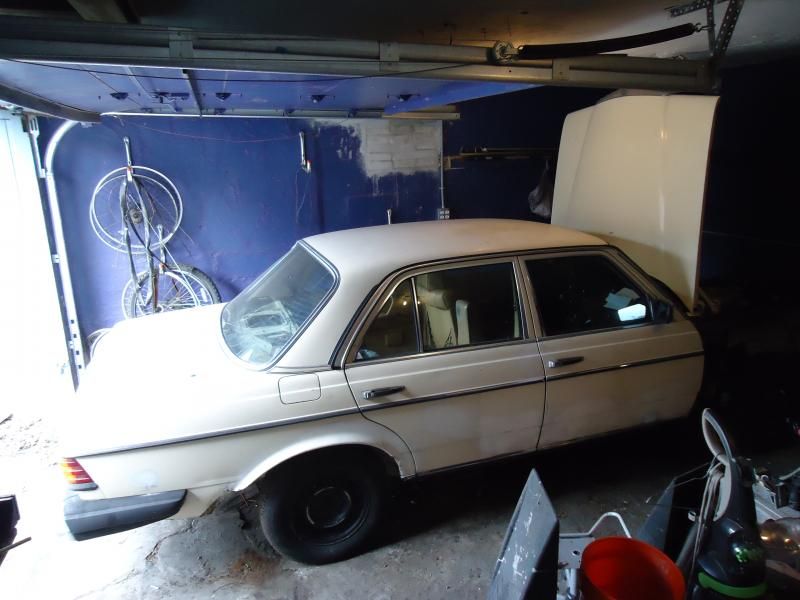
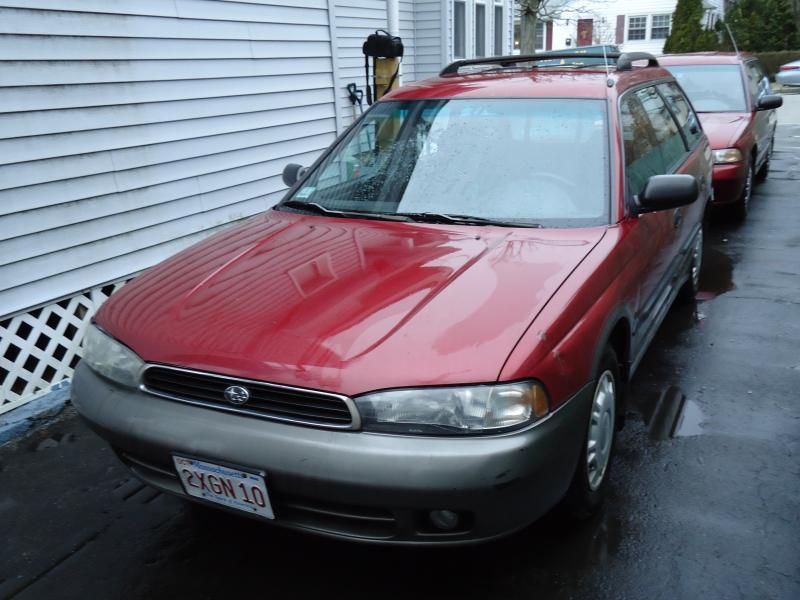
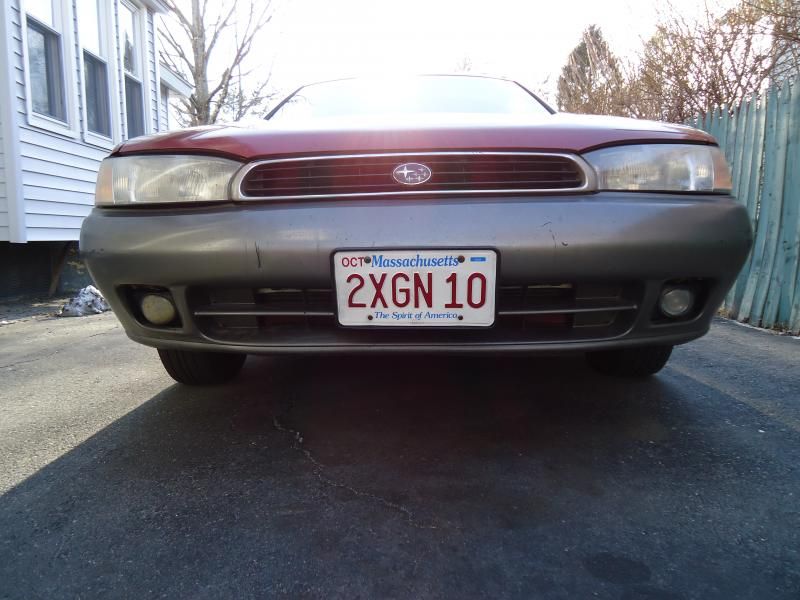
After a wash and wax last week:


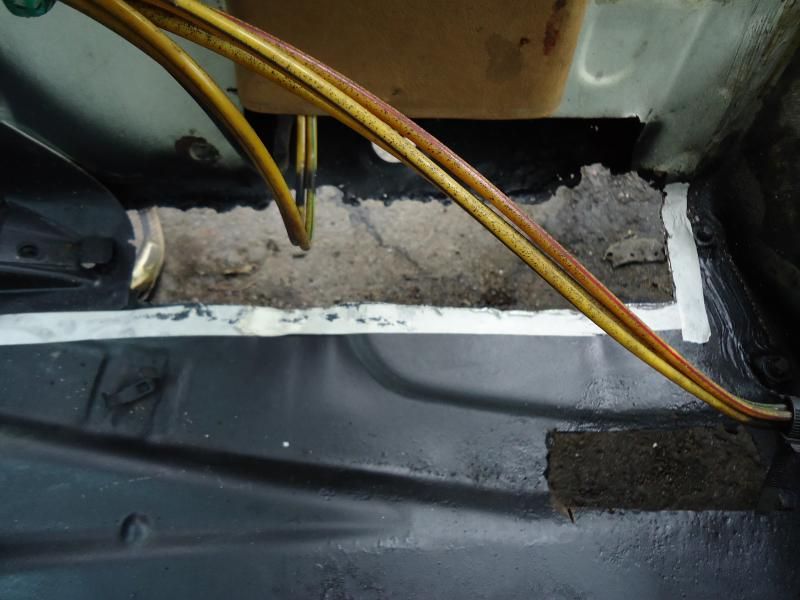
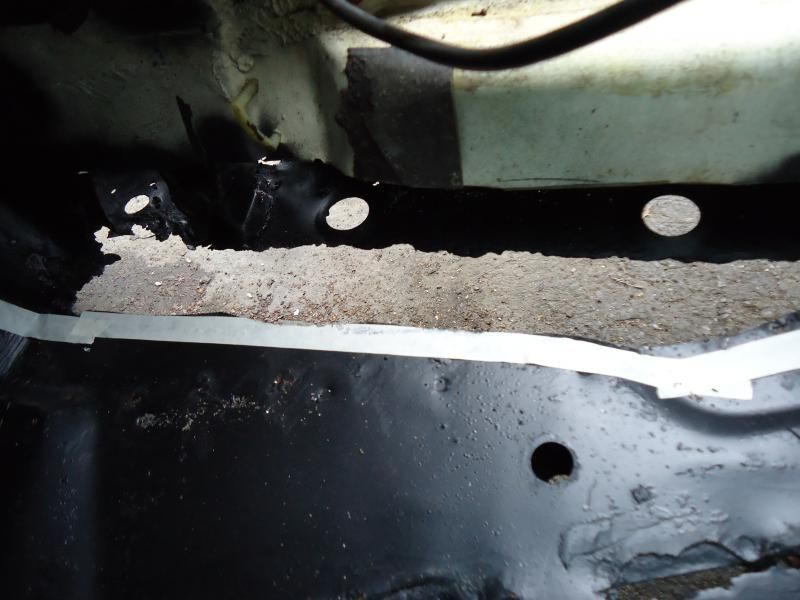
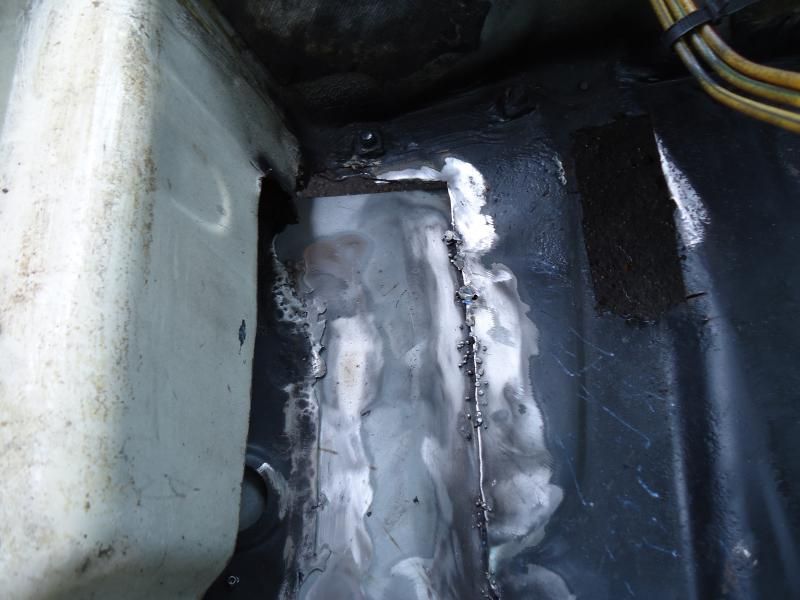
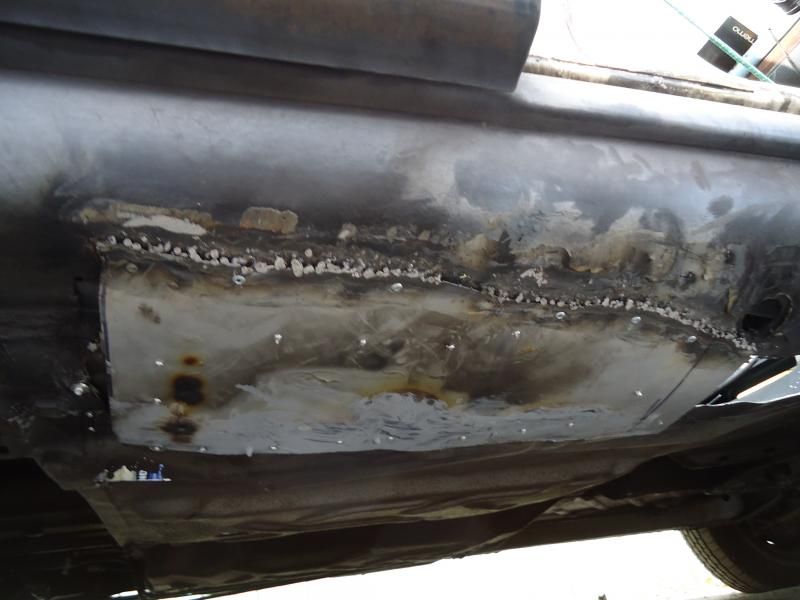
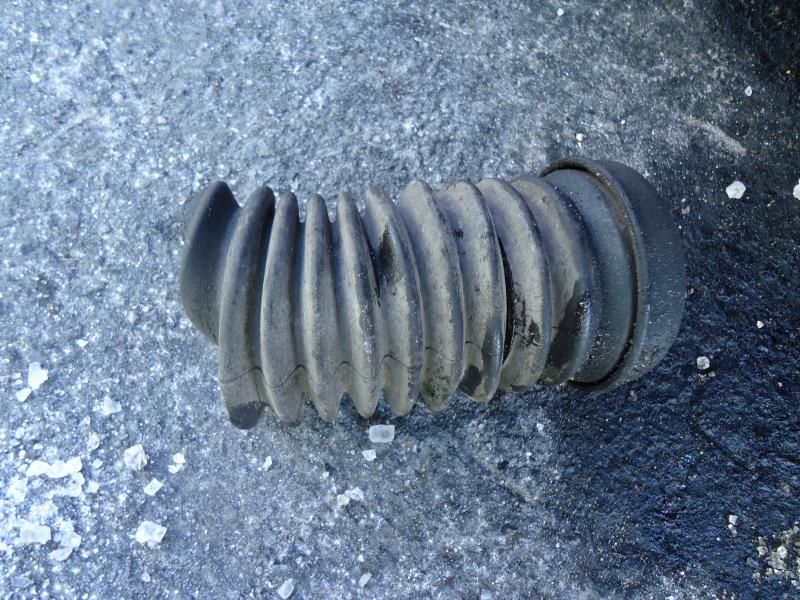
The offending coolant leak:


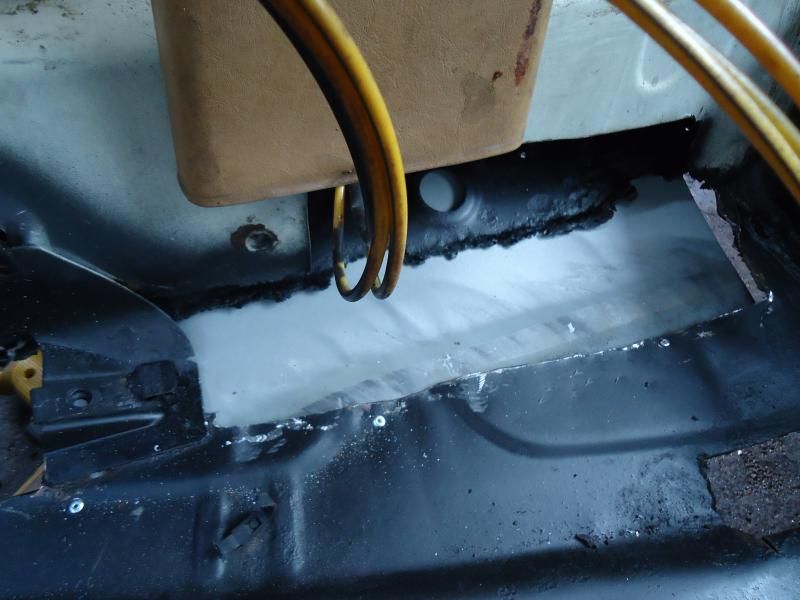
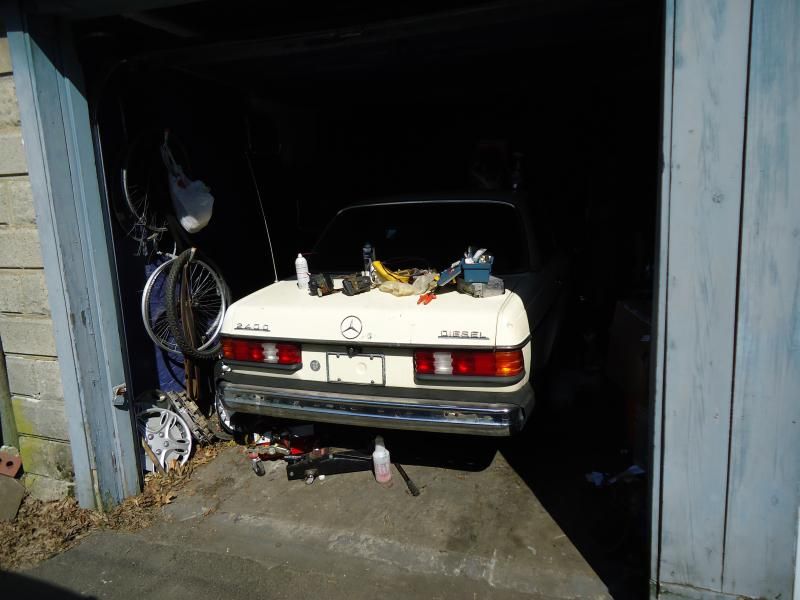
Back into the garage:


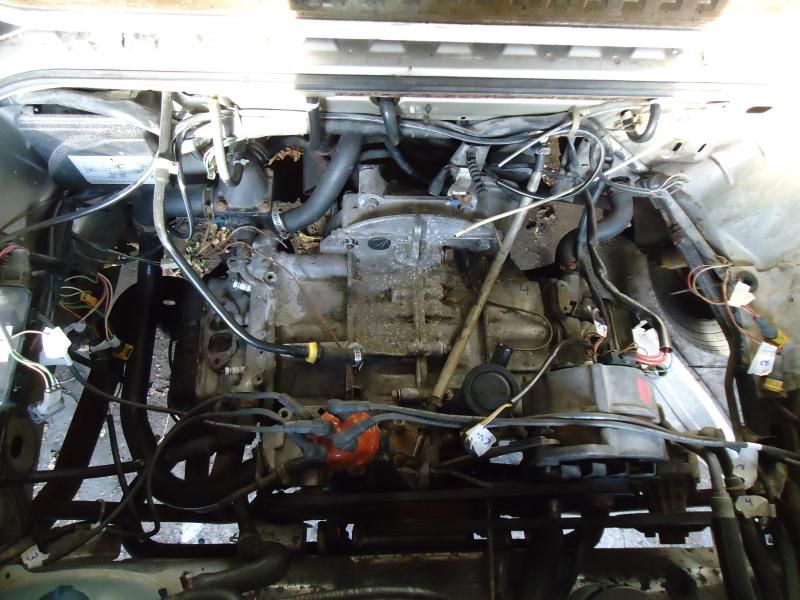
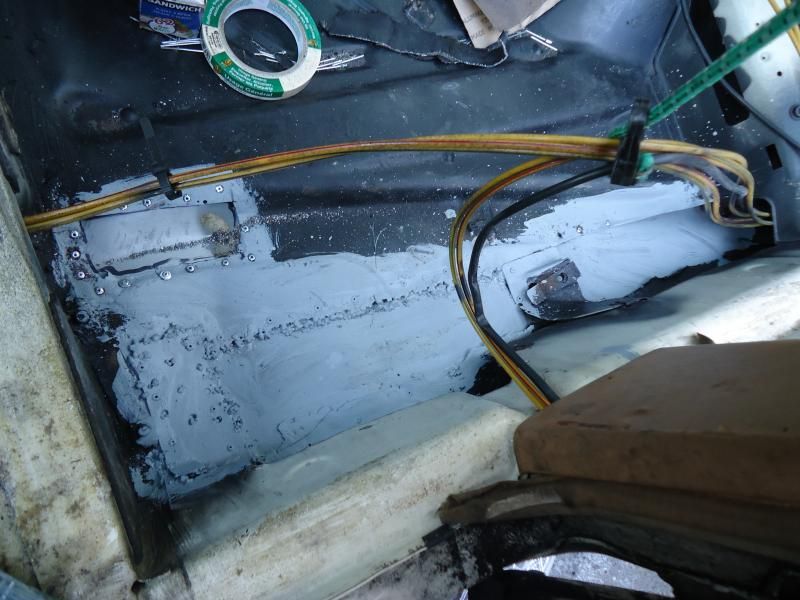
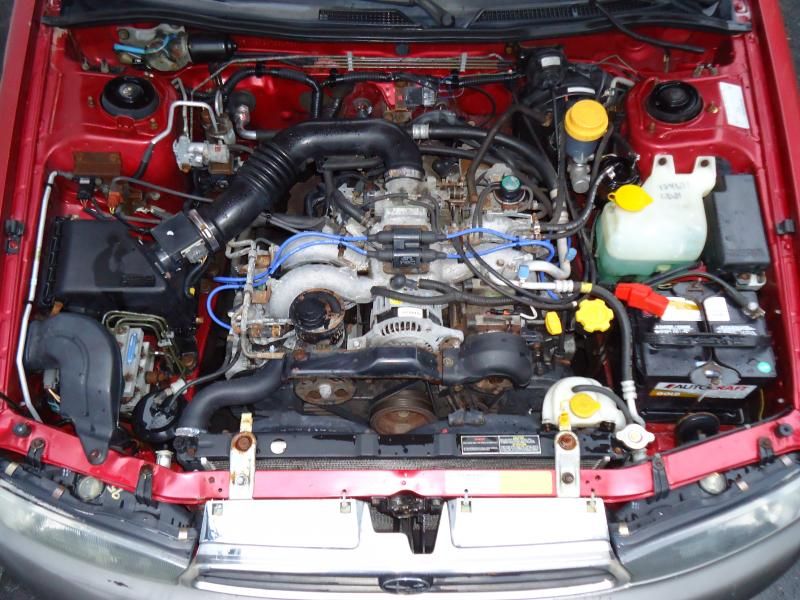
Intake manifold off:


Sunday, April 14, 2013

Starting to patch up the Mercedes' floor

Well, with the Outback all taken care of and the garage cleaned out, it's finally time for me to get to patching the Mercedes floor. First, I had to wake the car up. I charged the battery last week (strictly as a precautionary measure), so I hooked it up, and the car started on the first bump of the key.


I backed it out into the sunlight for the first time in 2013. The name of the game this weekend was patchwork, so I started by making straighter cuts in the floor:


Once I had the holes cut, I made some templates and started cutting patches out of my donor panels. First victim, a dented door from a Jeep Cherokee - given to me by a co-worker when I helped him bolt on some straighter doors.


Once I had the first patch cut, I fitted it (roughly) with a few pop rivets...


...and then started welding.


I worked through the weekend, and have the passenger side of the floor almost 2/3 of the way patched up now.


Hopefully, by the end of next weekend, I'll have the floor patched up, and will then move on to make the rest of the repairs to the rocker panel and wheel wells on the passenger side of the car. It's nice to see those holes finally starting to close up.


Monday, April 8, 2013

Digging out the diesel

Now that the work is basically done on the Outback (well, I do want to clean up a few rust spots, but that needs to wait for better weather...), I can finally get back to work on the Mercedes project.

I was busy yesterday with installing new fog lights in the Outback, as well as repairing the gas grill, installing a new bathroom light fixture (in the house, not in the car), and installing a new in-sink garbage disposal (same story there). So, it wasn't until this afternoon that I was able to turn my attention to the diesel.

Unfortunately, a long winter of working on the cars left the garage a complete mess. I couldn't walk across the garage without tripping on something. I couldn't get to the car without pushing stuff out of the way. So, before I could work on it, I needed to do a bit of spring cleaning.

BEFORE:


AFTER:


It may not look much different, but I got a lot of trash out, reorganized a bit, and most importantly, have room to move around and work again. I did do one thing though... I pulled the battery out of the Mercedes and put it on the charger. After sitting for a few months, I'm sure it needs it.


Sunday, April 7, 2013

Finally finishing up the Outback - up soon - back to the diesel

Well, it's been a longer road than I would have originally thought, but I'm just about done with the Outback now. Although the car ran well when I bought it, I needed to catch it up on a lot of maintenance and tune-up items, most of which I detailed in this blog.

Recently, I finally installed the new steering rack boot. As the passenger side boot was still intact, and it's still cold here, I opted to only replace the torn boot.


I also finally replaced the missing exhaust manifold stud. I was going to replace 2, but one hole had apparently been drilled and tapped to a larger size. So, that bolt had to stay in place, for at least the time being.


Next, I replaced the cooling system hoses, which looked original to the car, and then washed the car and cleaned the engine compartment.


Then, yesterday, I got the fog lights working. The factory ones didn't work. I put a new bulb in the driver's side, and it worked for a few minutes, but the passenger side light was corroded on the inside past the point of no repair. Given how hard these lights are to find, I opted to install a pair of aftermarket lights which also use H3 bulbs. I'm pleased with the new lights. They work well and don't look too out of place.


So the next time you drop in for a read... I'll try and have some Mercedes stuff for you. I'm glad to be getting back to that project, and that the Outback is now solid.