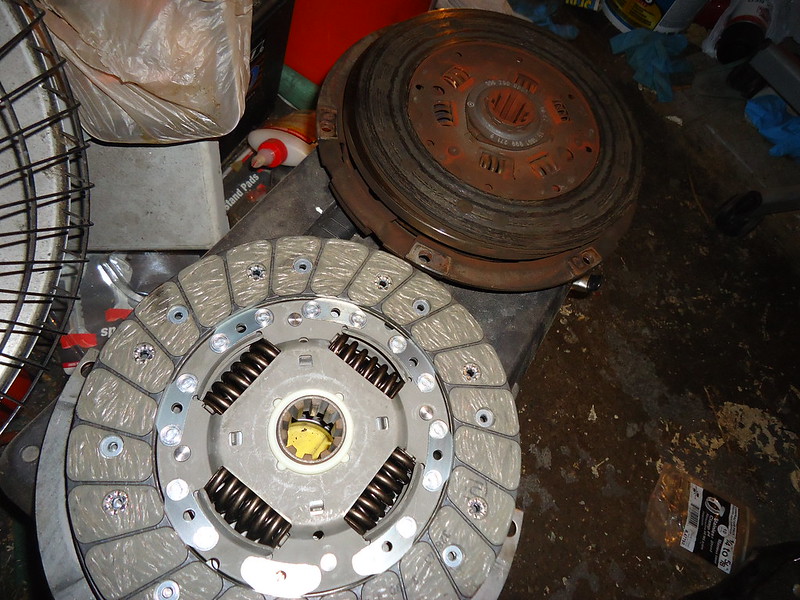
When I last left off, I was preparing to replace the car's clutch - which I did.
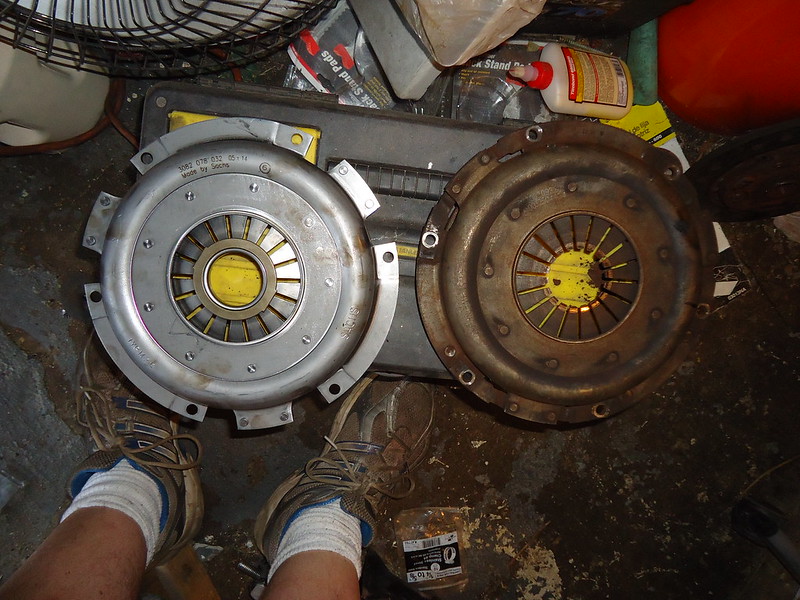
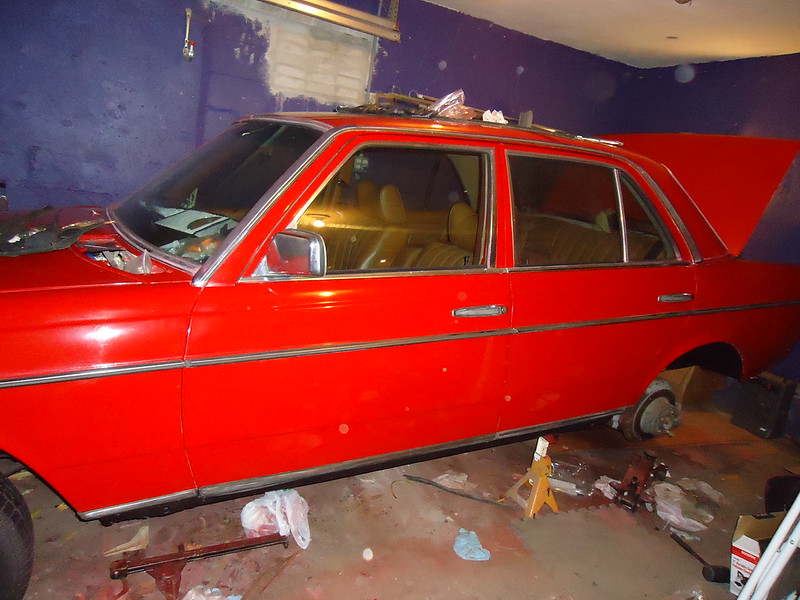
When that was done, I reinstalled the transmission. While I still had plenty of room under the car, I replaced the brake lines - the rubber lines and the hard lines. I was reasonably sure the old hard lines would have been OK, but it was easy work and cheap insurance for my safety to do the extra work at this point.

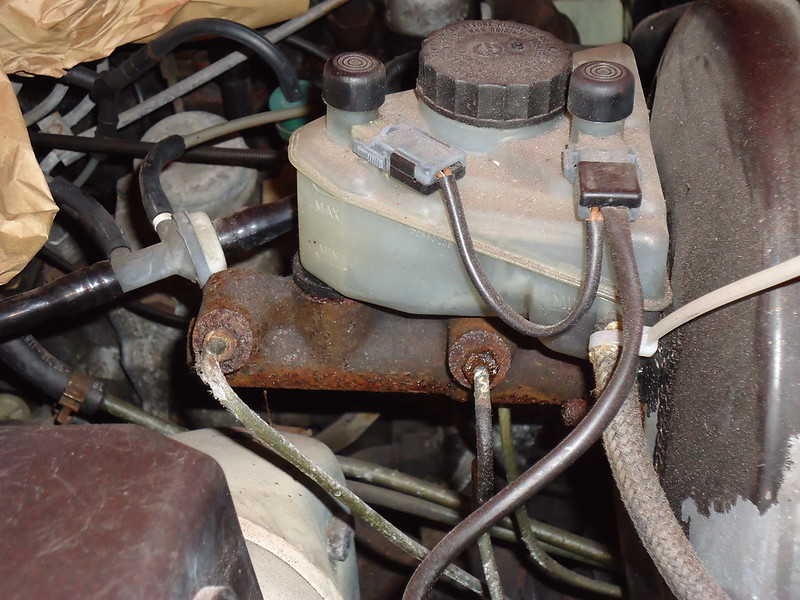


Then I repainted the brake booster:
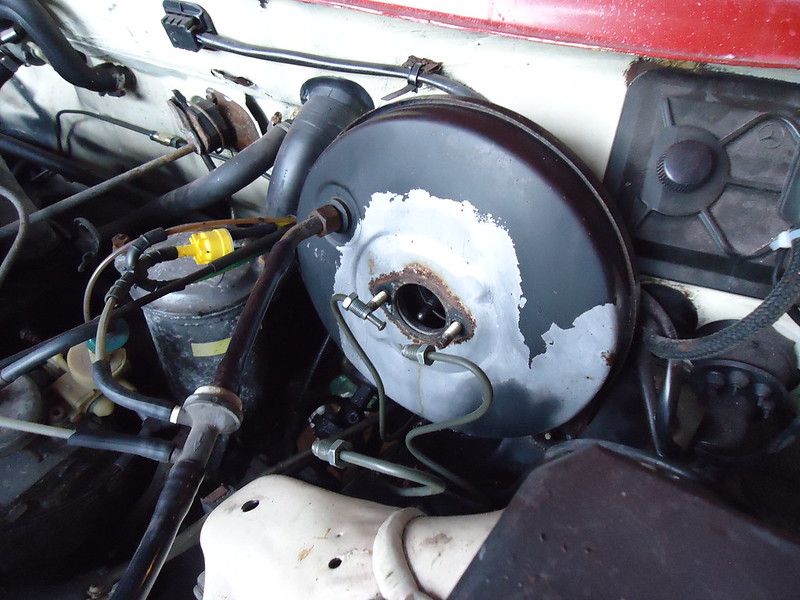
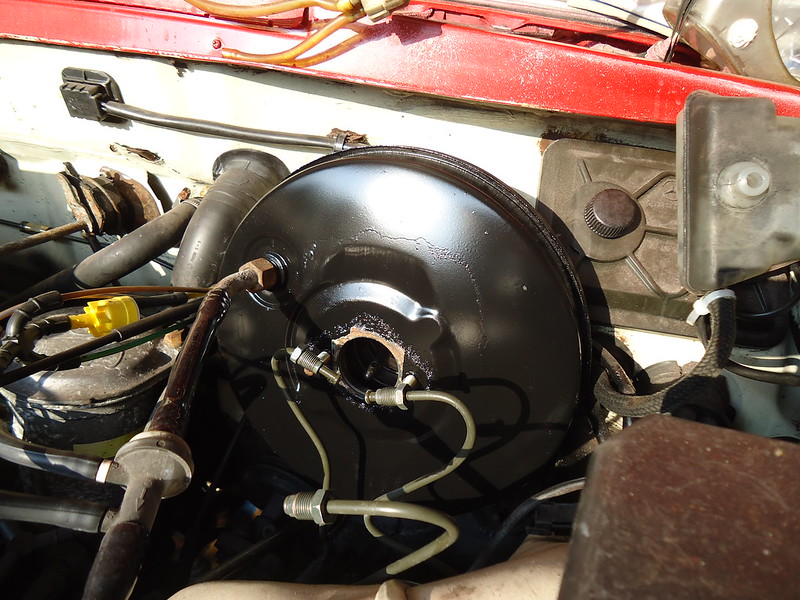
...and installed a new brake master cylinder as well as rebuilt calipers, new pads, and new rotors on all four corners:
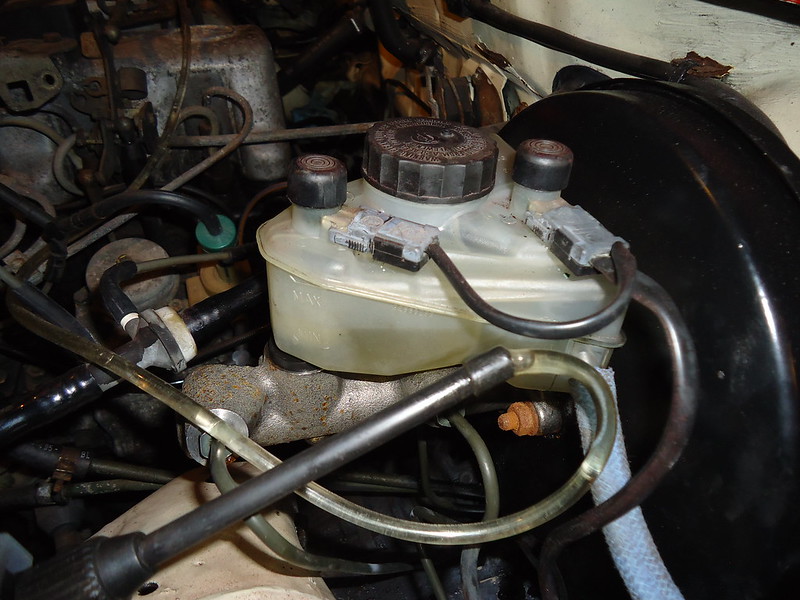
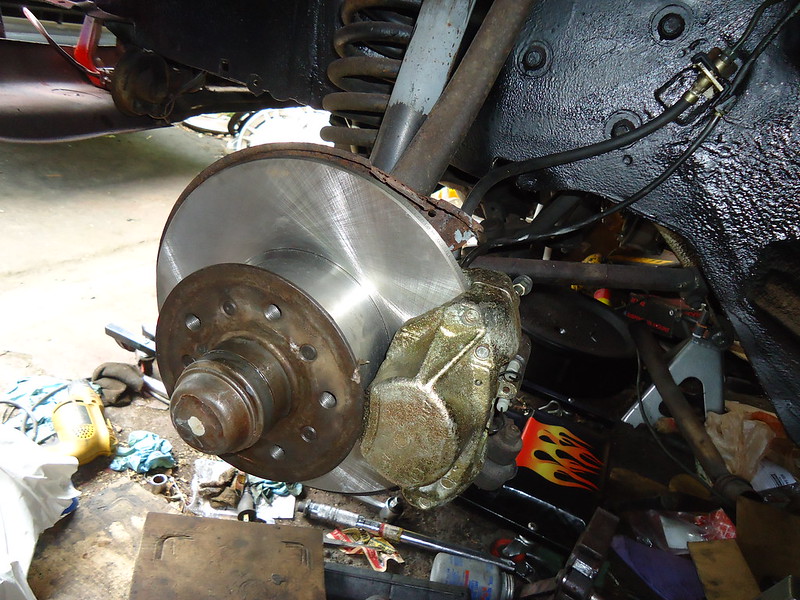
Although I didn't get pictures, I also replaced the clutch hydraulics with new parts.
Around this time, the driveline also went back into the car. I put the driveshaft back in with fresh flex discs as well as a new center bearing and support. I also replaced the CV axles and repainted the differential:

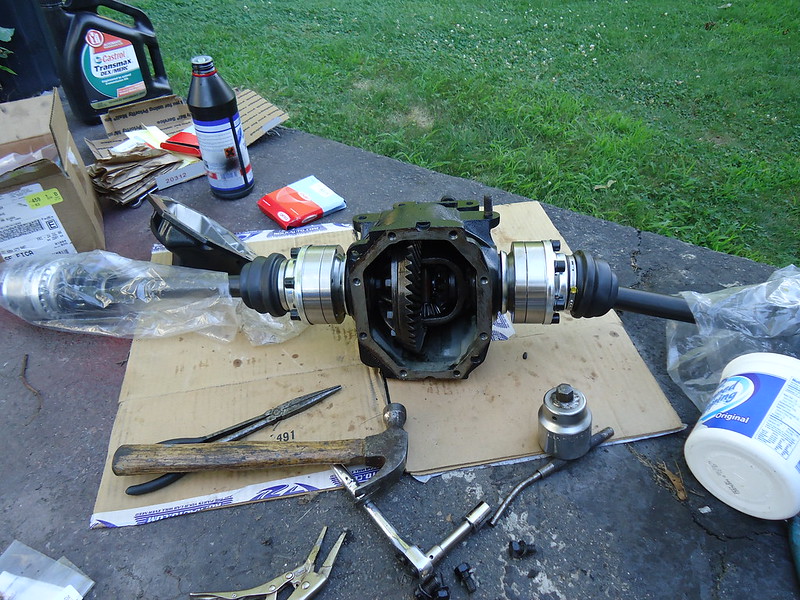

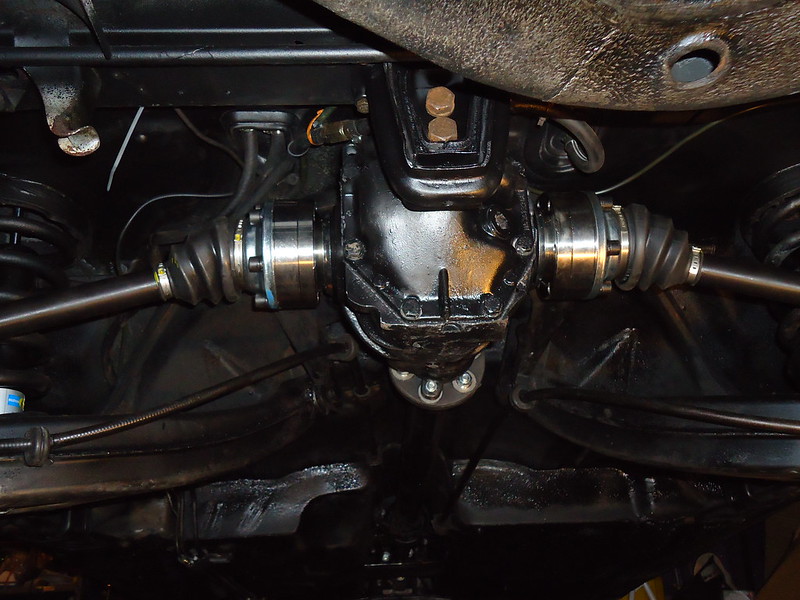
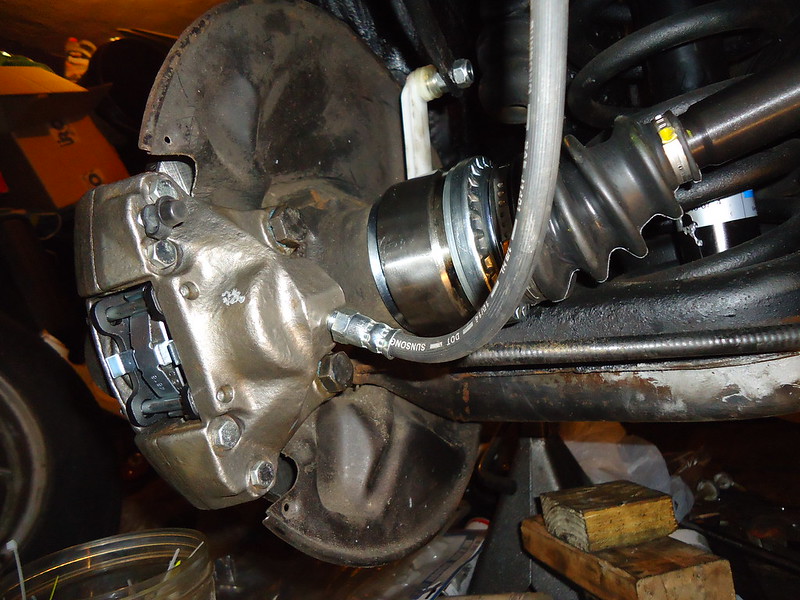
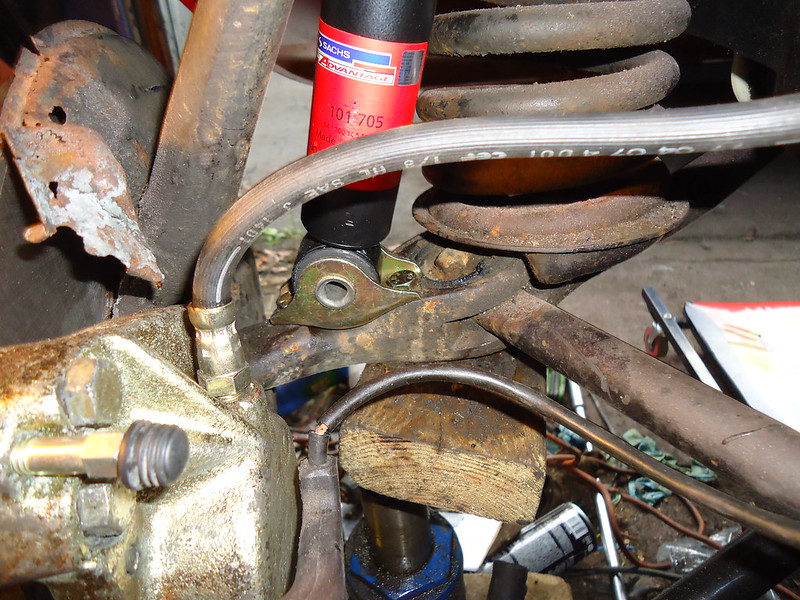
Before buttoning-up the front end, I replaced the front shock absorbers, the steering damper, and the tie rods:
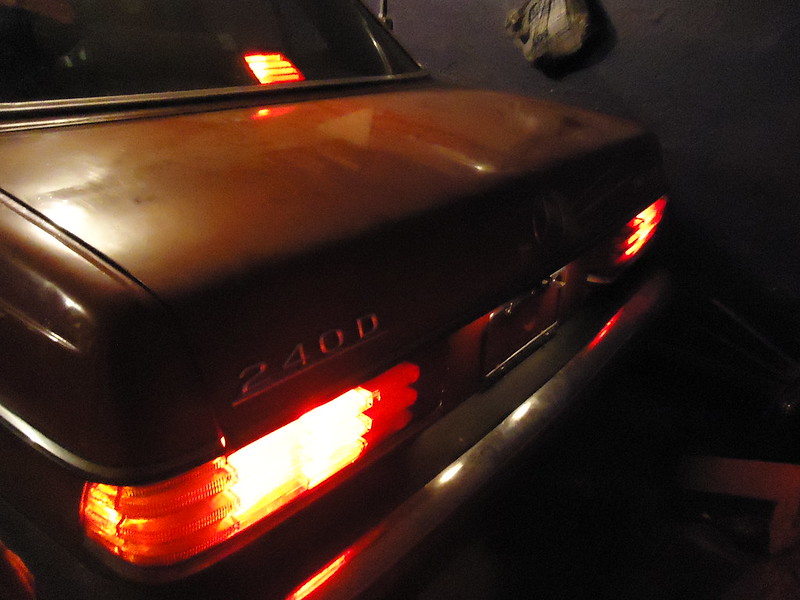
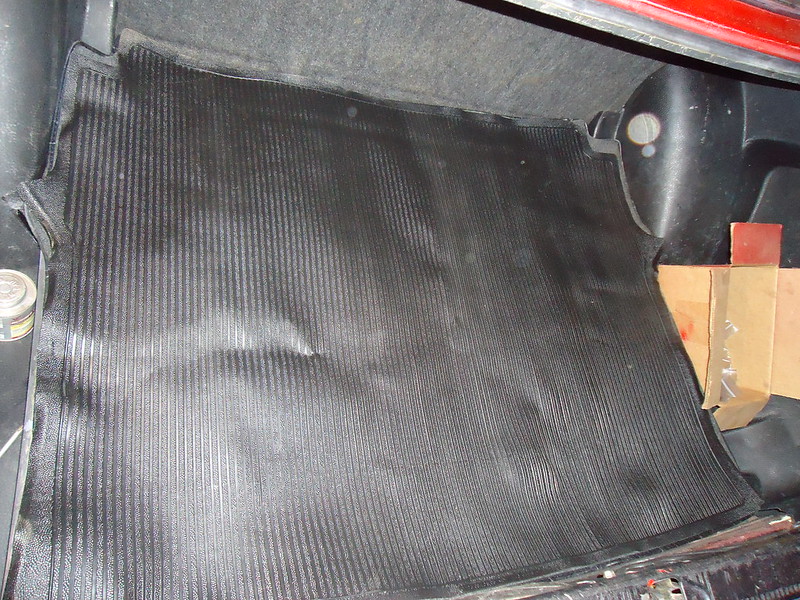
Before moving under the hood, I added a third brake light to the car and installed the long-absent trunk trim:
Finally, it was time to do some work under the hood. First, I popped off the valve cover to adjust the valvetrain and meanure timing chain stretch:
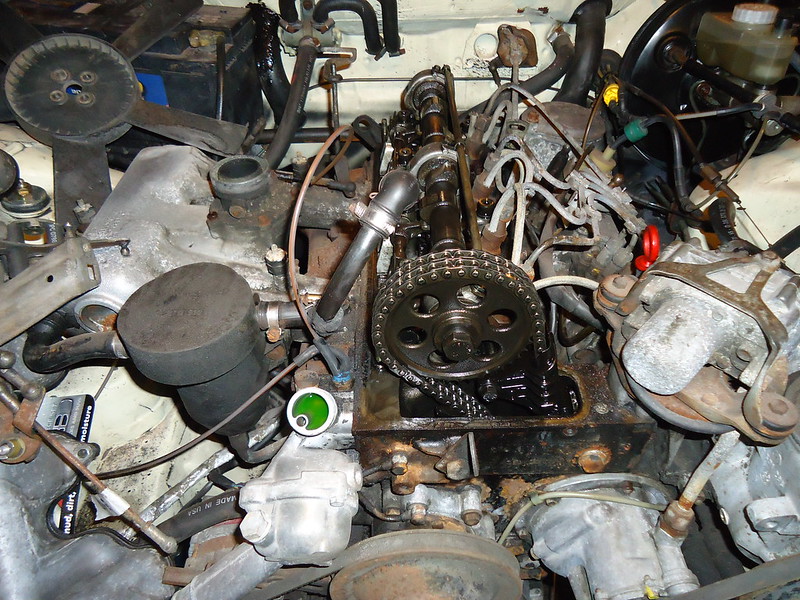
Then I removed the water pump and thermostat housing:
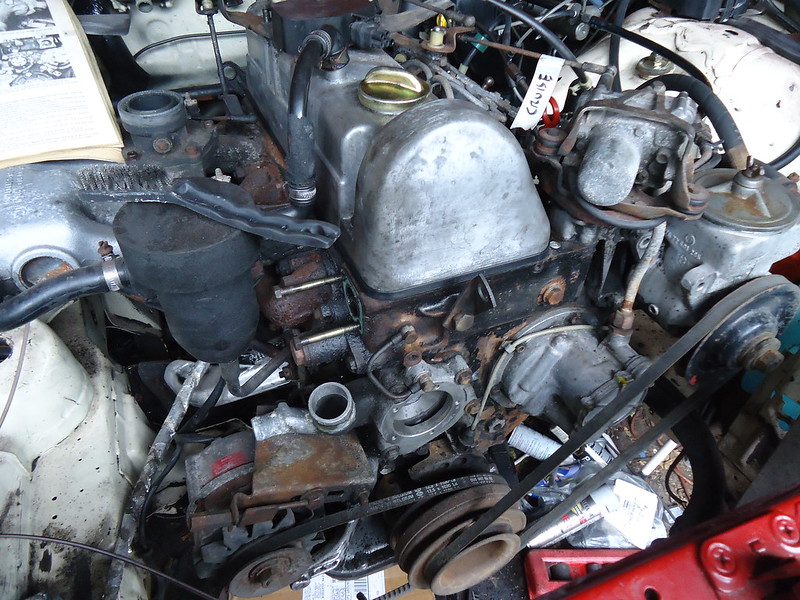
Then, it was off with the intake and exhaust manifolds to clean them up and replace the gasket:
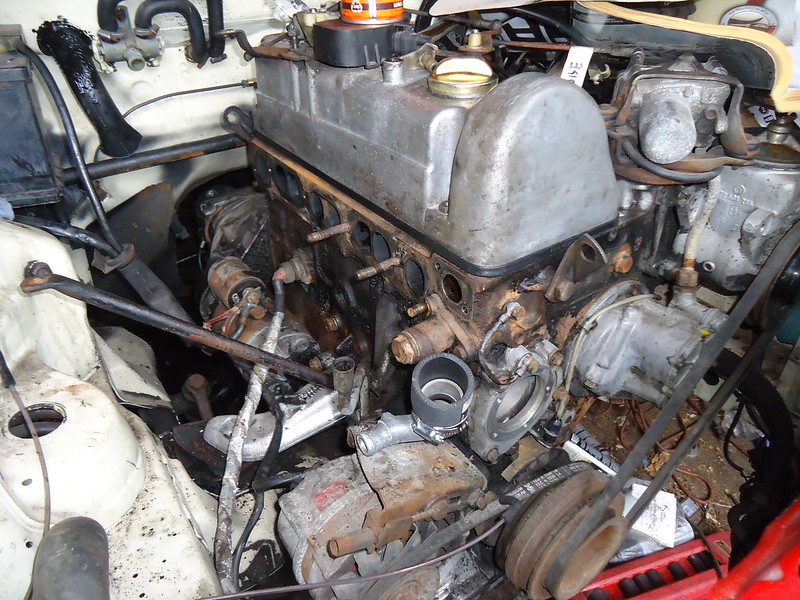
Once that was done, the thermostat housing (with new thermostat) and new water pump went back on:

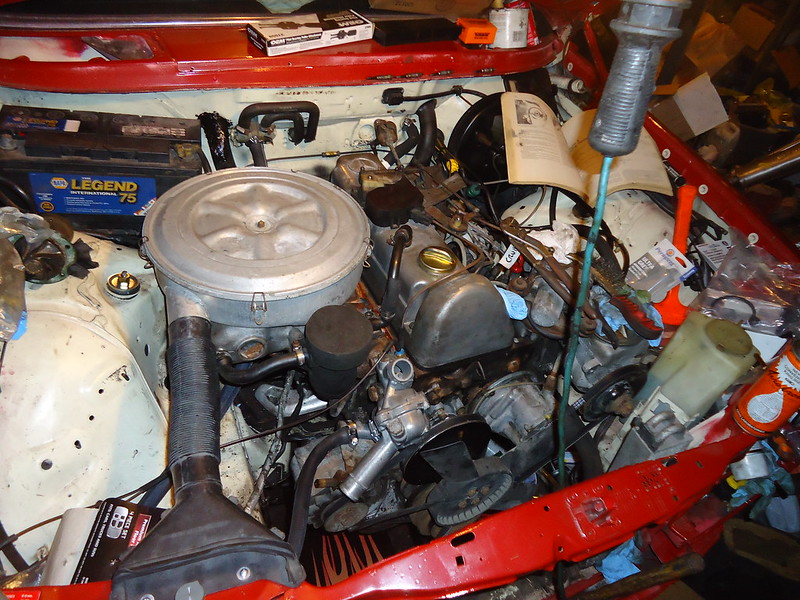
Pretty soon, the engine was buttoned-up again:
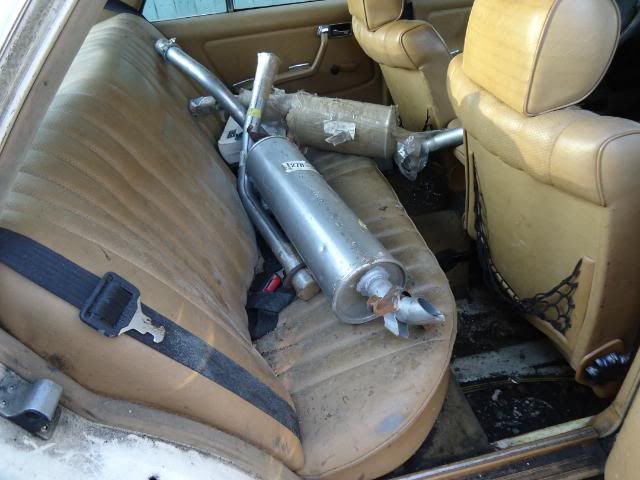
Then the new exhaust system went on:

At that point, I replaced the fuel primer pump and the underhood fuel lines:
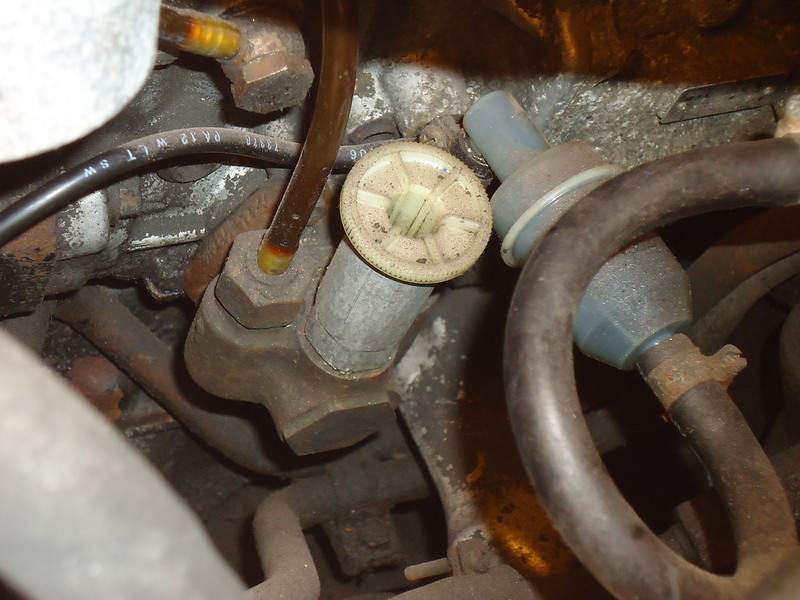
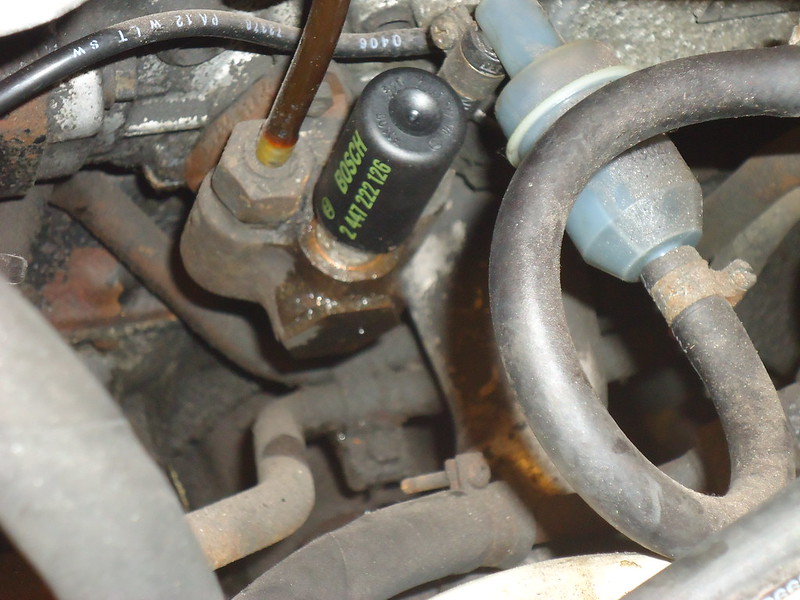
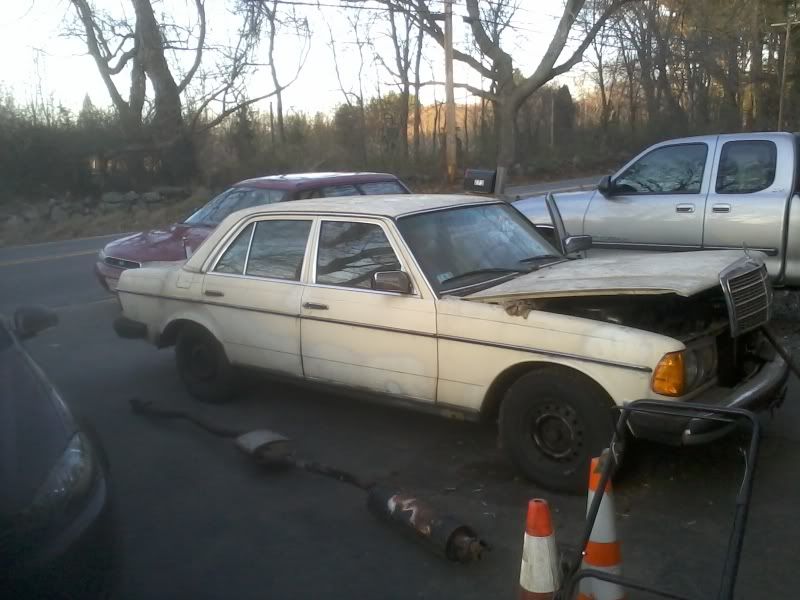
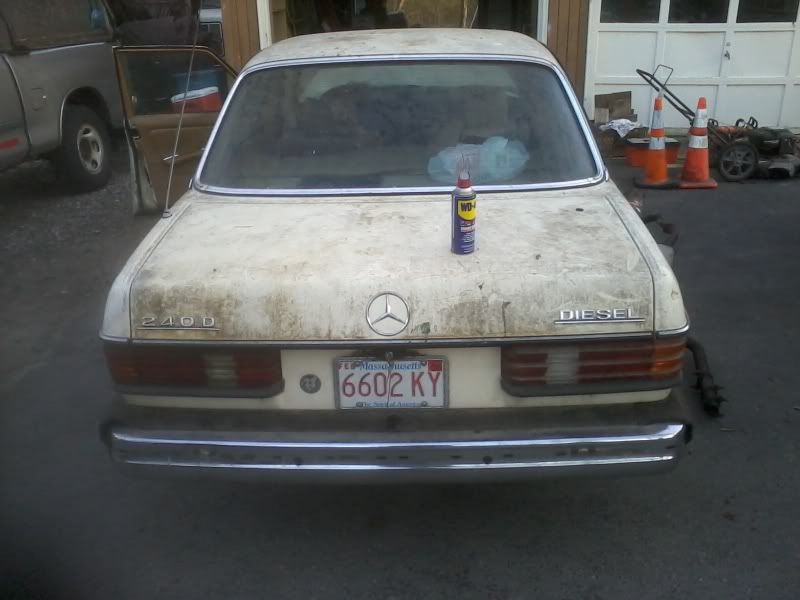
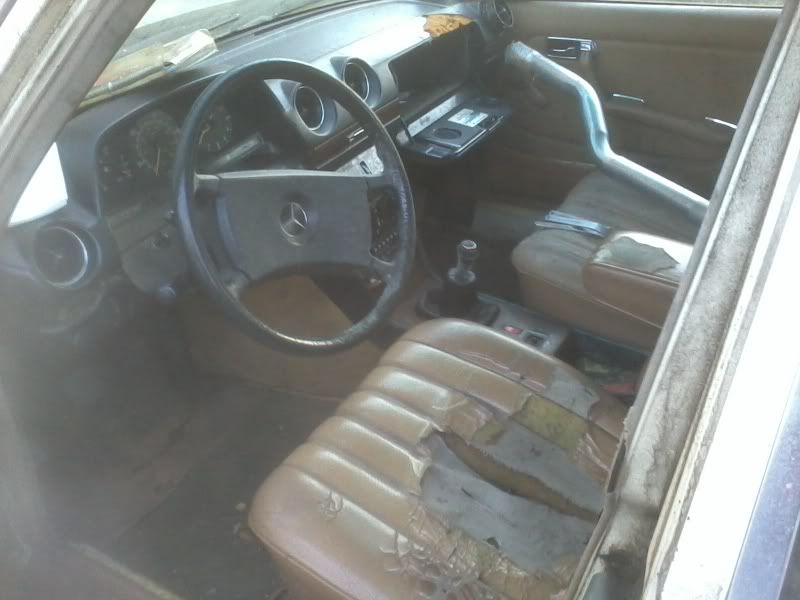
...and before I knew it... THIS:
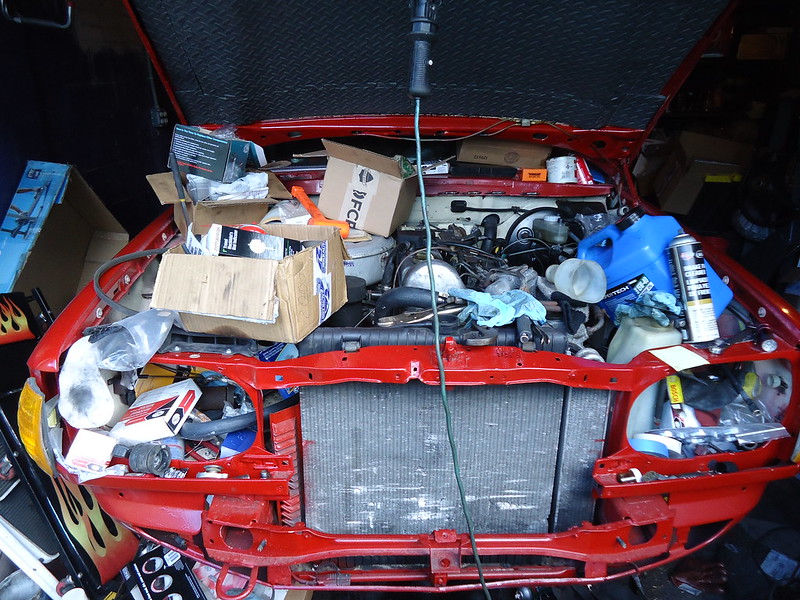
...became THIS:
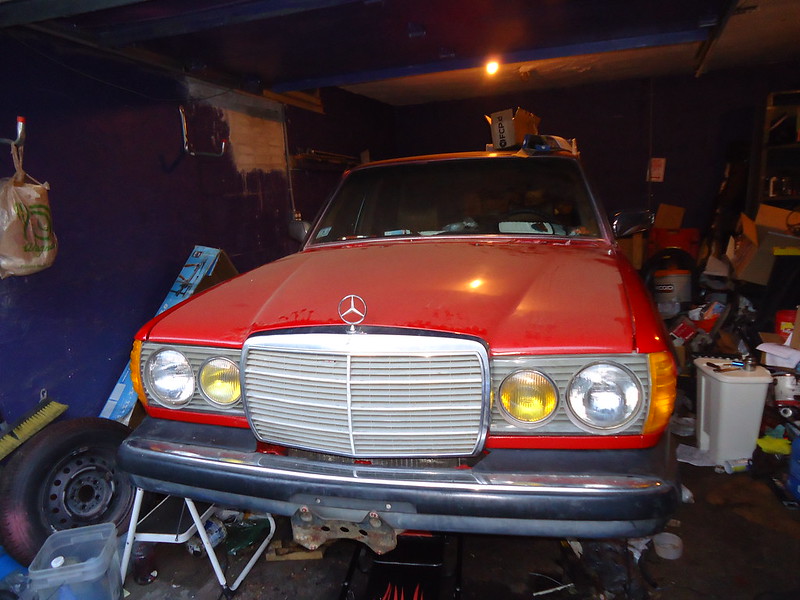
The dust settled. What I'd begun three and a half years ago back in 2012 was done.


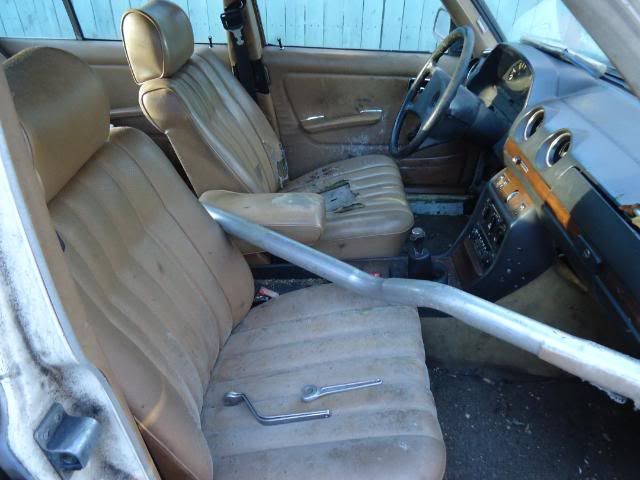
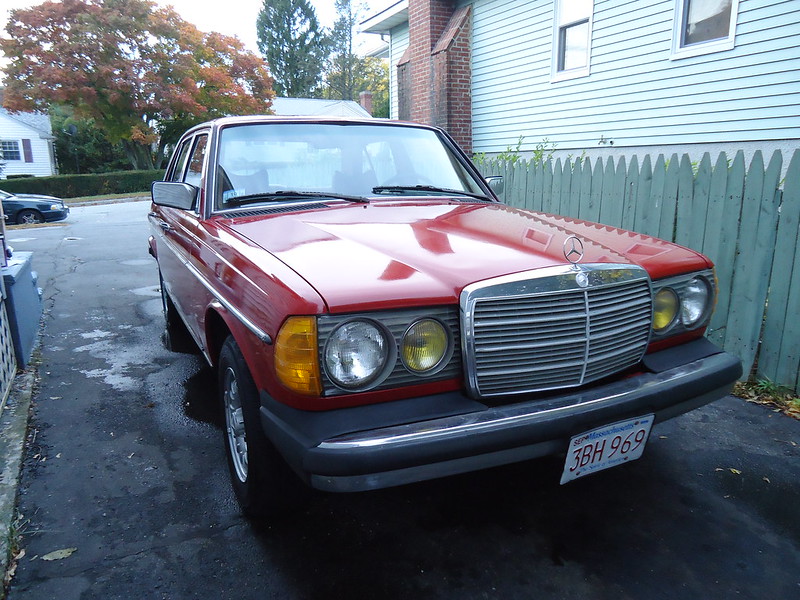


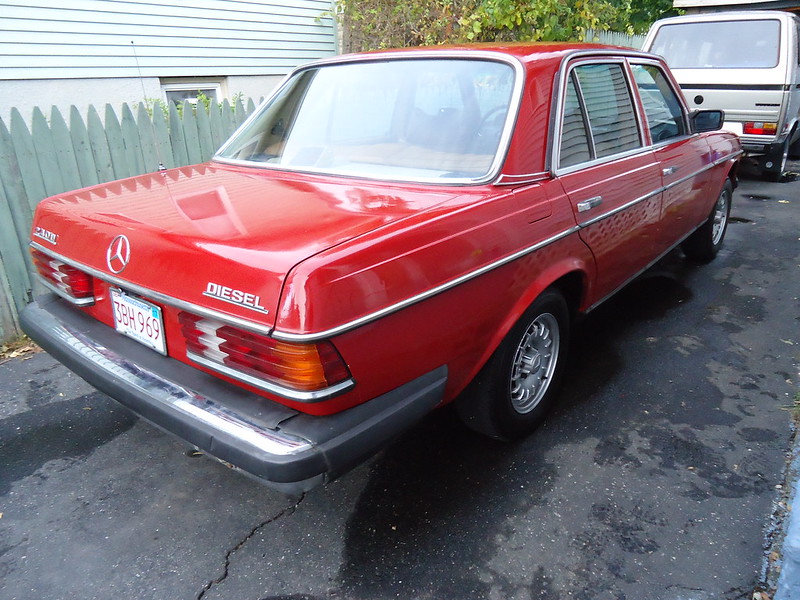
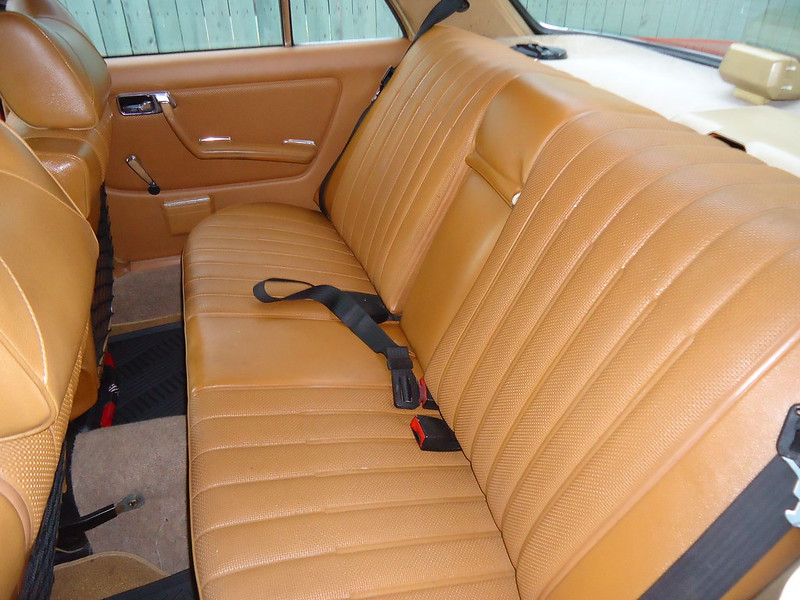
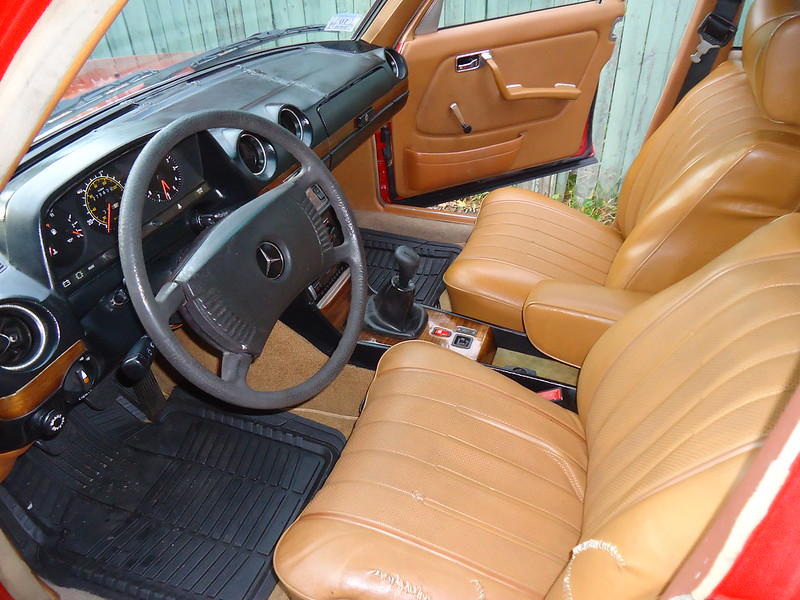
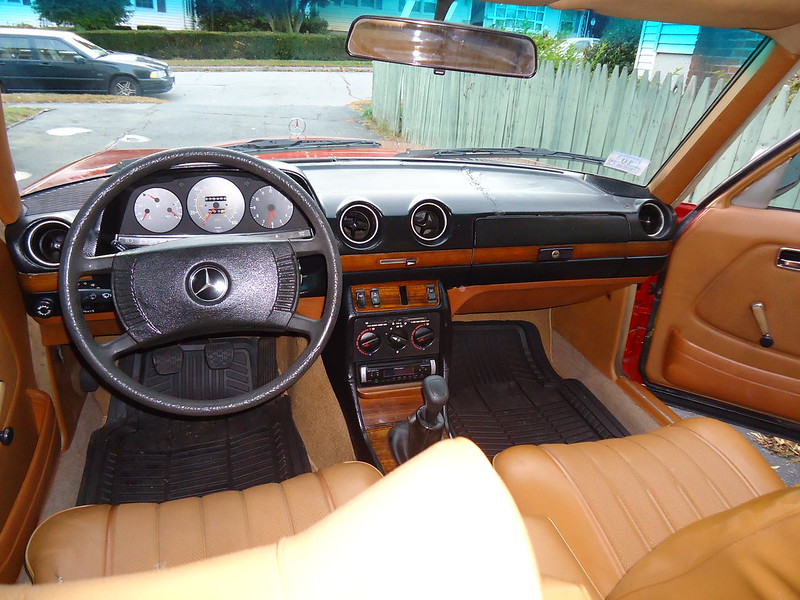
I actually got the car on the road two weeks ago. I've been driving it. As with any project of this length, it didn't come out perfect. I'm still finding and fixing little items along the way - nothing that's keeping the car off the road (not for long, anyway). But, I'm happy to be able to relax a bit now. It's been a very long few years, and I'm looking forward to enjoying this car.
For all of you who've read along, here's a test drive of the car: